
Banana Bread Without Baking Soda (Moist, Soft & Easy)
You know that moment. The bananas on the counter have gone past speckled into almost black, the kitchen smells faintly sweet just standing near them, and you are absolutely ready to bake banana bread — until you open the pantry and realize the little orange box of baking soda is empty, or worse, it was used up weeks ago for cleaning the sink. I have been there more times than I care to admit, usually on a Sunday morning when a grocery run is the last thing I want to do.
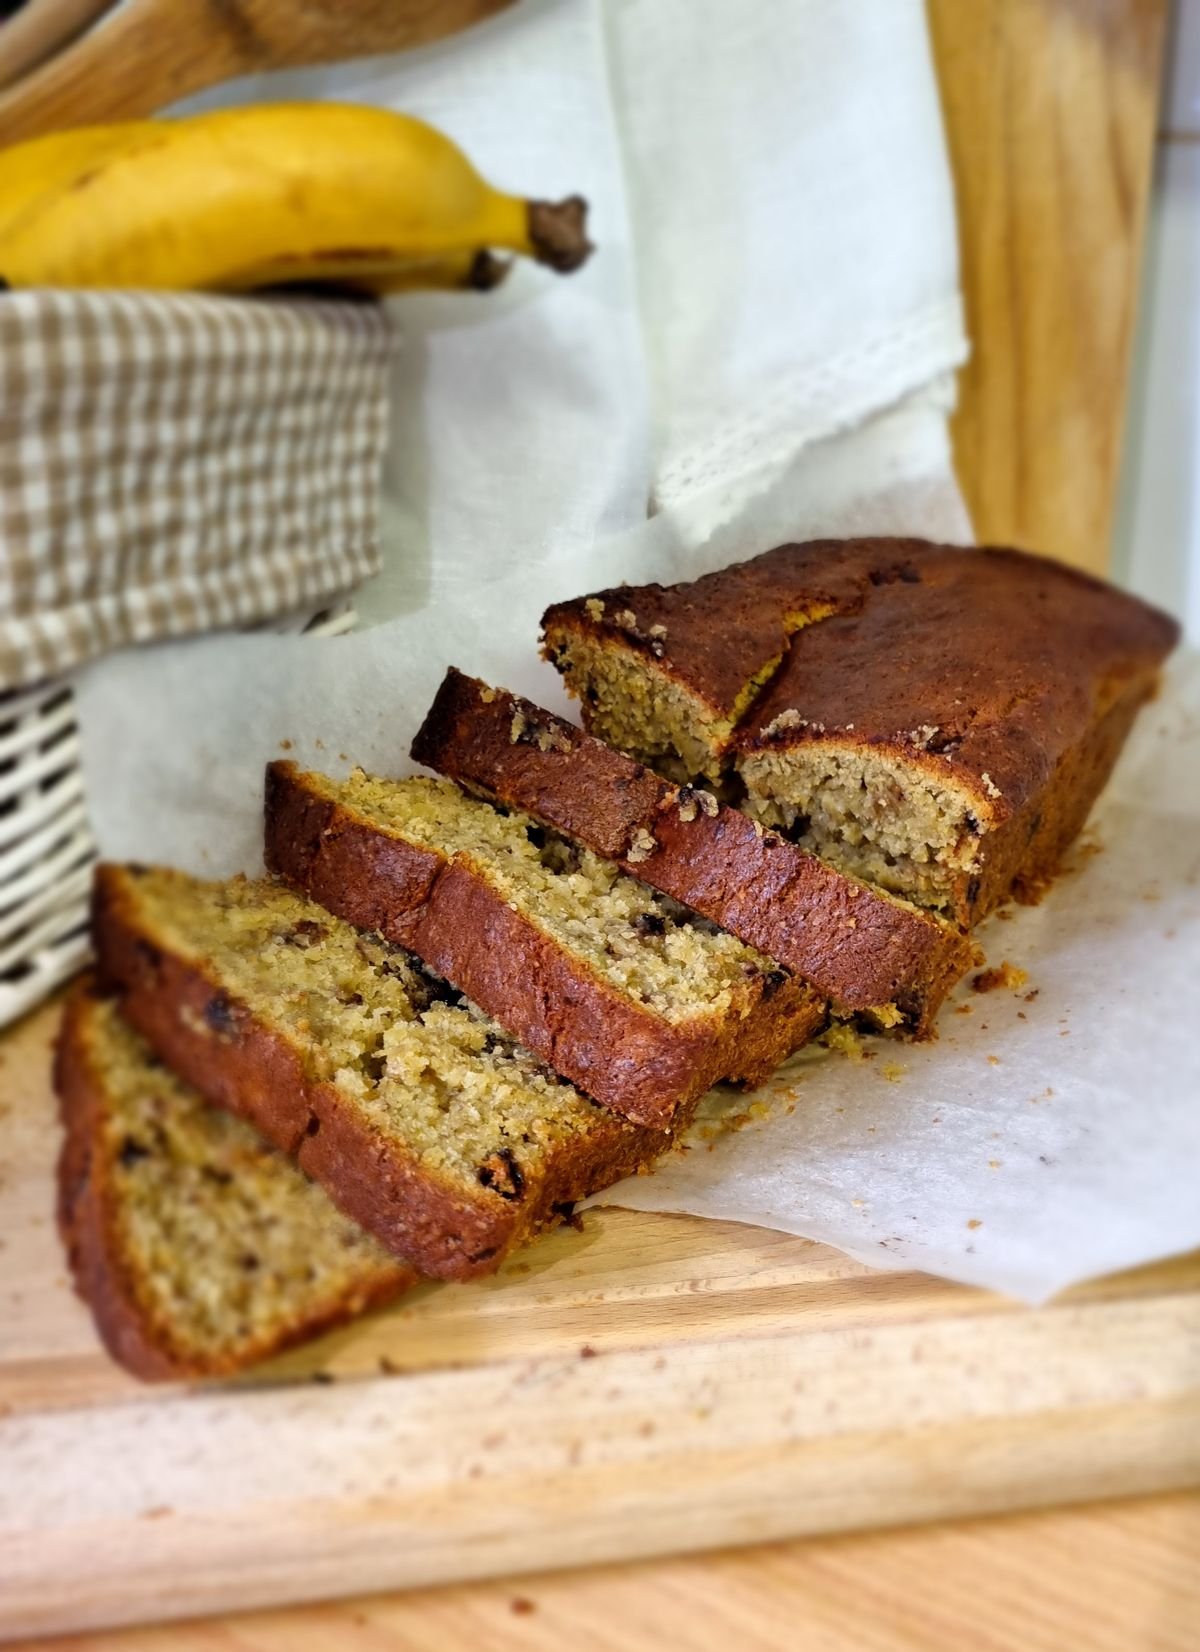
The good news is that you do not need to put those bananas back in the freezer for “someday” or change your plans. This banana bread without baking soda is not a compromise loaf. It is moist, soft, and properly risen, with a tender golden crumb and that deep, caramel-like banana flavor we all bake banana bread for in the first place. It slices cleanly, toasts beautifully the next day, and fills the house with the kind of warm, cinnamon-scented smell that makes people wander into the kitchen asking if it is ready yet.
So how does it rise without baking soda? The secret is baking powder, used in the right amount, plus a couple of small technique tricks that trap air in the batter. Baking powder is a complete leavening system all by itself, so this recipe is perfect if you have run out of soda, if baking soda leaves a soapy or metallic taste that bothers you, or if you simply keep one leavener in the house and would rather it be the versatile one. If you have overripe bananas and a standard pantry, you can have this loaf in the oven in about fifteen minutes.
Why You’ll Love This Recipe
- No baking soda needed, ever: Baking powder does all the lifting, so there is no extra trip to the store and no soapy aftertaste.
- Truly moist and soft: Ripe bananas, melted butter, and a little extra egg keep the crumb tender for days, not just the first afternoon.
- One bowl for the wet ingredients: You mash, whisk, and mix in a single large bowl, which means very little washing up.
- Beginner friendly: No mixer required, no fussy steps, and clear visual cues at every stage so you know you are on track.
- Flexible and forgiving: It welcomes nuts, chocolate chips, and warm spices, and it works with substitutions you probably already have.
- Great for making ahead: The flavor actually deepens overnight, and slices freeze beautifully for quick breakfasts and snacks.
How Does Banana Bread Rise Without Baking Soda, Anyway?
This is the question everyone asks, and it deserves a straight answer, because once you understand it you will never panic about a missing leavener again.
Baking soda is a base. On its own it does very little — it needs an acid to react with, like the natural acids in bananas, brown sugar, buttermilk, or molasses. When soda meets acid, it releases carbon dioxide bubbles that puff up the batter in the oven. Classic banana bread recipes lean on that reaction.
Baking powder, on the other hand, is baking soda that already has its acid built in, usually cream of tartar, plus a little cornstarch to keep it dry. Most baking powder sold today is double-acting, which means it releases a first burst of bubbles when it gets wet and a second, bigger burst when it gets hot in the oven. That second burst is exactly what a thick, heavy banana batter needs, because the lift happens while the loaf is setting, not all at once in the bowl.
The rule of thumb is that baking powder is roughly one-third to one-quarter as strong as baking soda, volume for volume, so you need more of it. Where a classic recipe might use 1 teaspoon of baking soda, this recipe uses 2 1/2 teaspoons of baking powder. That amount gives a real, visible rise — a nicely domed top with a gentle crack down the middle — without leaving any bitter, chemical taste.
There are two supporting players, too. First, eggs. This recipe uses two large eggs, and whisking them well with the sugar before the flour goes in incorporates a little air and builds a structure that holds the bubbles from the baking powder. Second, timing. Because baking powder starts working as soon as it meets liquid, you want the pan ready, the oven hot, and the batter in the oven promptly. None of this is difficult; it is just good baking rhythm, and the steps below walk you through it.
One honest note: a loaf leavened only with baking powder rises slightly differently than a soda loaf. The crumb tends to be a touch lighter and more cake-like, and the top is a little paler gold rather than deep mahogany, because baking soda also encourages browning. Most people who taste this version actually prefer the softer crumb — and nobody has ever guessed it was the “without” version.
Ingredients
Makes one standard 9 x 5-inch loaf, about 10 slices. For the best texture, bring the eggs to room temperature while the oven preheats — just set them in a bowl of warm tap water for ten minutes.
- 3 large very ripe bananas (about 1 1/2 cups / 360 g mashed) — The riper, the better. Look for peels that are heavily speckled or mostly brown. Ripe bananas are sweeter, mash smoothly, and provide most of the moisture in this loaf.
- 1/2 cup (113 g) unsalted butter, melted and slightly cooled — Butter gives a richer flavor than oil here. If you only have salted butter, use it and reduce the added salt to a pinch.
- 3/4 cup (150 g) granulated sugar — This gives a balanced sweetness that lets the banana shine. See the substitutions section if you would like to use brown sugar or less sugar.
- 2 large eggs, at room temperature — Eggs bind the batter and help trap the air that gives this soda-free loaf its lift. Do not skip the whisking step in the instructions.
- 1 teaspoon pure vanilla extract — Rounds out the banana flavor and makes the whole loaf smell wonderful.
- 1 3/4 cups (220 g) all-purpose flour — Spoon the flour into the measuring cup and level it off rather than scooping, which can pack in up to an extra quarter cup and make the loaf dense.
- 2 1/2 teaspoons baking powder — This is the leavener, so check the date on the tin. Baking powder loses strength after about six to nine months once opened. To test it, stir 1/2 teaspoon into a little hot water; it should fizz vigorously.
- 1 teaspoon ground cinnamon — Optional but highly recommended. It adds warmth without turning this into a spice bread.
- 1/2 teaspoon fine salt — Salt sharpens all the other flavors. Without it, banana bread tastes oddly flat.
- 1/4 cup (60 ml) milk, at room temperature — A small splash loosens the batter just enough for the baking powder to do its work evenly. Whole milk is ideal, but any milk you have works.
- Optional add-ins: 1/2 cup (60 g) chopped walnuts or pecans, or 1/2 cup (85 g) chocolate chips — fold in with the flour, and toss chips in a teaspoon of flour first so they do not all sink.
A quick note on the bananas, because they matter more than any other ingredient. Underripe bananas will give you a loaf that is starchy, pale, and strangely bland, no matter how good the leavening is. If your bananas are yellow with only a few spots, you can speed things along by baking them unpeeled on a lined tray at 300°F (150°C) for fifteen to twenty minutes, until the peels turn black and the fruit inside is soft and fragrant. Let them cool before mashing. Got extra ripe bananas after this loaf? They mash just as happily into a breakfast — I often use the leftovers for my favorite easy 3-ingredient banana pancakes the next morning, which turns one bunch of bananas into two completely different treats.
Equipment You’ll Need
- 9 x 5-inch (23 x 13 cm) loaf pan — metal gives the best rise and crust; glass and ceramic work but may need five extra minutes
- Parchment paper, for lining the pan
- Large mixing bowl
- Fork or potato masher, for the bananas
- Whisk and a flexible spatula
- Measuring cups and spoons, or a kitchen scale
- Wire cooling rack
- Instant-read thermometer (optional, but the most reliable doneness check)
That is genuinely all. No stand mixer, no hand mixer, no special tools. A bowl, a whisk, and a loaf pan will get you there.
Step-by-Step Instructions
Prep time: 15 minutes. Bake time: 50 to 60 minutes. Cooling time: at least 30 minutes before slicing.
- Preheat the oven and prepare the pan. Set the oven to 350°F (175°C) with a rack in the center position. Lightly grease your loaf pan, then line it with a strip of parchment paper that overhangs the two long sides like handles. This little sling means the finished loaf lifts out cleanly every single time, with no stuck corners. Because baking powder starts reacting the moment it meets liquid, having the pan ready and the oven fully hot before you mix is not just tidy — it directly affects how tall your loaf rises.
- Mash the bananas. Peel the bananas into your large bowl and mash them with a fork or potato masher until they are mostly smooth with a few small lumps remaining. You want about 1 1/2 cups of mash. Those little lumps are a good thing — they become moist, flavorful pockets in the finished crumb. Do not use a blender; pureeing completely can make the bread gummy.
- Whisk in the butter, sugar, eggs, vanilla, and milk. Pour in the melted butter and whisk to combine. Add the sugar and whisk again. Then add the eggs one at a time, whisking well after each — take a full thirty seconds here. The mixture should look slightly paler and a little frothy around the edges. That bit of whisking is doing real work, building the airy structure this soda-free loaf depends on. Whisk in the vanilla and the milk last.
- Add the dry ingredients gently. Sprinkle the flour, baking powder, cinnamon, and salt evenly over the wet mixture. If you are using nuts or chocolate chips, add them now. Fold everything together with a spatula using broad, gentle strokes, scraping down to the bottom of the bowl, just until no dry streaks of flour remain — usually fifteen to twenty folds. The batter will be thick, like a heavy cake batter. Stop as soon as it comes together. Overmixing develops gluten and is the number one cause of tough, tunneling banana bread, and it also knocks out the early bubbles from the baking powder.
- Fill the pan and smooth the top. Scrape the batter into your prepared pan and spread it into the corners with the spatula. Smooth the top lightly, then run the spatula down the center to make a shallow trench about 1/4 inch deep. This encourages that classic crack to form right down the middle instead of off to one side. If you like, lay a few thin banana slices or a sprinkle of coarse sugar on top for a pretty finish.
- Bake until deeply golden and set. Bake for 50 to 60 minutes. The loaf is done when the top is golden brown and domed, the center crack looks dry, and the surface springs back when pressed lightly with a fingertip. A toothpick or thin skewer inserted into the center should come out clean or with a few moist crumbs — not wet batter. For total certainty, an instant-read thermometer in the center should read between 200°F and 205°F (93°C to 96°C). If the top is browning faster than the center is cooking, usually around the 40-minute mark, lay a sheet of foil loosely over the pan for the remaining time.
- Cool in the pan briefly. Set the pan on a wire rack and let the loaf cool for 10 to 15 minutes. The bread will settle slightly and firm up, which makes it much easier to remove without tearing. Run a thin knife around any unlined edges if needed.
- Lift out, finish cooling, and slice. Use the parchment handles to lift the loaf onto the rack and let it cool for at least another 20 to 30 minutes before slicing. I know it smells incredible and waiting is genuinely hard, but banana bread sliced while steaming-hot will compress and turn gummy at the cut edges. When it is just warm to the touch, cut it with a serrated knife using a gentle sawing motion, aiming for slices about 3/4 inch thick.
My Best Tips for a Tall, Moist Loaf
Check your baking powder first. Since baking powder is carrying this entire recipe, stale powder is the one thing that can truly sink it — literally. If your tin has been open since last year, replace it. Fresh powder should fizz enthusiastically in hot water.
Measure the mashed banana. It is tempting to just use “three bananas,” but bananas vary wildly in size. Too little mash makes a dry loaf; too much makes a wet, sunken one. Aim for 1 1/2 cups and eat or freeze any extra.
Do not overmix, and mix in the right order. Always add the dry ingredients last and fold only until combined. Those two habits protect both the tender crumb and the lift.
Get it into the oven promptly. Once the flour and baking powder are in the batter, move with gentle purpose — fill the pan and bake. A batter that sits on the counter for twenty minutes loses a noticeable amount of rise.
Let it rest overnight for the best flavor. Fresh banana bread is lovely, but banana bread wrapped tightly and left until the next day is something else entirely. The crumb moistens evenly, the banana flavor deepens, and the slices hold together better. If you can resist, save at least half the loaf for tomorrow.
Common Mistakes to Avoid
Using a 1-to-1 swap of soda for powder. This is the trap most people fall into when adapting a classic recipe. One teaspoon of baking powder cannot replace one teaspoon of baking soda — you need roughly three to four times as much powder, which is why this recipe is written with its own tested amount instead of a quick swap.
Baking in a cold or underheated oven. Baking powder’s second rise depends on strong, immediate heat. Always let the oven fully preheat, and if your oven runs cool, an inexpensive oven thermometer is worth having.
Opening the oven door early. Every peek in the first thirty minutes lets out the heat and steam the loaf is using to rise, and a soda-free loaf is slightly more sensitive to this than a classic one. Admire it through the window instead.
Slicing too soon. Covered above because it matters that much. Hot banana bread is fragile banana bread.
Choosing the wrong pan size. An 8 x 4-inch pan with this much batter will overflow and bake unevenly; a 10-inch pan will give you a flat, dry loaf. If you only have an 8 x 4-inch pan, fill it two-thirds full and bake the extra batter as two or three muffins for about 20 to 22 minutes.
Easy Substitutions That Actually Work
No butter? Swap in 1/2 cup (120 ml) of a neutral oil like canola or light olive oil, or melted coconut oil. The loaf will be a shade more moist and a shade less rich, and it will stay soft longer at room temperature.
Brown sugar instead of white. Replace the granulated sugar with 3/4 cup (165 g) packed light brown sugar for a deeper, almost caramel flavor and a slightly darker crumb. This is my personal favorite variation in the fall. A mix of half and half is lovely, too.
Dairy-free. Use your favorite plant-based milk and swap the butter for melted coconut oil or a good dairy-free baking stick. The method stays exactly the same.
Gluten-free. A quality 1-to-1 gluten-free flour blend that contains xanthan gum works well here at the same weight. Let the batter rest in the pan for ten minutes before baking so the flour hydrates, and expect a bake time at the longer end of the range.
Less sugar. You can reduce the sugar to 1/2 cup (100 g) if your bananas are extremely ripe and you prefer a breakfast-style loaf. Below that, the crumb starts to suffer in both moisture and structure, so I would not go further.
Egg-free. Replace each egg with a flax egg (1 tablespoon ground flaxseed stirred with 3 tablespoons water, rested for ten minutes). The loaf will be a little denser and will rely entirely on the baking powder, so be extra careful not to overmix, and let it cool completely before slicing.
No milk on hand? Water, buttermilk, or even plain yogurt thinned with a splash of water all work. Buttermilk gives a particularly tender result and a gentle tang that suits banana beautifully.
I should say, getting comfortable cooking with what you have instead of what a recipe demands is one of the most useful kitchen skills there is. It is the same thinking behind learning to roast vegetables with pantry staples instead of specialty oils — once you understand why an ingredient is there, sensible swaps become easy. That mindset is what makes recipes like roasted potatoes without oil work so well, and it is exactly the spirit this loaf is baked in.
Variations Worth Trying
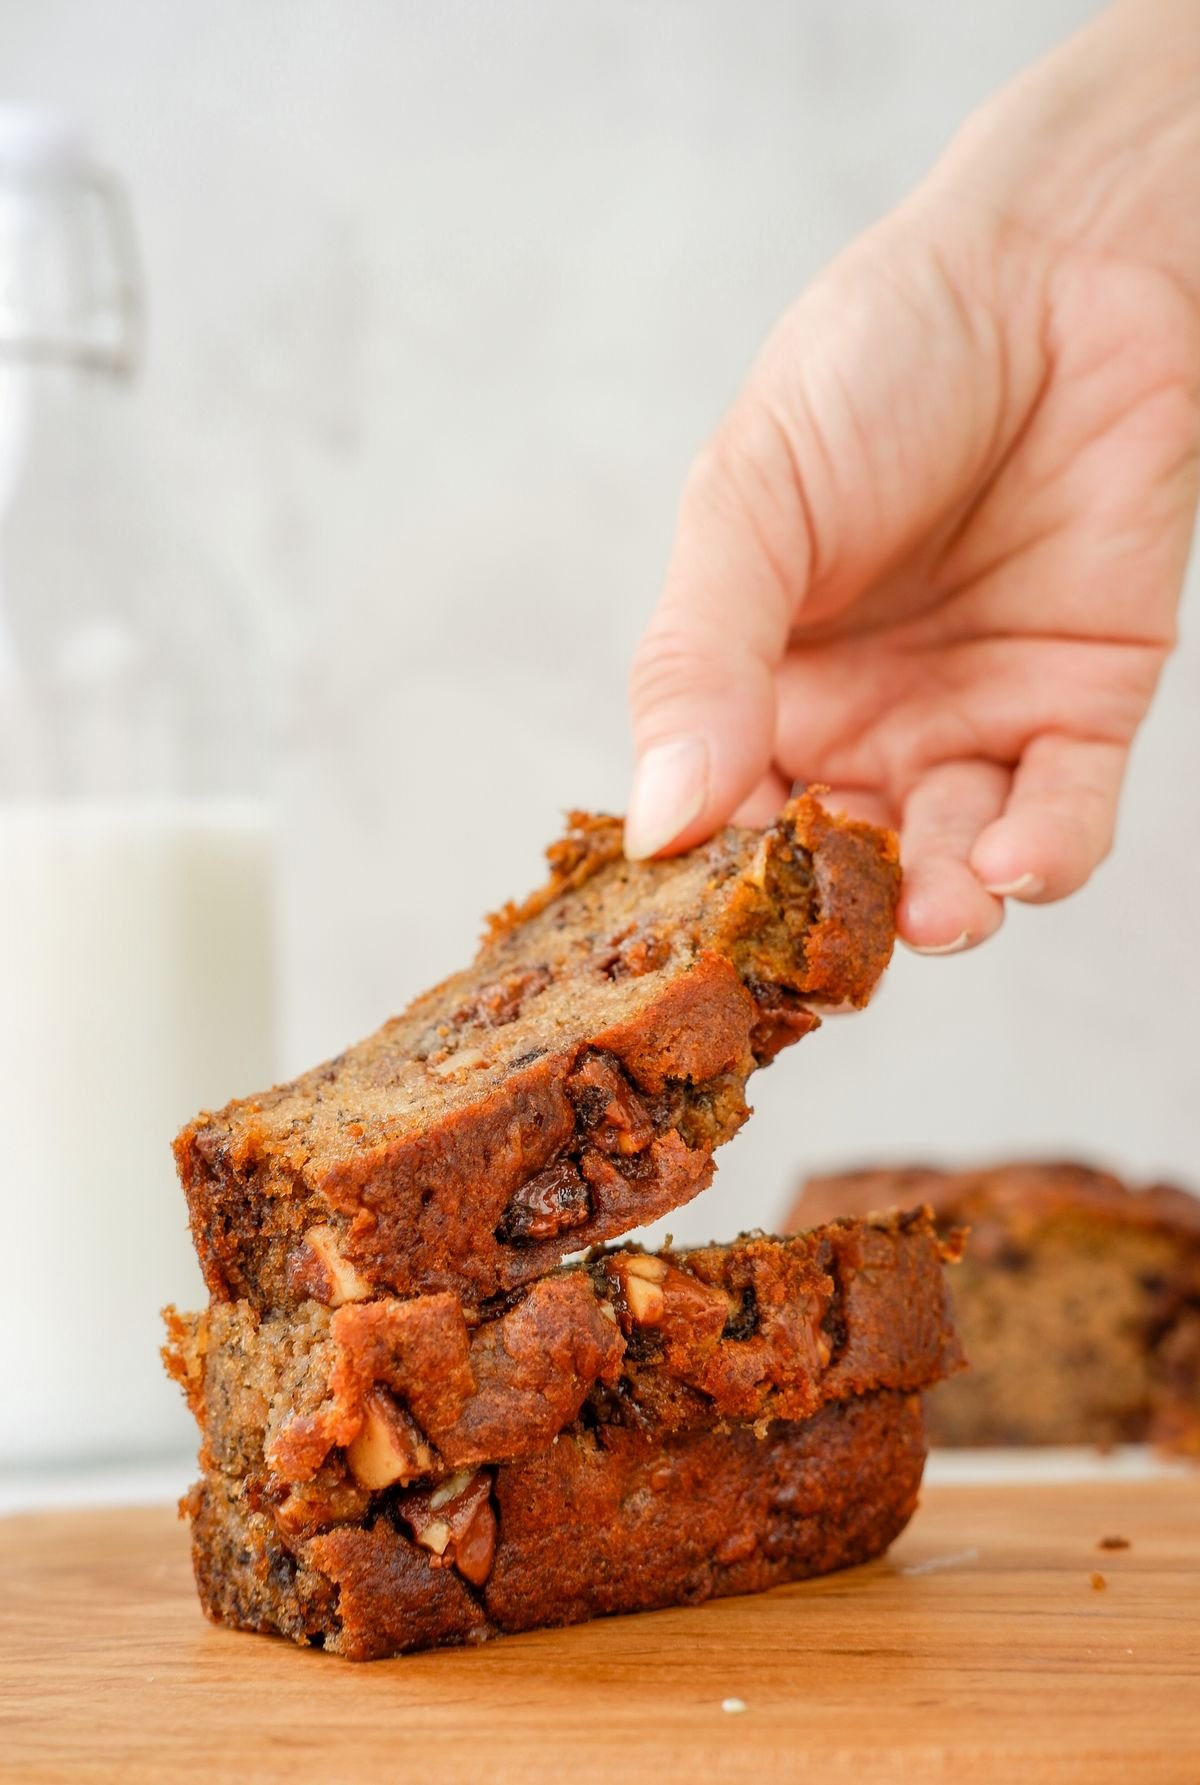
Chocolate chip banana bread. Fold in 3/4 cup (130 g) semi-sweet or dark chocolate chips. A handful sprinkled on top before baking makes it look bakery-worthy.
Banana nut bread. Add 3/4 cup (90 g) toasted chopped walnuts or pecans. Toasting them for eight minutes at 350°F (175°C) first makes a bigger difference than you would expect — deeper flavor, better crunch.
Peanut butter swirl. Warm 1/3 cup (85 g) peanut butter until pourable, dollop it over the batter in the pan, and swirl once or twice with a knife. Do not over-swirl or you will lose the ribbons.
Cinnamon streusel top. Before baking, rub together 1/4 cup (30 g) flour, 2 tablespoons brown sugar, 1/2 teaspoon cinnamon, and 2 tablespoons cold butter until crumbly, and scatter it over the batter. It bakes into a sweet, crisp lid.
Banana muffins. Divide the batter among twelve lined muffin cups, filling each about three-quarters full, and bake at the same temperature for 20 to 24 minutes. Perfect for lunchboxes and portion control — well, in theory.
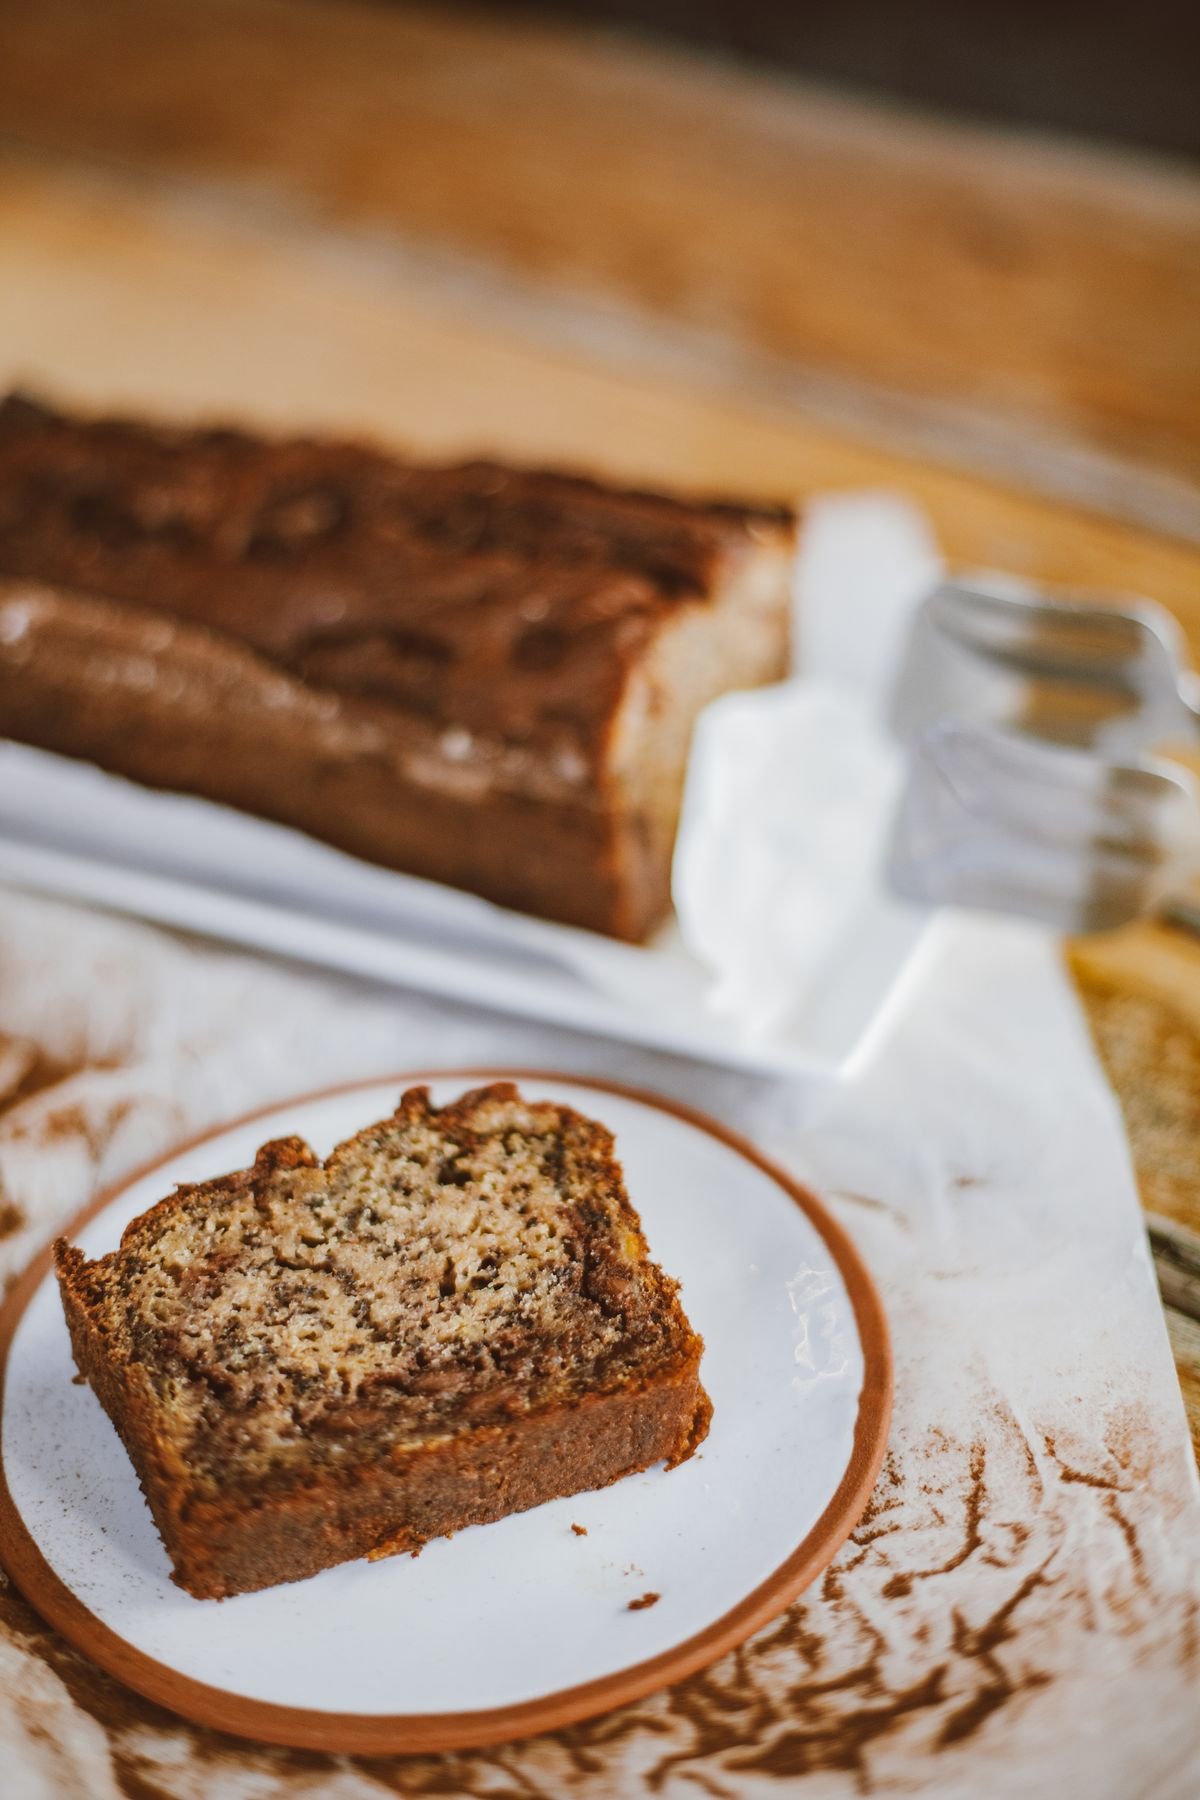
Marbled banana bread. Spoon half the batter into the pan, stir 2 tablespoons of cocoa powder and 1 tablespoon of milk into the rest, then layer and swirl. It looks impressive and tastes like two desserts in one slice.
What to Serve With It
Banana bread is happy at almost any hour, and how you serve it can push it firmly into breakfast, snack, or dessert territory.
For breakfast, a thick slice still slightly warm, with a smear of salted butter or cream cheese, alongside a mug of coffee or a glass of cold milk, is hard to beat. Toasting day-old slices in a dry skillet until the edges crisp and then adding a spoonful of Greek yogurt and a drizzle of honey turns leftovers into something that feels brand new.
As an afternoon snack, try it with a sharp cheddar slice the way some folks eat apple pie — the sweet-salty combination is unexpectedly good — or simply plain with tea. For dessert, warm a slice for fifteen seconds in the microwave and top it with a scoop of vanilla ice cream and a pinch of flaky salt, or cube it and layer it into a trifle with whipped cream and sliced fresh banana.
It also travels well. Tuck slices into lunchboxes, wrap a whole loaf for a bake sale or a new neighbor, or bring it to a brunch table next to fresh fruit and eggs, where it will quietly be the first thing to disappear.
How to Store, Freeze, and Reheat
At room temperature: Once completely cool, wrap the loaf tightly in plastic wrap or store slices in an airtight container. It keeps beautifully for three to four days, and honestly tastes best on day two. In a very warm, humid kitchen, move it to the fridge after day two.
In the refrigerator: Wrapped well, banana bread lasts up to a week in the fridge. Cold slices can taste a little firm, so let them sit at room temperature for fifteen minutes or warm them briefly before eating.
In the freezer: This bread freezes exceptionally well, either as a whole loaf or in individual slices. Wrap slices in plastic wrap, then place them in a freezer bag with the air pressed out. They keep for up to three months. Slices thaw at room temperature in about thirty minutes, which makes them perfect for grabbing on busy mornings.
Reheating: For a just-baked feel, warm a slice in a 300°F (150°C) oven for eight to ten minutes, or toast it until the edges turn golden and crisp. A quick ten to fifteen seconds in the microwave works for softness, though you will lose the crisp edges. If reheating a whole frozen loaf, thaw it overnight in the fridge first, then warm it wrapped in foil at 300°F (150°C) for fifteen to twenty minutes.
Nutrition Information
The figures below are rough home-kitchen estimates for one slice, based on the loaf cut into 10 slices, made with whole milk and without optional add-ins. Actual values will vary with your exact ingredients, banana size, and slice thickness, so please treat these as a helpful guide rather than precise data.
- Calories: about 245
- Total fat: about 9 g
- Saturated fat: about 5 g
- Cholesterol: about 55 mg
- Sodium: about 230 mg
- Total carbohydrates: about 39 g
- Fiber: about 2 g
- Total sugars: about 20 g
- Protein: about 4 g
- Potassium: about 210 mg
Adding walnuts will raise the healthy fats, protein, and calories slightly; chocolate chips will raise the sugar. Using oil instead of butter lowers the saturated fat and removes the cholesterol from that portion of the recipe.
Frequently Asked Questions
Can I really make banana bread with no baking soda at all?
Yes, completely. Baking powder is a complete leavening system — it contains both the base and the acid it needs — so as long as you use enough of it and get the batter into a hot oven promptly, the loaf rises properly with a soft, even crumb. You do not need to add soda, lemon juice, or vinegar on top of it.
What is the correct baking powder to baking soda conversion for banana bread?
As a general guide, use about 3 to 4 teaspoons of baking powder for every 1 teaspoon of baking soda a recipe calls for, then reduce any other acidic ingredients slightly since the powder brings its own acid. It is always safer to use a recipe like this one that was developed with baking powder from the start, rather than converting on the fly, because extra liquid and flour ratios matter too.
Why did my loaf turn out dense or sink in the middle?
The usual culprits are old baking powder that has lost its strength, overmixing the batter after the flour went in, too much mashed banana, or opening the oven door too early. A center that rises and then collapses often means the loaf was underbaked in the middle, so check with a thermometer — 200°F to 205°F (93°C to 96°C) means it is truly done.
How ripe do the bananas need to be?
The riper, the better. You want peels that are heavily speckled brown or even mostly black, with fruit that is soft, fragrant, and easy to mash. Green-tinged or just-yellow bananas are starchy and low in sugar, and they will give you a bland, dry loaf no matter how good the rest of the recipe is.
Can I use frozen bananas for this recipe?
Absolutely, frozen ripe bananas are excellent here. Thaw them completely in a bowl — they will release a lot of dark liquid — and use the bananas and their liquid together, since that liquid carries a lot of concentrated banana flavor and sweetness. Measure after thawing so you still land near 1 1/2 cups.
Can I make this recipe as muffins or a mini loaf?
Yes. For twelve standard muffins, fill lined cups three-quarters full and bake at 350°F (175°C) for 20 to 24 minutes. For mini loaves, divide the batter between three mini pans and bake for 35 to 42 minutes. In both cases, the toothpick test and a springy top are your best guides.
Why does baking soda sometimes leave a bad taste in banana bread?
If there is more soda than the acids in the batter can neutralize, the leftover soda tastes soapy, bitter, or metallic, and it can also turn the crumb an unappealing yellow-brown. That is one of the genuine advantages of this recipe — baking powder is pre-balanced, so that particular off-flavor simply cannot happen when it is measured correctly.
Can I reduce the sugar or make this loaf healthier?
You can cut the sugar to 1/2 cup (100 g) and still get a moist, pleasant loaf, especially with very ripe bananas. You can also swap half the all-purpose flour for whole wheat flour, which adds fiber and a nutty flavor, though the crumb will be a bit heartier. For more fiber and healthy fats, the walnut variation is an easy upgrade.
How do I know when banana bread is done without cutting into it?
Look for a domed, golden top with a dry-looking center crack, sides that have pulled very slightly away from the pan, and a surface that springs back when pressed gently. A toothpick should emerge clean or with a few moist crumbs. If you want certainty, use a thermometer: 200°F to 205°F (93°C to 96°C) in the center means it is baked through.
Can I double this recipe?
Yes, it doubles cleanly. Mix it in your largest bowl, divide the batter between two prepared 9 x 5-inch pans, and bake them side by side with a little space between for air circulation. The bake time stays roughly the same, but start checking at 50 minutes, and rotate the pans halfway through if your oven has hot spots.
Final Thoughts
If an empty baking soda box has ever stood between you and a batch of banana bread, I hope this recipe removes that obstacle for good. Banana bread without baking soda is not a workaround — it is a genuinely lovely loaf in its own right, soft and moist with a fine, tender crumb and all the deep banana flavor you are hoping for. Baking powder, a well-whisked egg or two, and bananas at their ripest do everything the classic version promises.
So the next time those bananas go speckled and sweet on your counter, you know what to do. Preheat the oven, grab your biggest bowl, and bake the loaf. Then come back and tell me how it turned out — and whether anyone at your table believed you when you said there was no baking soda in it at all.
2 Comments