
No Bake Cheesecake Without Gelatin (Firm, Creamy & Easy)
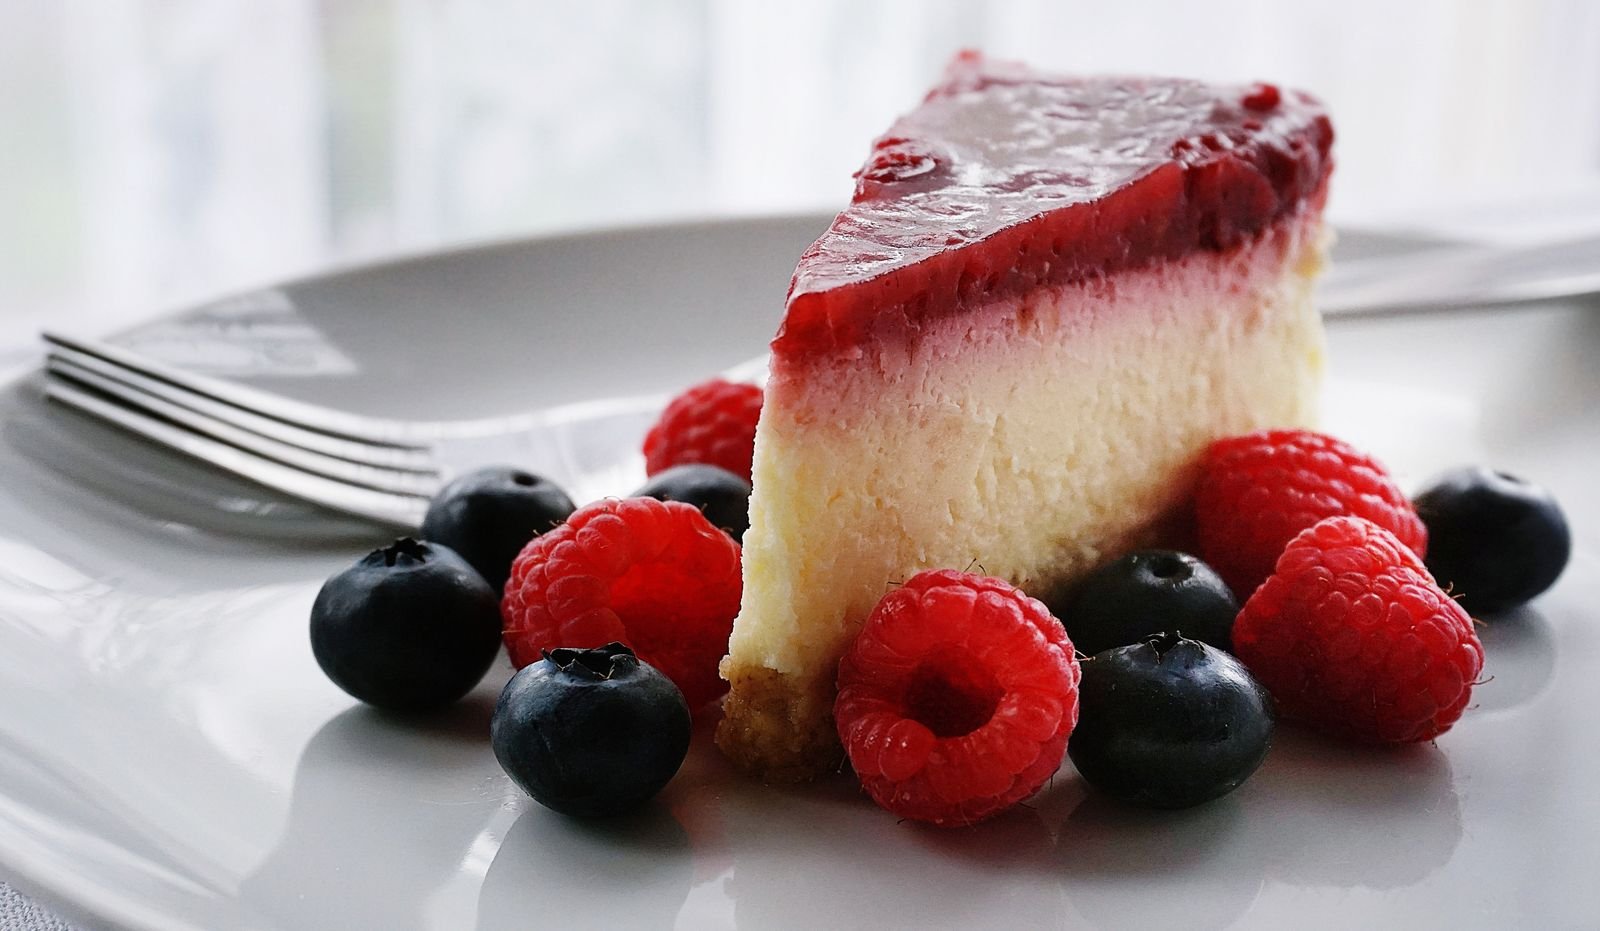
There are days when you want a real, sliceable cheesecake — the kind with a buttery crumb crust, a tall creamy filling, and clean edges when the knife goes through — but you do not want to turn on the oven, fuss with a water bath, or hunt down a packet of gelatin. Maybe gelatin is not something you keep at home, maybe someone at your table avoids it, or maybe you simply like a shorter ingredient list. Whatever the reason, this no bake cheesecake without gelatin is the recipe I reach for, and it genuinely holds its shape.
The secret is not a magic powder. It is a combination of things that each do a small job very well: full-fat cream cheese for body, cold heavy cream whipped to firm peaks for structure, a little lemon juice to help the filling set and taste brighter, and enough time in a cold fridge for everything to firm up properly. When those pieces come together, you get a cheesecake that slices neatly, tastes rich and tangy, and feels light rather than heavy or gummy.
This is a great recipe for beginners, for warm weather, and for making ahead of a dinner party or holiday meal. You mix, you press, you chill, and the fridge does the rest — no baking, no gelatin blooming, no cracks on top.
Why You’ll Love This Recipe
- Truly no gelatin, no agar, no setting powders — the firm texture comes from whipped cream, full-fat dairy, and proper chilling.
- No oven required — perfect for summer days or a crowded holiday kitchen.
- Firm enough to slice cleanly — no slumping, sliding, or soupy center when you follow the chilling time.
- Simple, everyday ingredients — nothing hard to find, nothing expensive.
- Make-ahead friendly — it actually tastes better the next day, once the flavors settle.
- Endlessly top-able — fresh fruit, jam, chocolate sauce, or just as it is.
A Quick Note on How This Sets Without Gelatin
Gelatin is a setting agent, so when you leave it out, something else has to provide structure. In this recipe, three things work together. First, cream cheese itself is firm when cold, especially the full-fat block kind, so it forms the backbone of the filling. Second, heavy cream whipped to stiff peaks traps a lot of air and, when folded in gently, gives the filling both lightness and stability — as it chills, the fat in the cream firms up and helps hold everything in place. Third, cold does the final work. A long, undisturbed chill (at least 6 hours, ideally overnight) lets the fats solidify and the filling settle into that dense, creamy texture we all recognize as cheesecake.
A little lemon juice helps too: the acid slightly thickens the dairy and keeps the flavor bright. This is also why low-fat swaps are risky — they contain more water and less fat, and water is the enemy of a firm no-bake filling.
Ingredients
This recipe makes one 9-inch (23 cm) cheesecake, about 10 to 12 slices.
For the crust:
- 2 cups (200 g) graham cracker crumbs — about 14 full sheets, finely crushed
- 1/3 cup (65 g) granulated sugar
- 1/2 cup (115 g) unsalted butter, melted
- 1/4 teaspoon fine salt
For the filling:
- 24 oz (680 g) full-fat block cream cheese, softened to room temperature — three standard 8 oz blocks; do not use the whipped or tub kind
- 3/4 cup (90 g) powdered sugar, sifted if lumpy
- 1/4 cup (50 g) granulated sugar
- 1 cup (240 ml) sour cream, full-fat, at room temperature
- 2 tablespoons fresh lemon juice
- 2 teaspoons pure vanilla extract
- 1/4 teaspoon fine salt
- 1 1/4 cups (300 ml) heavy whipping cream, very cold — at least 36% fat
Optional topping ideas:
- Fresh strawberries, blueberries, or raspberries
- Strawberry or cherry jam, warmed slightly and cooled
- Lemon curd, chocolate ganache, or salted caramel sauce
A Closer Look at the Key Ingredients
Cream cheese: This is the heart of the recipe, so quality and type matter. Use block cream cheese, not cream cheese spread. Spreads contain extra water, gums, and air that make the filling soft. Let the blocks sit on the counter for 45 to 60 minutes before you start. Soft cream cheese beats smooth in two minutes; cold cream cheese leaves lumps that no amount of mixing fully fixes, and over-mixing to chase those lumps can warm and loosen the filling.
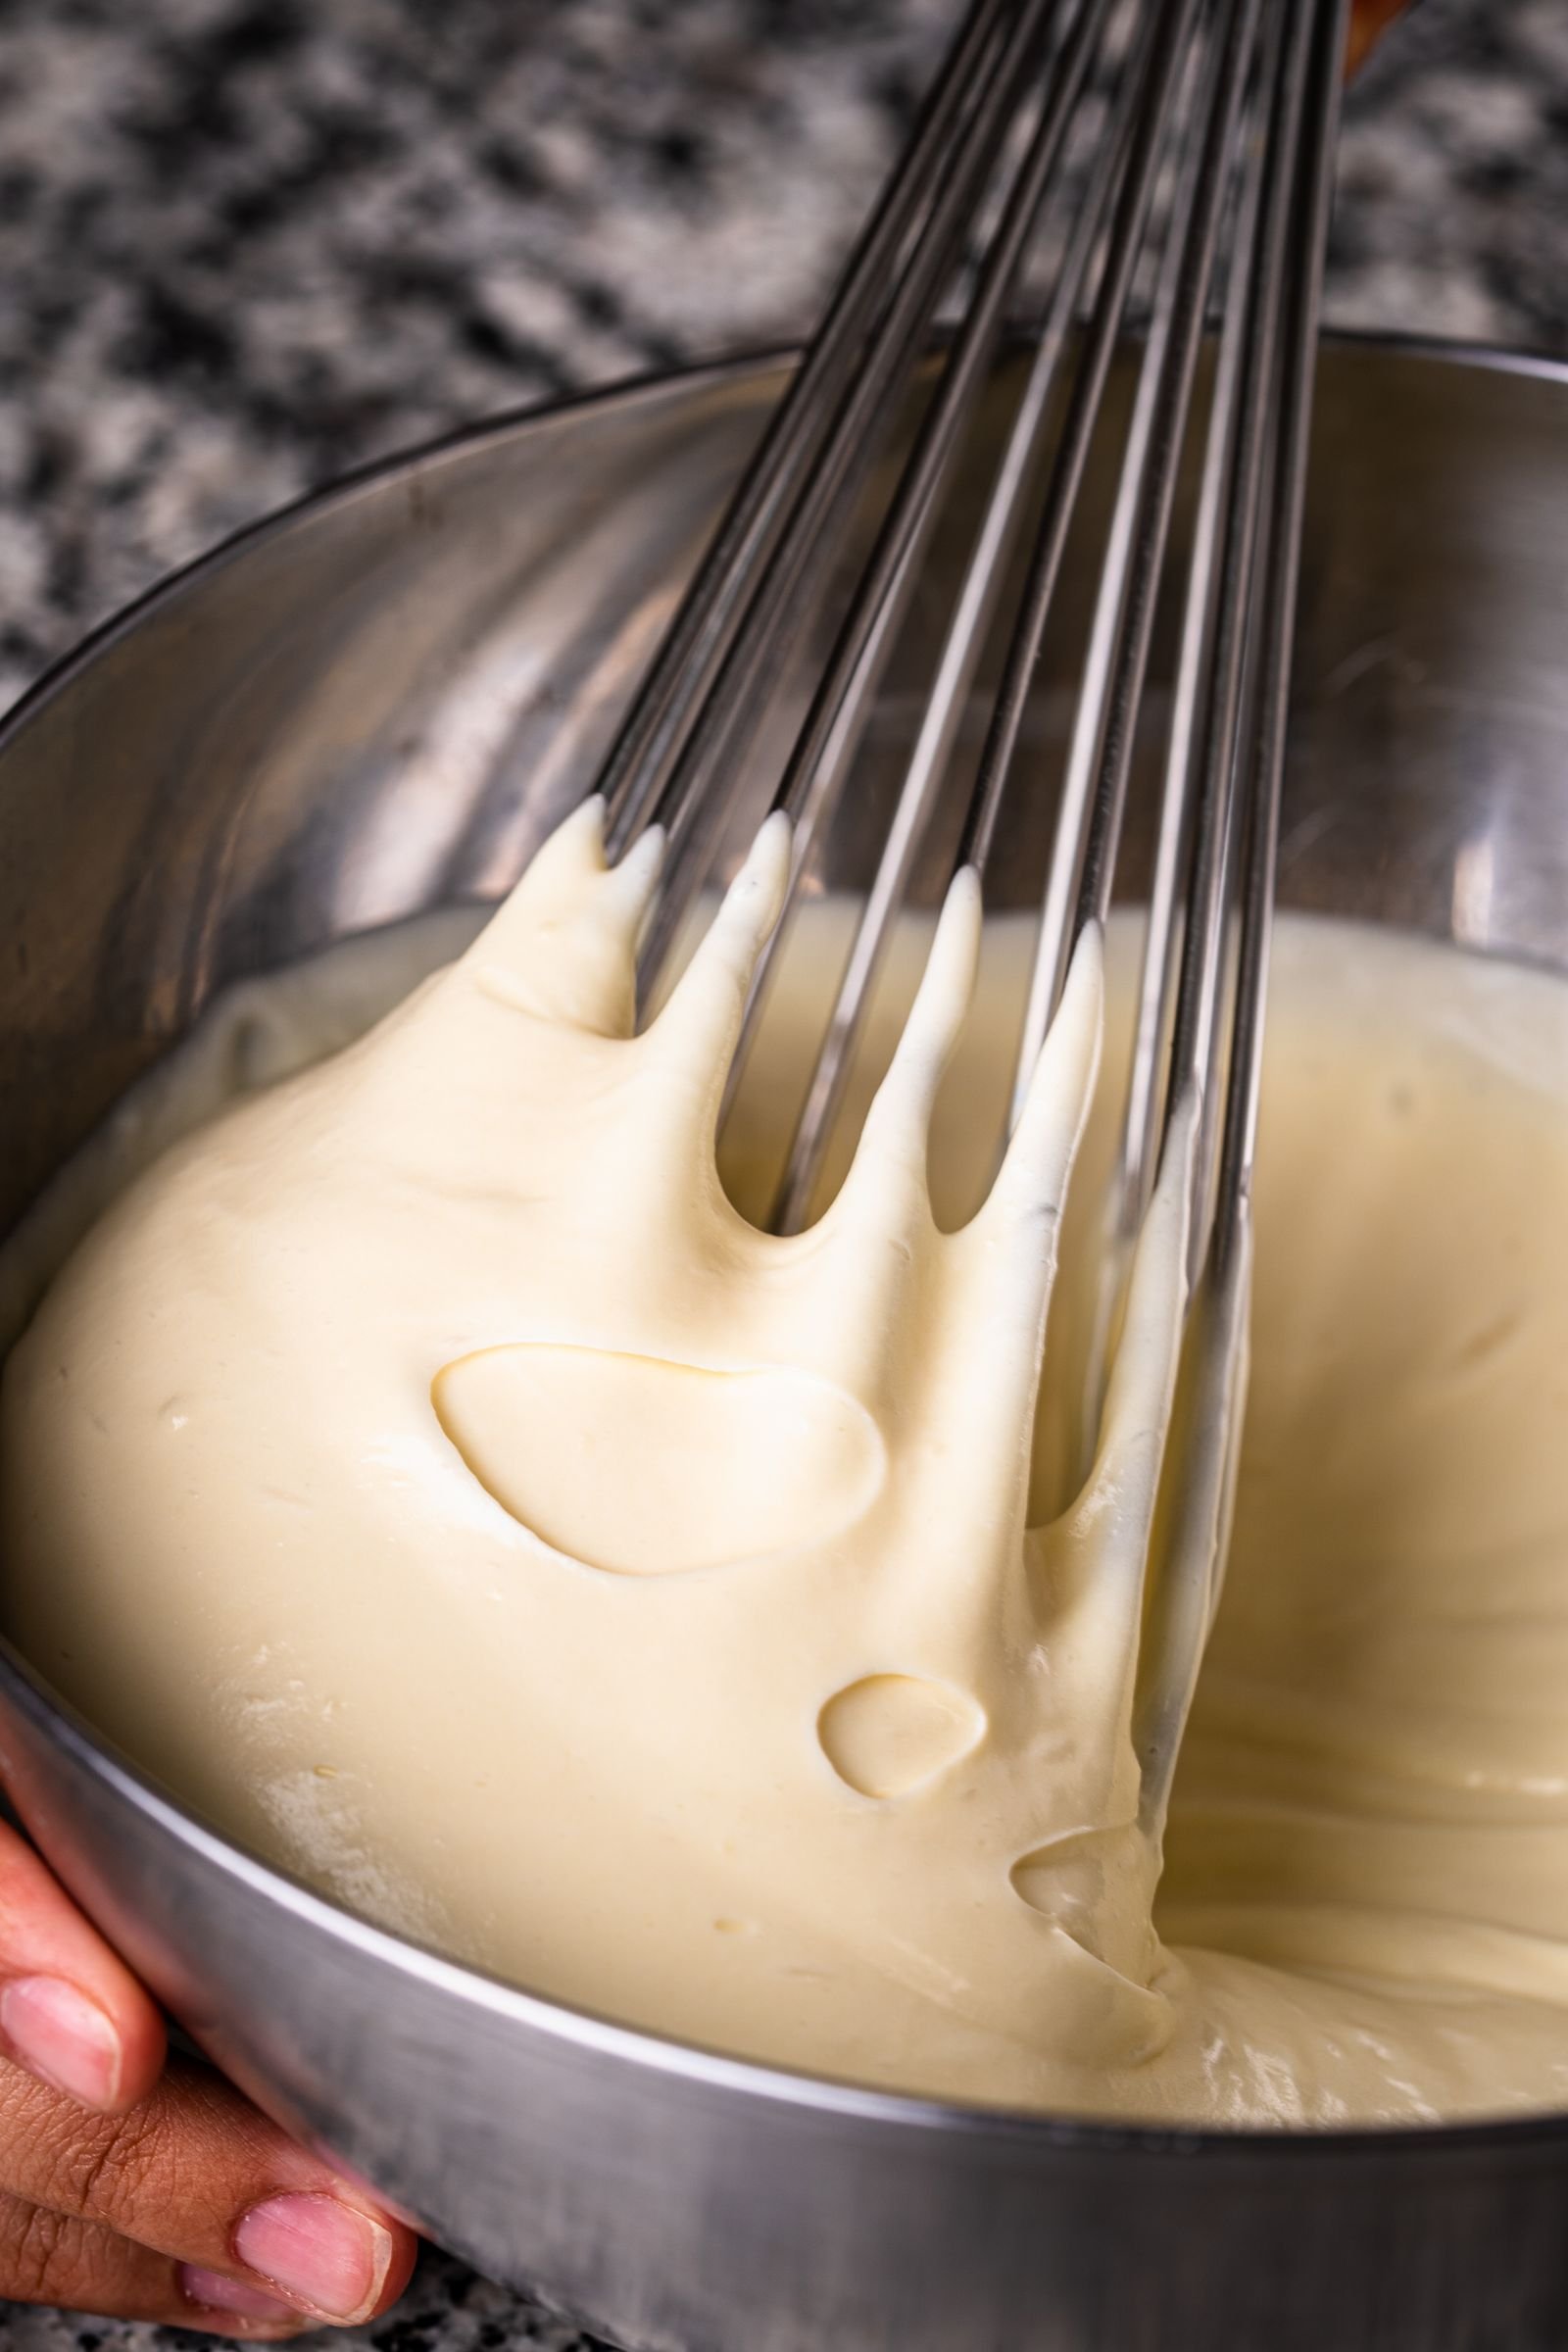
Heavy cream: Keep it in the fridge until the moment you whip it, and if your kitchen is warm, chill the bowl and beaters for 10 minutes too. Cold cream whips faster and holds stiffer peaks, and those peaks are a big part of your structure. You want peaks that stand up and hold their tip when you lift the whisk — soft, droopy cream will give you a soft cake.
Powdered sugar: Powdered sugar dissolves instantly and contains a tiny amount of cornstarch, which helps the filling feel smooth and just a little more stable. The small amount of granulated sugar adds clean sweetness. Together they keep the filling from tasting powdery or one-note.
Sour cream: This adds the gentle tang that makes cheesecake taste like cheesecake rather than sweet cream cheese frosting, and softens the texture just enough so the slice is creamy instead of rubbery.
Graham cracker crust: Fine crumbs mixed thoroughly with melted butter should feel like wet sand and clump when you squeeze a handful. If it feels dry, add another tablespoon of melted butter.
Equipment You’ll Need
- 9-inch (23 cm) springform pan
- Mixing bowls, one of them large
- Electric hand mixer or stand mixer with whisk and paddle attachments
- Rubber spatula
- Measuring cups and spoons or a kitchen scale
- Flat-bottomed glass or measuring cup, for pressing the crust
- Parchment paper (optional, for lining the base)
- Plastic wrap or foil, for covering while chilling
A springform pan makes unmolding easy. A regular pie dish works too — just serve slices straight from the dish.
Step-by-Step Instructions
Total hands-on time is about 25 minutes, plus at least 6 hours of chilling.
- Prepare the pan. Lightly grease the sides of a 9-inch springform pan with a little butter or nonstick spray. If you like, line the base with a circle of parchment paper for extra insurance when moving the finished cake to a serving plate. Set the pan aside.
- Make the crumb mixture. In a medium bowl, stir together the graham cracker crumbs, 1/3 cup granulated sugar, and salt until evenly combined. Pour in the melted butter and mix with a fork until every crumb looks moistened and the mixture resembles wet sand. Squeeze a small handful — it should hold together in a clump. If it crumbles apart dryly, stir in one more tablespoon of melted butter.
- Press the crust. Tip the crumbs into the prepared pan. Spread them out, then press them firmly into the bottom and about 1 inch (2.5 cm) up the sides using the flat bottom of a glass or measuring cup. Really pack it down — a firmly pressed crust is the difference between neat slices and a crumbly mess later.
- Chill the crust. Place the pan in the freezer for 15 minutes or the fridge for 30 minutes while you make the filling. Cold butter sets the crust so it stays crisp and holds together under the weight of the filling.
- Beat the cream cheese until completely smooth. In a large bowl, beat the softened cream cheese on medium speed for 2 to 3 minutes, scraping down the bowl once or twice, until it looks fluffy and there are absolutely no lumps.
- Add the sugars, sour cream, and flavorings. Add the powdered sugar and the 1/4 cup granulated sugar and beat on low just until combined, about 30 seconds. Add the sour cream, lemon juice, vanilla, and salt, and beat on medium-low until smooth and glossy, about 1 minute.
- Whip the heavy cream to stiff peaks. In a separate clean, cold bowl, pour in the very cold heavy cream. Whip on medium-high speed until stiff peaks form, about 2 to 4 minutes depending on your mixer. Stiff peaks stand straight up with just the very tip curling over when you lift the whisk. Stop as soon as you get there — if you keep going, the cream turns grainy and starts heading toward butter.
- Fold the whipped cream into the filling. Add about one-third of the whipped cream to the cream cheese bowl and stir it in fairly briskly with a spatula to lighten the base. Then add the remaining whipped cream in two additions, folding gently each time: cut down through the center with the spatula, sweep along the bottom of the bowl, and lift the mixture up and over, turning the bowl a quarter turn as you go. Keep folding just until no white streaks remain. Gentle folding keeps the air you whipped in, and that air is part of what makes the chilled cake firm yet light.
- Fill the pan and smooth the top. Spoon the filling over the chilled crust and spread it into an even layer with the spatula or the back of a spoon, pushing it gently into the edges so there are no air pockets. Smooth the top in small swirls or keep it perfectly flat — both look lovely once topped.
- Chill until completely firm — do not rush this. Cover the pan loosely with plastic wrap, being careful not to let the wrap touch the surface (tenting it a little helps), and refrigerate for at least 6 hours, and preferably overnight, 8 to 12 hours. The cake is ready when the center feels firm and set to a gentle touch and does not jiggle loosely when you nudge the pan. It will have a very slight, dense give in the very center, like a well-set custard, but it should not look wet or wobbly.
- Unmold carefully. Run a thin knife or an offset spatula dipped in warm water around the inside edge of the pan to loosen the cake. Unclip the springform ring and lift it away slowly.
- Top, slice, and serve. Add your topping just before serving if it is juicy fresh fruit, or up to a few hours ahead if it is jam or curd. For the cleanest slices, dip a long sharp knife in hot water, wipe it dry, and make one confident cut — then wipe and re-dip between every slice. Serve cold, straight from the fridge.
Pro Tips for a Firm, Creamy Cheesecake Every Time
Mind your temperatures. Cream cheese and sour cream should be at room temperature so they blend smooth, but the heavy cream must be fridge-cold. Mixing those up is the most common reason this cheesecake stays soft.
Whip the cream properly. Under-whipped cream is the other big culprit. Soft peaks feel safe because they fold in easily, but they do not give enough structure. Aim for firm, stiff peaks, then fold confidently but gently.
Do not skip the full chill. Six hours is the minimum, and overnight is better. The filling continues to firm up between hour six and hour twelve. If you know you will serve this at a party, make it the day before and take the stress off entirely.
Keep extra moisture out. Dry fresh fruit before using it as a garnish, drain canned fruit very well, and do not add runny sauces to the filling itself. Extra liquid anywhere in the system softens the set.
Common Mistakes to Avoid
- Using low-fat or spreadable cream cheese. These contain more water and less fat, and the cake may never firm up properly. Block-style, full-fat only.
- Over-mixing after adding the whipped cream. Beating at this stage knocks out the air and can even start to break down the cream. Fold by hand, always.
- Cutting the chilling time short. A cake that looks set at hour three can still slump when sliced. Give it the full time.
- Pressing the crust loosely. A loose crust crumbles into the filling when you slice. Pack it down hard with a glass.
- Freezing to speed things up. A quick freeze makes the texture icy and can cause weeping when it thaws. The fridge, and patience, do a better job.
Substitutions That Work
No graham crackers? Use digestive biscuits (about 200 g), vanilla wafers, gingersnaps for a spiced crust, or crushed Oreo cookies with the filling scraped out — or left in, for a cookies-and-cream feel. Gluten-free graham-style crackers work cup for cup and make the whole dessert gluten-free as long as your other ingredients are certified gluten-free.
No sour cream? Full-fat Greek yogurt, strained for 20 minutes in a fine sieve to remove excess whey, is the closest swap. The flavor will be a touch sharper, which many people love. Avoid regular yogurt — it is too thin.
Dairy-free version: This is trickier, because the set depends on dairy fat. The most reliable route is full-fat canned coconut cream (chilled overnight and using only the thick part) whipped in place of heavy cream, plus a dairy-free block cream cheese alternative. The texture will be slightly softer, so give it a full overnight chill and serve it very cold. The flavor will have a gentle coconut note that pairs beautifully with lime zest instead of lemon.
Lemon alternatives: Lime juice works one-for-one and gives a key-lime mood. Orange juice is milder and sweeter; if you use it, add the zest of the orange too so the flavor still reads clearly.
If you enjoy baking swaps like these, you might also like my tips for making chocolate chip cookies without brown sugar, where a little honey and a longer creaming time keep the cookies chewy and rich.
Flavor Variations to Try
Once you have the base down, it becomes a blank canvas. Each of these variations keeps the same no-gelatin method and the same chilling time.
Strawberry swirl: Spoon 1/3 cup of seedless strawberry jam, loosened with a teaspoon of warm water, over the filling before chilling. Drag a knife through it two or three times for a marbled top. Serve with fresh sliced strawberries.
Chocolate: Melt 6 oz (170 g) of good dark or semi-sweet chocolate, let it cool until just warm to the touch (never hot), and beat it into the cream cheese mixture before folding in the whipped cream. Add a tablespoon of cocoa powder with the sugars for deeper flavor. An Oreo crust suits this version perfectly.
Pumpkin spice (for fall): Beat in 3/4 cup (180 g) of pumpkin purée, blotted on paper towels to remove moisture, plus 1 1/2 teaspoons of pumpkin pie spice. Use a gingersnap crust and give it the full overnight chill.
What to Serve With It
This cheesecake is rich, so it likes company that is fresh, tart, or lightly bitter. A bowl of macerated berries — strawberries or raspberries tossed with a teaspoon of sugar and left for 20 minutes until juicy — is the classic partner. A quick berry sauce made by simmering 2 cups of frozen berries with 2 tablespoons of sugar for 5 minutes, then cooling, is wonderful spooned over each slice rather than over the whole cake, so leftovers stay neat.
For drinks, hot coffee or espresso cuts through the richness beautifully. If you are building a whole homemade dessert spread for a gathering, a warm loaf alongside something cold and creamy is a nice contrast — this easy banana bread without baking soda is a reader favorite for exactly that kind of table, and it uses up ripe bananas at the same time.
Keep portions modest — thin to medium slices satisfy more than wedges, because the filling is dense in the best way.
Storage, Freezing, and Make-Ahead Guidance
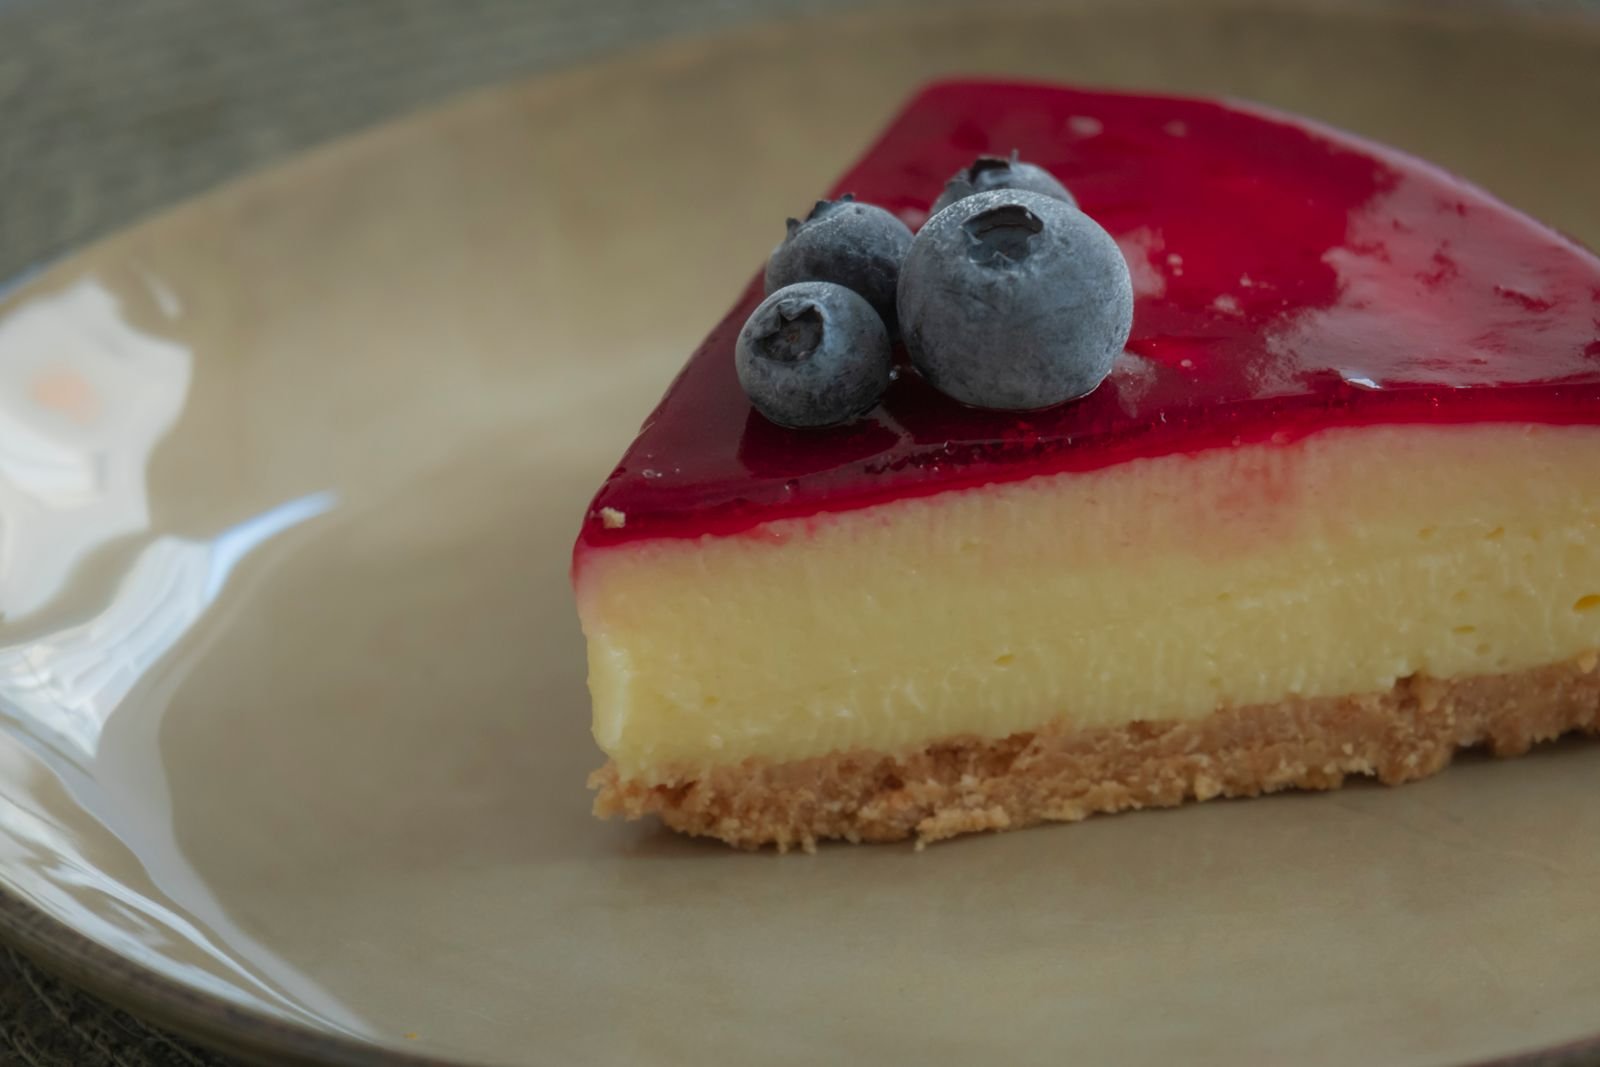
In the fridge: Cover the cheesecake (the springform ring back on, or a cake dome, or plastic wrap that does not touch the top) and store it for up to 5 days. The flavor actually improves on day two as the lemon and vanilla settle into the filling. Keep it away from strong-smelling foods like onions, since dairy absorbs odors.
In the freezer: Freeze whole or in slices. For slices, firm them on a parchment-lined tray for 1 hour, then wrap tightly in plastic wrap and foil. It keeps for up to 2 months. Thaw in the fridge for 4 to 6 hours for slices or overnight for a whole cake, and add fresh toppings after thawing.
Make-ahead timeline: The crust can be pressed and frozen up to a week ahead. The finished cake can be made 1 to 2 days before serving with no loss in quality — in fact, that is the sweet spot. There is no reheating with this dessert; it is served cold. If slices have sat out at a party for more than 2 hours, it is best to discard the leftovers rather than re-chill them, for food safety.
Nutrition Information
The following figures are rough home-kitchen estimates for one slice, based on 12 slices from the recipe as written, without toppings. They are provided as a general guide only — actual values will vary with the brands you use, how thickly you slice, and any substitutions or toppings you add.
- Calories: approximately 480 kcal
- Total fat: approximately 36 g
- Saturated fat: approximately 21 g
- Carbohydrates: approximately 34 g
- Sugars: approximately 25 g
- Protein: approximately 6 g
- Sodium: approximately 320 mg
If you want a lighter plate, serve a thinner slice with a generous pile of fresh fruit.
Frequently Asked Questions
Why is my no bake cheesecake not firm?
The most common reasons are under-whipped cream, low-fat or spreadable cream cheese, or not enough chilling time. Use stiff peaks, full-fat block cream cheese, and a full overnight chill in the coldest part of the fridge.
Can I really make cheesecake without gelatin or agar?
Yes. Full-fat cream cheese firms up when cold, and whipped heavy cream holds air and structure as it chills. The result is slightly softer than a gelatin-set cake but still slices cleanly and holds its shape.
How long does no bake cheesecake need to chill?
At least 6 hours, and overnight (8 to 12 hours) is strongly recommended. The filling keeps firming as it sits, so a cake chilled overnight will slice much more neatly than one chilled for the minimum time.
Can I use a store-bought crust?
Absolutely. A store-bought 9-inch graham cracker crust works fine and saves time. Because those crusts are a little thinner and more fragile, chill the filled cake in its foil pan on a flat plate for support, and handle it gently when slicing.
Why is my filling lumpy?
Lumps almost always come from cream cheese that was too cold when beaten. Let it soften fully at room temperature for 45 to 60 minutes, and beat it on its own until perfectly smooth before adding anything else. Sifting the powdered sugar also helps prevent small dry pockets.
Can I make this cheesecake ahead for a party?
Make it 1 to 2 days before your event, keep it covered in the fridge, and add toppings on serving day. The extra time improves both texture and flavor.
My filling tastes too tangy. What happened?
You may have added extra lemon juice, or your sour cream was particularly sharp. Next time, reduce the lemon juice to 1 tablespoon and add an extra tablespoon of powdered sugar.
Can I turn this into mini cheesecakes?
Yes — line a muffin tin with paper liners, press about 2 tablespoons of crumb mixture into each, and divide the filling among 12 to 14 cups. Chill for at least 4 hours, though overnight is still best. Minis are great for parties because there is no slicing and everyone gets a perfect portion.
How do I get perfectly clean slices?
Use a long, thin, sharp knife dipped in hot water and wiped dry before each cut. Press straight down rather than sawing, and clean the blade between slices. Cutting the cake while it is well chilled, straight from the fridge, also makes a big difference.
Can I reduce the sugar or make it less sweet?
You can cut the sugar in the filling by about a quarter and the cake will still set properly, since sugar is not what holds it together. Taste the filling before folding in the cream and adjust gently.
Conclusion
A good no bake cheesecake without gelatin is not a compromise — it is cool, creamy, tangy, and firm enough to stand proudly on a dessert table, all without turning on the oven. Once you understand the teamwork behind it — full-fat cream cheese, properly whipped cold cream, and an unhurried chill — you can make it confidently and dress it up many ways.
Make it the day before, top it with whatever fruit looks best, and enjoy that first clean slice. Happy chilling, and enjoy every bite.
One Comment