
Chocolate Chip Cookies Without Brown Sugar (Soft & Chewy)
You set out to make chocolate chip cookies, you pull the sugar canister forward, and the brown sugar bag is either empty, rock-hard, or simply not there. That happens in every kitchen sooner or later, and it does not have to cancel cookie plans. These chocolate chip cookies without brown sugar are made entirely with regular granulated sugar, and they still come out soft in the middle, chewy at the edges, and loaded with melty chocolate in every bite. No special trip to the store, no chiseling at a brick of old brown sugar, and no apologizing for the result.
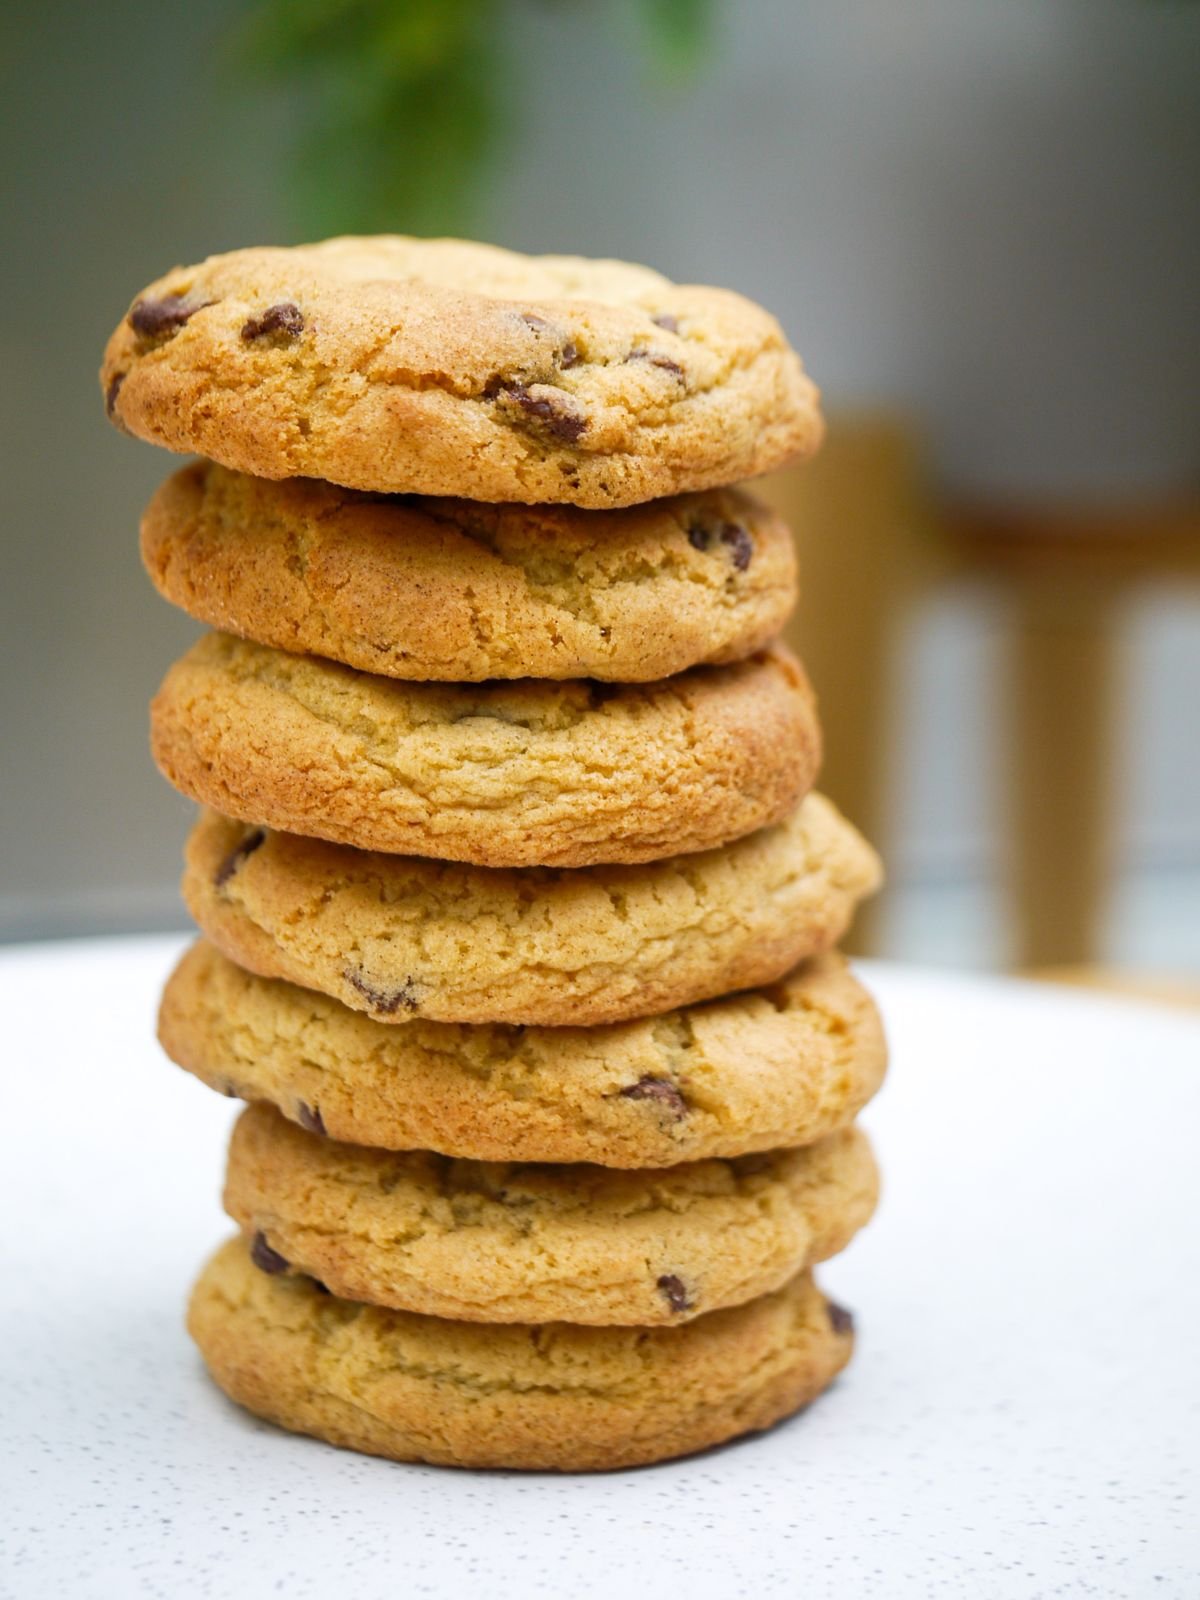
What you get is a slightly different cookie than the classic brown sugar version, and honestly, it has its own charm. Without molasses in the mix, the flavor is cleaner and more buttery, the vanilla comes through more clearly, and the chocolate tastes more distinctly chocolatey instead of competing with caramel notes. The color is a little paler, a pretty golden blonde, and the centers stay tender and pillowy when you use the simple tricks in this recipe. If you like a cookie that tastes like warm butter, vanilla, and good chocolate — this might become your regular version, brown sugar in the pantry or not.
This recipe is for home bakers of every level: beginners who want one reliable cookie dough, parents baking with kids on a weeknight, and anyone who bakes on impulse and works with what is on hand. It uses basic pantry ingredients, one bowl for the wet ingredients, and a short chill that fits into the time it takes to clean up and preheat the oven. Let me walk you through exactly how the chew happens without brown sugar, because once you understand that part, you will never worry about an empty brown sugar bag again.
Why You’ll Love This Recipe
- No brown sugar needed, ever: Everything is made with plain granulated sugar you already have, so the recipe works on a whim, any day of the week.
- Genuinely soft and chewy: Melted butter, an extra egg yolk, and a spoonful of cornstarch do the job brown sugar usually does, so the texture does not suffer.
- Clean, buttery flavor: Without molasses, the butter and vanilla shine, and the chocolate is front and center.
- Simple, forgiving method: No mixer required, no complicated steps, and the dough is very tolerant of small timing differences.
- Perfect for freezing: The dough scoops and freezes beautifully, so future warm cookies are always about fifteen minutes away.
- Kid and crowd friendly: Familiar, classic flavor that pleases picky eaters and cookie traditionalists alike.
How These Cookies Stay Chewy Without Brown Sugar
It helps to know what brown sugar normally brings to a cookie, because then the fixes in this recipe make complete sense. Brown sugar is just granulated sugar with molasses added back in. That molasses does three things: it adds moisture, which keeps cookies soft; it adds a little acidity, which reacts with baking soda for lift and tenderness; and it adds that deep, caramel-like flavor and darker color. Granulated sugar, by contrast, is drier and more neutral. Cookies made with only white sugar tend to spread a bit more, crisp up faster, and taste lighter — which is why a straight swap in some recipes gives you thin, crunchy cookies when you wanted chewy ones.
So this recipe rebuilds those three jobs with other tools. For moisture and chew, we use melted butter and an extra egg yolk. Melted butter coats the flour differently than creamed butter and produces a denser, chewier crumb, while the fat in the extra yolk adds richness and keeps the centers tender for days. For softness, a teaspoon and a half of cornstarch goes into the dry ingredients — cornstarch softens the crumb and gives the centers that almost underbaked, bakery-style softness without making them raw or doughy. For lift, we keep a modest amount of baking soda along with a little baking powder, so the cookies puff gently and then settle into chewy folds rather than rising cakey and tall.
The last piece is technique, and it matters as much as the ingredients. Chilling the dough firms the butter back up so the cookies do not spread into wafers in the oven. Pulling the cookies out when the centers still look slightly soft — even a touch underdone — is the single biggest secret to a chewy cookie, with any sugar. They finish cooking from the heat of the pan, and what looked pale and puffy at minute ten sets into a soft center with lightly crisp, golden edges. Once you have done it once, you will trust the timing every time after.
Ingredients
This makes about 24 medium cookies. Everything is listed in US measures with metric equivalents for the main ingredients.
- 2 1/4 cups (280 g) all-purpose flour, spooned and leveled — Spoon flour into the cup and level it off rather than scooping from the bag, which packs in extra flour and makes dry cookies. This amount gives the cookies structure without heaviness.
- 1 teaspoon baking soda — Provides lift and encourages spread and browning.
- 1/2 teaspoon baking powder — A small addition that gives the cookies a gentle puff, balancing the soda since there is no acidic brown sugar to react with it.
- 1 1/2 teaspoons cornstarch — The quiet hero of this recipe. It softens the crumb and keeps centers tender and chewy.
- 3/4 teaspoon fine salt — Use fine sea salt or table salt. Salt sharpens the chocolate and butter flavors; if you use kosher salt, you may want a pinch more.
- 3/4 cup (170 g) unsalted butter, melted and slightly cooled — Melted butter is essential for chew here. Let it cool for about five minutes after melting so it does not scramble the egg or melt the sugar into syrup. If you only have salted butter, reduce the added salt to 1/4 teaspoon.
- 1 cup (200 g) granulated sugar — The only sugar in the recipe. Regular white granulated sugar is what you want; superfine or caster sugar also works and dissolves a little more easily.
- 1 large egg, at room temperature — Room temperature egg blends smoothly into the butter and sugar. Take it out of the fridge 20 to 30 minutes ahead, or set it in a bowl of warm water for five minutes.
- 1 additional egg yolk, at room temperature — This replaces the moisture and richness brown sugar would have contributed. Save the white for an omelet or a smoothie.
- 2 teaspoons pure vanilla extract — With no molasses flavor in the dough, vanilla carries more of the flavor load, so be generous and use real extract if you have it.
- 1 1/2 cups (255 g) semisweet chocolate chips — Semisweet balances the sweet, buttery dough best. A chopped chocolate bar gives you irregular shards and lovely puddles; chips hold their shape and distribute evenly. Either works, and a mix of both is wonderful.
- Flaky sea salt, for sprinkling (optional) — A tiny pinch on top of each warm cookie makes the chocolate pop. Completely optional, highly recommended.
A quick note on the sugar: because granulated sugar does not hold moisture the way brown sugar does, the exact bake time matters more here. Everything else in the ingredient list is designed to forgive you, but set a timer and watch the first batch closely, since ovens vary.
Equipment You’ll Need
- Large mixing bowl and a medium bowl for dry ingredients
- Whisk and a sturdy spatula or wooden spoon (no electric mixer required, though a hand mixer works fine)
- Measuring cups and spoons, or a kitchen scale
- Cookie scoop, about 1 1/2 tablespoons, or a regular tablespoon
- Two large baking sheets
- Parchment paper or silicone baking mats
- Wire cooling rack
- Plastic wrap or a lidded container for chilling the dough
Parchment paper is worth using here. These cookies spread a little more than brown sugar cookies, and parchment guarantees they release cleanly without extra grease, which would encourage even more spread.
Step-by-Step Instructions
- Whisk the dry ingredients together. In a medium bowl, whisk the flour, baking soda, baking powder, cornstarch, and salt for about 20 seconds until everything looks evenly combined and a little airy. This step distributes the leaveners so no cookie gets a bitter pocket of soda, and it mixes the cornstarch through the flour where it can do its softening work. Set the bowl aside.
- Combine the melted butter and sugar. In a large bowl, whisk the melted, slightly cooled butter with the granulated sugar for about 30 to 45 seconds. The mixture will look glossy, thick, and a bit grainy — that is normal. Unlike creaming soft butter, you are not trying to beat in air here. You just want the sugar evenly suspended in the butter so every cookie bakes the same way.
- Add the egg, yolk, and vanilla. Whisk in the whole egg first until the mixture looks smooth and slightly lighter, then whisk in the extra yolk, then the vanilla. Take about a minute over this. The mixture should turn silky and fall off the whisk in a slow ribbon. This emulsion is what gives white-sugar cookies their rich, cohesive crumb, so do not rush past it.
- Fold the dry ingredients into the wet. Pour the flour mixture over the butter mixture and fold with a spatula, scraping down the sides and across the bottom of the bowl, just until the last streaks of flour disappear. The dough will be soft, shiny, and a little loose compared to a typical creamed dough — that is the melted butter, and it firms up during chilling. Stop mixing as soon as the flour is incorporated. Overmixing develops gluten and turns chewy cookies tough.
- Fold in the chocolate chips. Add the chocolate chips and fold them through with a few broad strokes until they are evenly scattered. If you are using a mix of chips and chopped chocolate, add them both now. Reserve a small handful of chips if you like the bakery trick of pressing a few extra chips onto the tops of the scooped dough balls before baking.
- Chill the dough for at least 1 hour. Cover the bowl and refrigerate for a minimum of one hour, and up to 72 hours. This step is not optional for this recipe. Chilling resolidifies the melted butter, which controls spread, and it gives the flour time to hydrate, which deepens the buttery flavor and improves the chew. Dough chilled overnight bakes up noticeably thicker and more flavorful. If you chill longer than two hours, let the bowl sit on the counter for about ten minutes so the dough is scoopable.
- Preheat the oven and prepare your pans. When you are ready to bake, heat the oven to 350°F (175°C), with a rack in the center position. Line two baking sheets with parchment paper. If you only have one sheet, bake in batches and let the sheet cool between rounds — a hot pan starts melting the butter on contact and causes extra spread.
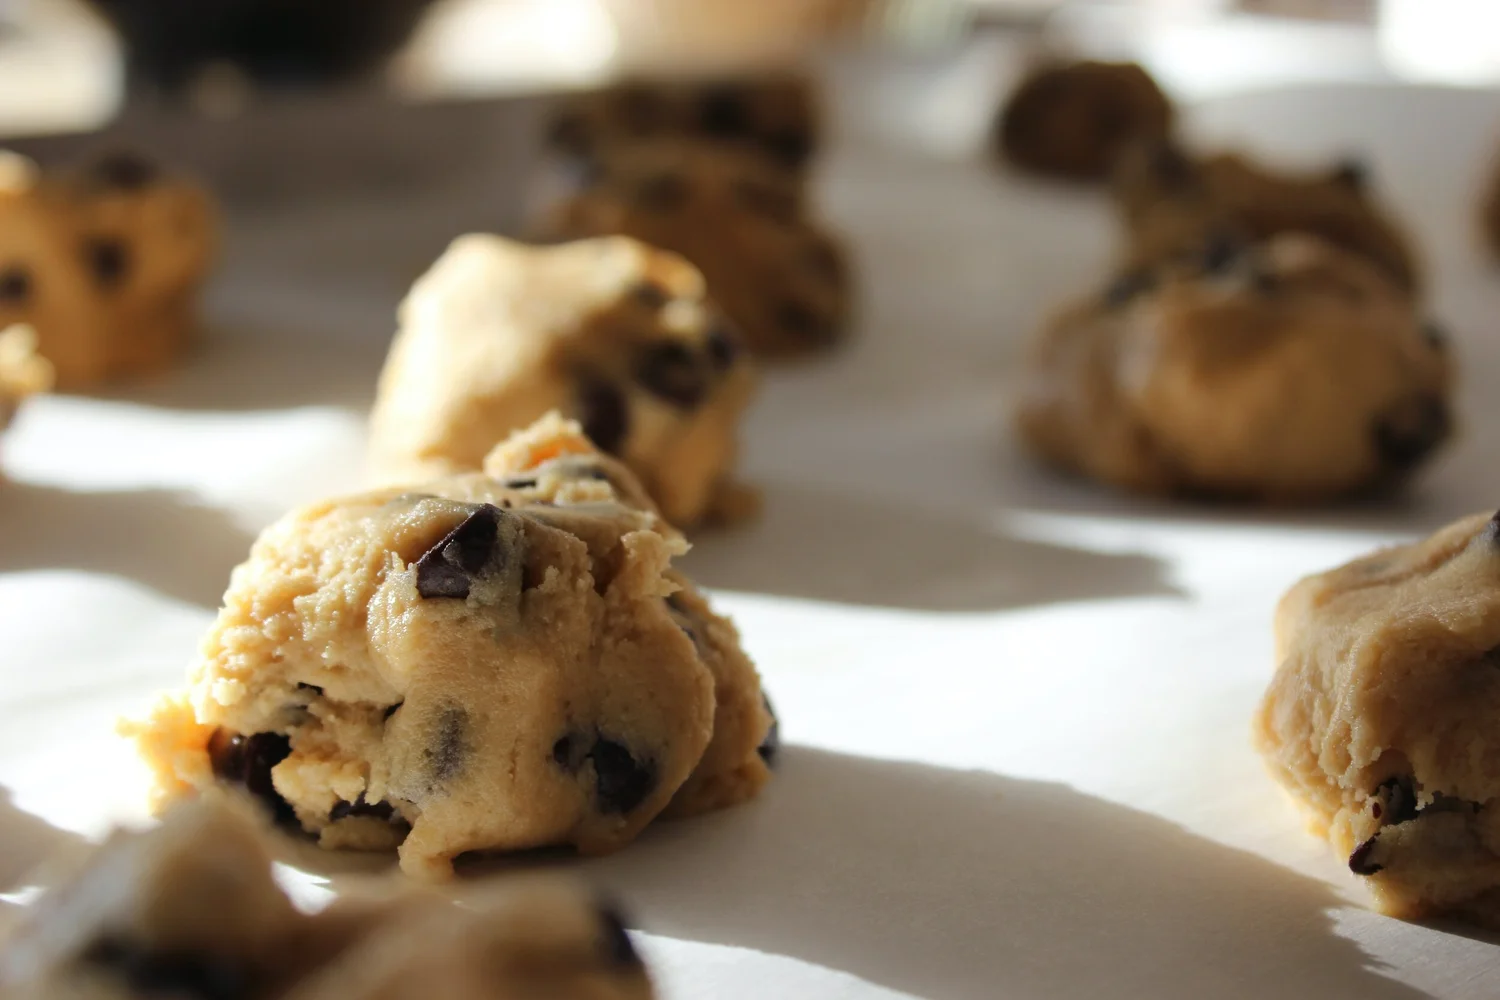
- Scoop and space the dough. Scoop balls of about 1 1/2 tablespoons of dough (roughly 30 g each) and place them on the prepared sheet at least 2 inches apart; fit no more than 8 to 10 per standard sheet. If you reserved extra chips, press a few onto the top of each ball and very gently flatten each ball just a touch with your palm — not flat, just nudged. For extra-tall, thick cookies, shape the balls slightly taller than they are wide, like little cylinders.
- Bake for 10 to 12 minutes. Bake one sheet at a time for the most even results. The cookies are done when the edges are set and lightly golden and the tops have lost their wet shine, but the centers still look soft, puffy, and slightly underdone. That pale, puffy center is exactly what you want — it will settle as the cookies cool. If you wait until the centers look fully baked in the oven, they will cool into crisp cookies. At sea level in a standard oven, 11 minutes is the sweet spot for most batches; start checking at 10.
- Rest on the pan, then cool. Leave the cookies on the hot baking sheet for 10 minutes. During this rest, the centers finish setting through carryover cooking and develop their chewy texture. Sprinkle with flaky sea salt now, while the chocolate on top is still glossy, if you are using it. Then transfer the cookies to a wire rack to cool completely, or do what most of us do and eat one warm after about fifteen minutes, when it holds together but the chocolate is still molten.
Pro Tips for the Softest, Chewiest Cookies
- Trust the underbake. Everything about this recipe is built around pulling the cookies early. Set a timer, watch for set edges and soft centers, and take them out even if your instinct says one more minute.
- Weigh or spoon your flour. Too much flour is the number one reason white-sugar cookies turn out dry and cakey. Spoon and level, or use the gram weight.
- Chill longer for thicker cookies. One hour is the minimum. Overnight dough bakes into noticeably thicker cookies with a deeper, almost toffee-like butter flavor, even without brown sugar.
- Bang the pan once, if you like ripples. For those crinkly, rippled edges you see in bakery photos, lift the pan a few inches and drop it firmly on the oven rack once, about two minutes before the cookies are done, then finish baking. The centers fall and the edges ripple.
- Round them up while warm. If a cookie spreads into an oval, nudge it back into a circle as soon as it comes out of the oven by circling it with a large round cookie cutter or the rim of a glass and gently swirling. It only works in the first minute or two, while the cookie is pliable.
- Add chips on top. Pressing a few chips onto each dough ball before baking gives you those picture-perfect cookies where the chocolate shows. It is a small thing that makes them look like they came from a bakery case.
Common Mistakes to Avoid
Skipping the chill is the most common one, and it is understandable — you want cookies now. But warm melted-butter dough put straight into the oven spreads fast, and you get thin, lacy, crisp wafers instead of soft cookies. If you are truly in a hurry, scoop the dough balls first and freeze them on the sheet for 15 minutes while the oven preheats; that shortcut helps a lot.
Using butter that is too hot causes a similar problem. Butter straight off the stove can melt the sugar and partially cook the egg, giving you greasy cookies with a strange texture. Melt it, then walk away for five minutes. It should feel warm, not hot, when you dip a fingertip in.
Overbaking is the third big one, covered above but worth repeating: a chewy cookie looks slightly unfinished when it leaves the oven. Finally, watch the sugar substitution temptation. Swapping in raw or turbinado sugar changes the texture because the crystals are larger and dissolve differently, and powdered sugar makes the cookies tender but more cake-like and pale. Plain granulated sugar is the tested choice here. And if your pantry problem is ever the reverse — plenty of brown sugar thinking, no plain sugar — remember that resourceful baking cuts both ways. My guide to substitutions in banana bread without baking soda has the same make-it-work philosophy for a different pantry gap.
Easy Variations to Try
Once you have baked the base recipe, it becomes a lovely canvas. Here are variations that all keep the no-brown-sugar promise:
- Double chocolate: Replace 1/4 cup of the flour with unsweetened cocoa powder and use dark chocolate chips. The cookies turn deep brown and rich, with the same chewy centers.
- White chocolate and macadamia: Swap the semisweet chips for white chocolate chips and add 1/2 cup of chopped macadamia nuts. The clean, buttery dough flatters this classic pairing.
- Oatmeal chocolate chip: Replace 3/4 cup of the flour with old-fashioned rolled oats and add 1/2 teaspoon of cinnamon. Chewier still, with a heartier bite.
- Peanut butter chip: Use half semisweet chips and half peanut butter chips, and sprinkle the tops with chopped roasted peanuts before baking.
- Espresso chocolate chip: Whisk 1 teaspoon of instant espresso powder into the melted butter. It will not make the cookies taste like coffee; it deepens the chocolate noticeably.
- M&M or candy-studded: Replace half the chips with candy-coated chocolates for a colorful, kid-pleasing batch. Press a few extra candies on top before baking so the colors show.
- A spoonful of honey (optional flavor note): If you miss a hint of that molasses warmth, whisk 1 tablespoon of honey into the butter and sugar. Honey is not brown sugar, and a single spoonful adds aroma and a little moisture without changing the recipe’s character. Maple syrup works similarly, though the flavor is more distinct.
Nut additions are easy across the board: up to 3/4 cup of chopped walnuts or pecans folds in without any other change. Just keep the total add-ins near 2 cups so the dough still holds together.
What to Serve With These Cookies
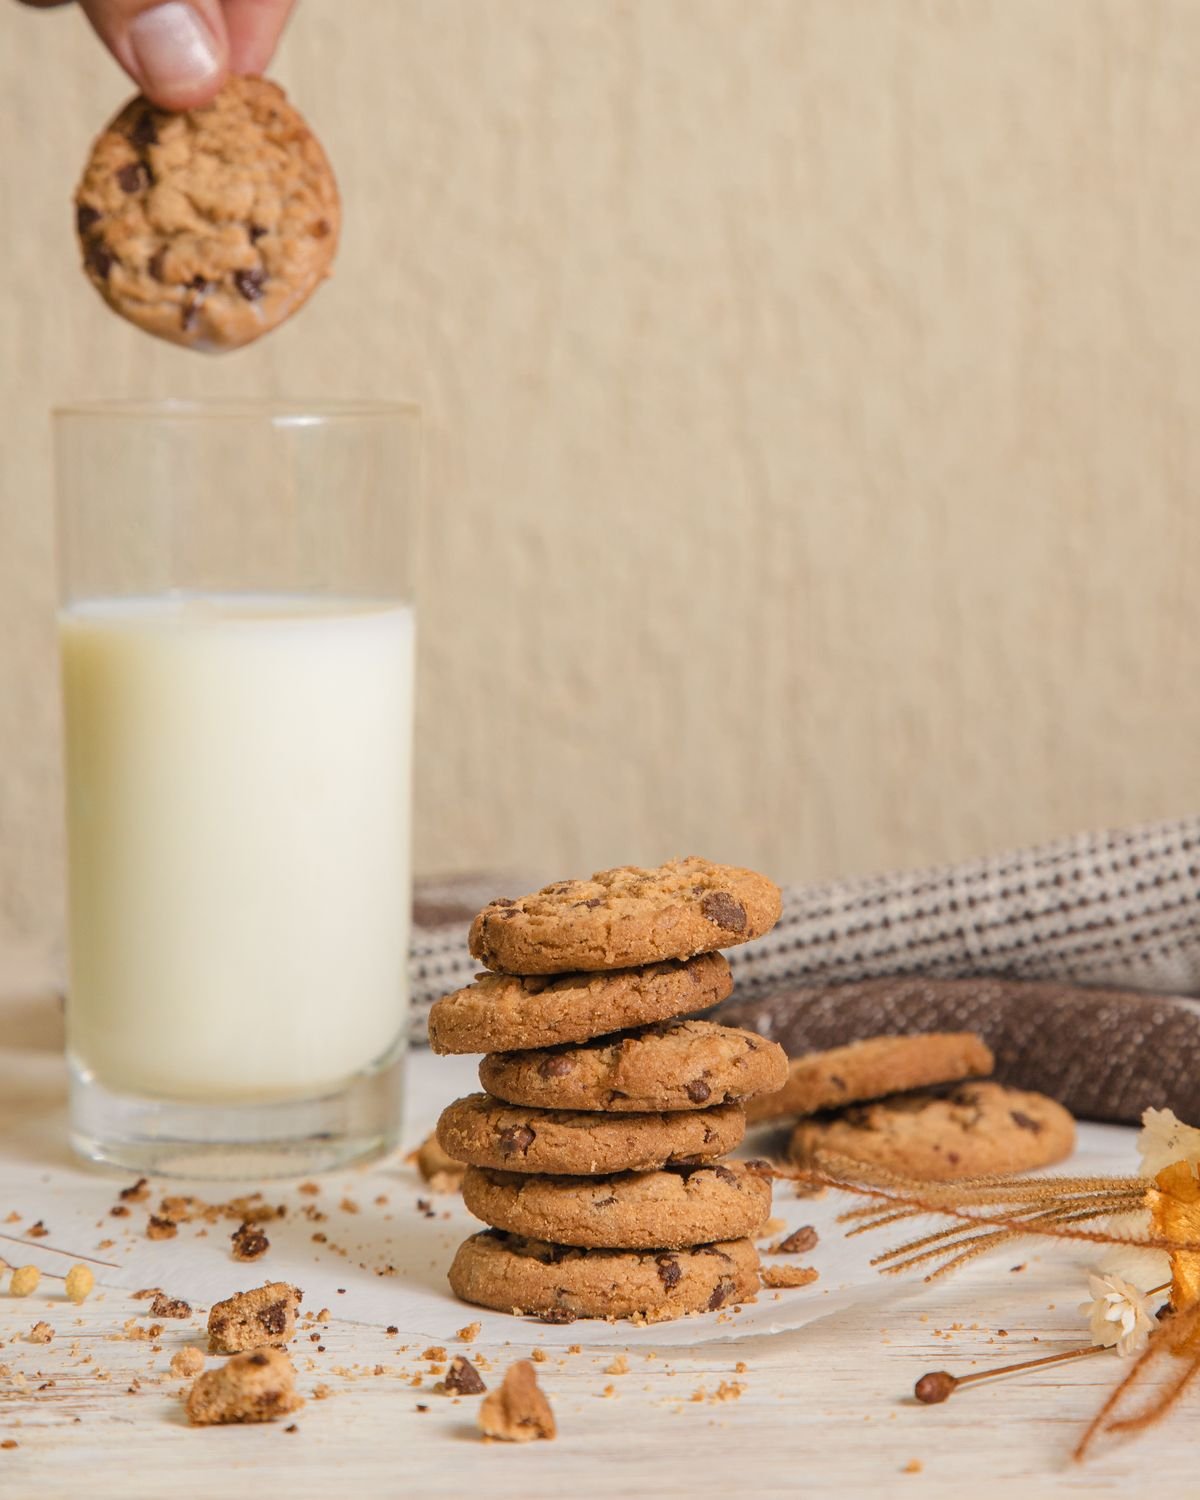
Warm, with a glass of cold milk, is the classic answer and still the best one — the milk resets your palate between bites of rich chocolate. Coffee is a close second; the slight bitterness loves the sweet, buttery crumb. For dessert, sandwich a scoop of vanilla ice cream between two completely cooled cookies and roll the edges in mini chips, then freeze for at least an hour for proper ice cream sandwiches. They are also wonderful crumbled over ice cream sundaes, packed into lunchboxes, or set out on a simple platter with fresh strawberries for a casual dinner party dessert that nobody has to fuss over.
These cookies travel well, too, which makes them a good choice for bake sales, cookie swaps, and care packages. Stack them with parchment between layers once fully cool. If you are planning a small baking morning with kids, pair this dough with something they can assemble almost entirely themselves for breakfast the next day — these easy 3-ingredient banana pancakes turn the same pantry-staple confidence into a very doable weekend project.
Storage, Freezing, and Reheating
At room temperature: Store cooled cookies in an airtight container for up to 4 to 5 days. They stay softer than most because of the yolk and cornstarch, but here is the old trick that really works: tuck half a slice of plain sandwich bread into the container. The cookies absorb moisture from the bread and stay soft and chewy; replace the bread slice every day or two as it dries out. Keep the container out of direct sunlight and away from the warm top of the fridge.
Freezing baked cookies: Freeze fully cooled cookies in a single layer on a sheet until solid, then transfer to a freezer bag with the air pressed out. They keep well for up to 3 months. Thaw at room temperature for about 30 minutes, or warm one straight from the freezer as described below.
Freezing the dough (best make-ahead option): Scoop the dough into balls, freeze them solid on a parchment-lined sheet, then store in a freezer bag for up to 3 months. Bake from frozen at 350°F (175°C), adding 1 to 2 minutes to the bake time, and watch for the same visual cues — set edges, soft centers. This is the method to use if you want fresh-baked cookies on demand.
Reheating: To bring back that just-baked warmth, heat a cookie in the microwave for 10 to 15 seconds — just enough to re-melt the chocolate without toughening the crumb. For several cookies, warm them on a sheet in a 300°F (150°C) oven for 4 to 5 minutes. Avoid reheating twice; the crumb dries a little each time.
Nutrition Information
The following figures are rough home-kitchen estimates for one cookie, based on a batch of 24 cookies made exactly as written with semisweet chips. They are calculated from standard ingredient values and are not lab-tested. Your actual numbers will vary with the size of your cookies, the brand of chips, and any variations you make.
- Calories: approximately 185
- Total fat: approximately 9 g
- Saturated fat: approximately 5.5 g
- Carbohydrates: approximately 25 g
- Sugars: approximately 15 g
- Protein: approximately 2 g
- Fiber: approximately 1 g
- Sodium: approximately 115 mg
Treat these as a general guide for planning, not precise dietary data. If you need exact figures for medical or dietary reasons, run your specific ingredients through a nutrition calculator you trust.
Frequently Asked Questions
Can I just swap white sugar for brown sugar in any cookie recipe?
In many recipes you can, but expect differences: the cookies will likely spread more, taste lighter, and turn crisper, because brown sugar brings moisture and acidity that white sugar does not. A straight swap works best in recipes that already use melted butter or an extra yolk. In a recipe built entirely around brown sugar, adding a teaspoon or two of cornstarch and chilling the dough will get you much closer to the original texture.
Why did my cookies spread too much?
The usual causes are dough that was not chilled long enough, butter that was too warm when mixed, or a baking sheet that was still hot from a previous batch. Too little flour can also do it, which is why spooning and leveling matters. Next time, chill the scooped dough balls for 15 minutes in the freezer right before baking — it fixes spread in almost every case.
Do I really need the cornstarch? What if I don’t have any?
The cornstarch is a small amount with an outsized effect on softness, so use it if you can. If you do not have it, you can leave it out and the cookies will still be good — just slightly less tender in the center. You can also replace it with an equal amount of instant vanilla pudding mix if you happen to have that on hand, which adds softness and a gentle vanilla note.
Can I use salted butter instead of unsalted?
Yes, absolutely. Simply reduce the fine salt in the recipe to 1/4 teaspoon to keep the balance right. Different brands of salted butter vary in saltiness, so if your butter is noticeably salty, you can even skip the added salt the first time and adjust on the next batch.
Why is there an extra egg yolk? Can I leave it out?
The extra yolk is doing the work brown sugar would have done: it adds moisture, fat, and emulsifiers that keep the centers soft and chewy rather than dry or cakey. You can leave it out in a pinch, but the cookies will be a bit less rich and will firm up faster. If you bake without it, pull them from the oven a minute earlier to protect the soft centers.
Can I make these cookies without a mixer?
Yes — this recipe was designed for a bowl, a whisk, and a spatula, because melted butter doughs do not need creaming. Just whisk the butter and sugar until glossy, take your time emulsifying the egg in, and fold the flour in gently. A hand or stand mixer on low speed also works fine; simply avoid high speeds, which beat in air and make the cookies puffier and more cake-like.
How do I know when the cookies are really done?
Look at the edges and the surface, not the clock alone. The edges should look set and just turning golden, the tops should look matte rather than wet and shiny, and the centers should still appear soft and slightly puffy. They will look a little underdone — that is correct. They finish setting during the ten-minute rest on the hot pan, which is part of the recipe, not an optional pause.
Can I make the dough ahead of time?
Yes, and the flavor actually improves. The covered dough keeps in the refrigerator for up to 72 hours, and the cookies bake up thicker with a deeper buttery flavor after an overnight rest. For longer storage, scoop and freeze the dough balls for up to 3 months and bake from frozen, adding a minute or two to the time.
Can I use chocolate chunks instead of chips?
Definitely. Chopped bar chocolate melts into puddles and streaks, which many people prefer to the neat dots of chips. Use the same total weight, about 255 g. A mix of chopped chocolate and chips gives you both effects at once — tidy distribution plus melty pools — and is what many bakeries quietly do.
How can I make these cookies gluten-free or dairy-free?
For gluten-free, swap the flour for a good 1:1 gluten-free baking blend that contains xanthan gum, keep the cornstarch in, and chill the dough the full hour since gluten-free doughs spread more. For dairy-free, use a plant-based butter substitute that comes in sticks and melts well, and choose dairy-free chocolate chips. The method stays exactly the same, and the cookies remain soft and chewy.
Conclusion
An empty bag of brown sugar turns out to be a very small problem. With melted butter, an extra yolk, a little cornstarch, a proper chill, and the confidence to take the cookies out while the centers still look soft, you get everything you actually want from a chocolate chip cookie: crisp, golden edges, tender chewy middles, and plenty of chocolate in every bite. The flavor is bright and buttery, the method is simple enough for a Tuesday, and the dough waits patiently in your freezer for the next cookie emergency. Bake a batch, share a few while they are still warm, and keep this recipe in your back pocket — you may find, like a lot of bakers do, that you stop worrying about brown sugar altogether.
2 Comments