
Easy Ground Beef and Rice Skillet (One Pan, 30 Minutes)
Some nights dinner needs to be fast, filling, and painless — that is when this easy ground beef and rice skillet earns its place in the rotation. Everything cooks in one pan: savory beef, tender rice, sweet tomato, and just enough seasoning to make it taste like you spent far longer than you did. Cozy, familiar, and gone from plates without coaxing.
What makes this version work is the order. The beef gets a proper sear first, creating browned bits that flavor everything else. The rice toasts briefly in the drippings, keeping grains separate and nutty instead of gummy. Then it cooks right in seasoned broth with tomatoes, absorbing flavor as it simmers. No separate pot, no bland bites, no pile of dishes.
This is a recipe for real life — for busy parents, beginner cooks who want one reliable pan meal to memorize, and anyone with ground beef in the freezer and rice in the pantry. If you can brown meat, you can make this, and soon you will be riffing on it: cheese here, frozen peas there, taco seasoning when the mood strikes.
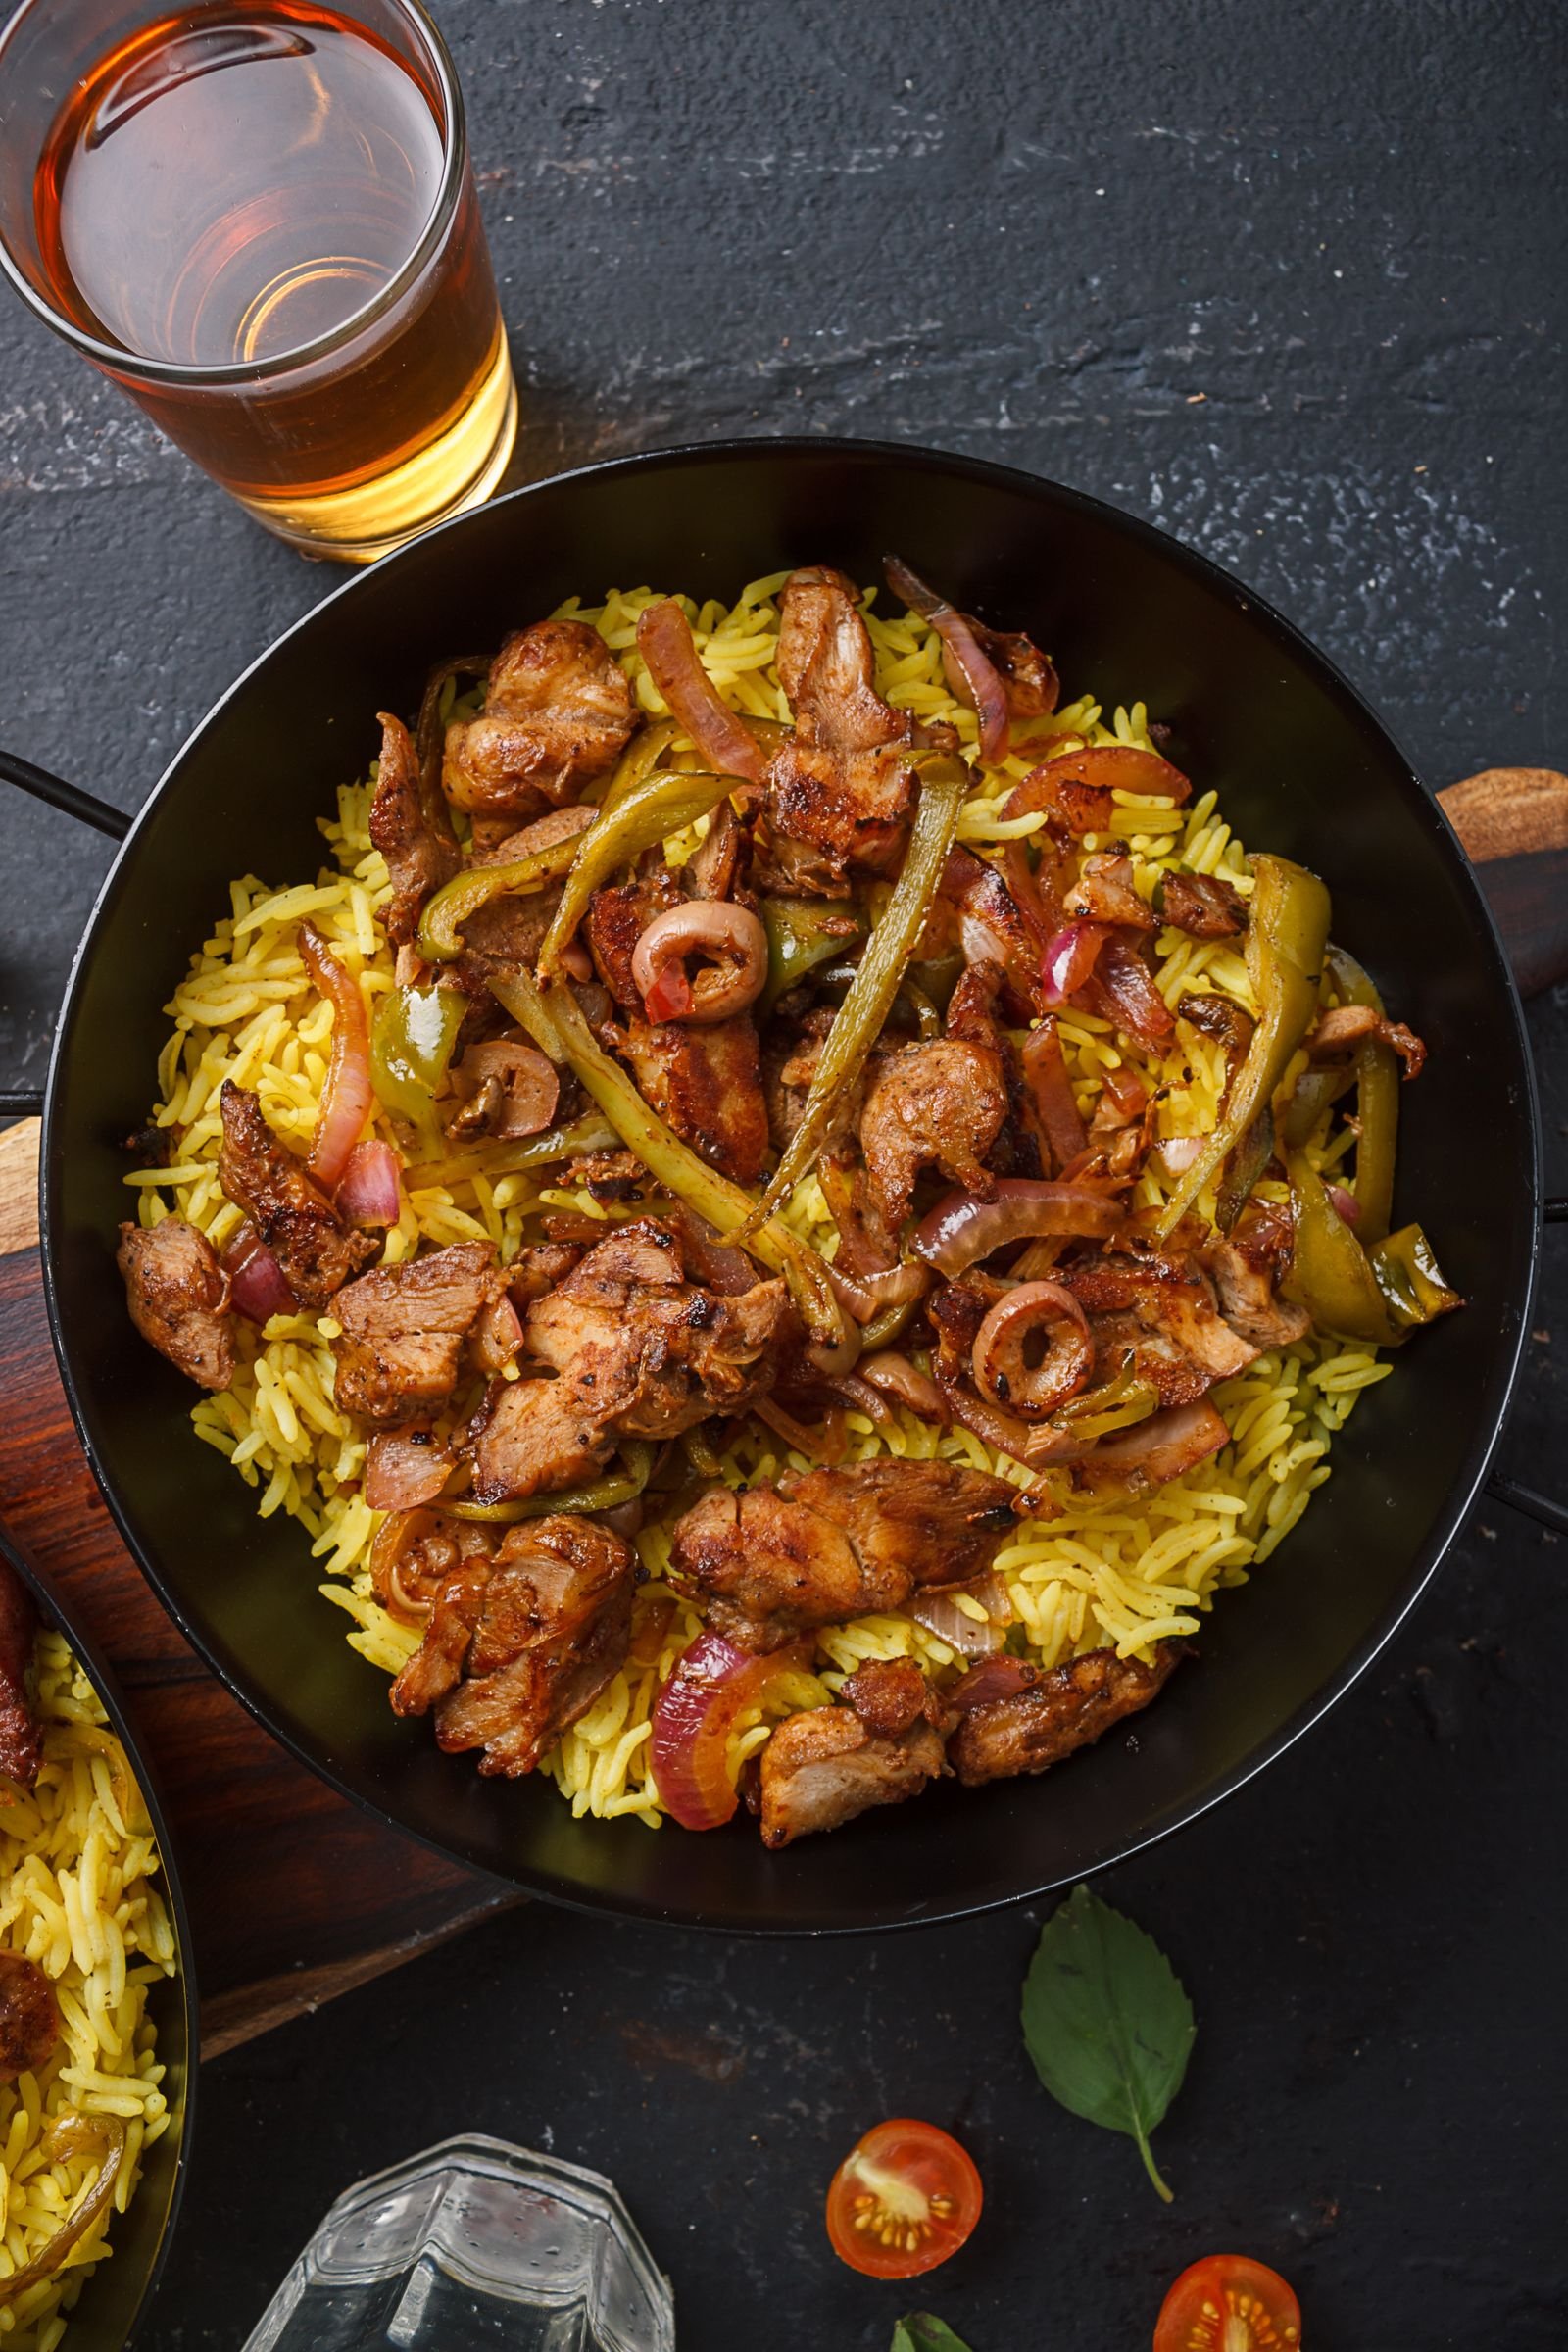
Why You’ll Love This Skillet Dinner
Some recipes look simple but leave you with three pans and a sink full of regrets. This one truly delivers:
- One pan, start to finish: Beef, vegetables, and rice all cook in the same skillet, so flavor builds in layers and cleanup takes two minutes.
- Ready in about 30 minutes: Ten minutes of prep, a quick simmer, and dinner is done — faster than takeout and kinder to your wallet.
- Pantry-friendly: Rice, broth, canned tomatoes, and basic spices you probably already own.
- Kid-approved, adult-satisfying: Mild, savory, and cheesy, but easy to heat up with chili flakes or hot sauce at the table.
- Great leftovers: It reheats beautifully for lunches, and the flavors deepen overnight.
- Endlessly adaptable: Swap vegetables, change the cheese, add beans, or go Tex-Mex with a few spice swaps.
Beef and rice cooked together is a timeless idea: rice is inexpensive, filling, and brilliant at soaking up savory juices, so a modest amount of meat can feed a whole table. Here the tomatoes and broth do the work of a sauce, the rice does the work of a side dish, and melted cheddar on top makes it feel like a deconstructed cheeseburger meets rice pilaf — in the best way.
Ingredients
Simple, easy-to-find ingredients. This makes about six generous servings, perfect for a family dinner with a lunch or two left over.
- 1 tablespoon olive oil (or any neutral oil) — helps leaner beef brown nicely.
- 1 1/2 pounds (680 g) ground beef, 80/20 or 85/15 — a little fat means a lot of flavor.
- 1 medium yellow onion, finely diced (about 1 1/2 cups) — builds the sweet, savory base. White onion works too.
- 1 medium bell pepper, diced — green is classic and earthy; red or yellow will be sweeter.
- 3 cloves garlic, minced (about 1 tablespoon) — fresh garlic makes a real difference here.
- 1 1/2 cups (285 g) long-grain white rice, uncooked — stays fluffy and separate. Rinse briefly if you like, but do not soak.
- 1 can (14.5 oz / 411 g) diced tomatoes, with their juices — the juices are part of the cooking liquid, so do not drain.
- 2 1/2 cups (600 ml) low-sodium beef broth — chicken broth works in a pinch, but beef broth gives the deepest flavor.
- 2 tablespoons tomato paste — concentrates tomato flavor and gives the rice a warm color.
- 1 tablespoon Worcestershire sauce — the quiet note that makes the beef taste beefier.
- 1 teaspoon smoked paprika — gentle smokiness. Sweet paprika is fine too.
- 1 teaspoon dried oregano — or Italian seasoning.
- 1/2 teaspoon garlic powder — yes, in addition to fresh garlic; they do different jobs.
- 1/2 teaspoon onion powder
- 1 teaspoon fine sea salt, plus more to taste — start with 1/2 teaspoon if your broth is not low-sodium.
- 1/2 teaspoon black pepper
- 1 cup (about 110 g) shredded cheddar cheese — sharp cheddar melts beautifully. Colby Jack or Monterey Jack work too.
- 2 tablespoons chopped fresh parsley or sliced green onions, for serving (optional)
Notes on the Key Ingredients
The beef: An 80/20 blend gives the richest flavor and best browning, and since you drain off excess fat, the dish is not greasy. With 90/10 lean beef, do not skip the oil, and expect a little less browning. Ground chuck is a great middle ground.
The rice: Long-grain white rice cooks up light and distinct and follows this timing precisely. Jasmine is a fragrant swap; basmati works but is delicate. Brown rice needs more liquid and time — see substitutions below. Short-grain rice will turn creamy and risotto-like, not fluffy.
The tomatoes: Canned diced tomatoes bring acidity, sweetness, and liquid all at once. Fire-roasted diced tomatoes are a wonderful upgrade, adding subtle smoky depth that pairs beautifully with the paprika.
The broth: Because the rice absorbs it completely, your broth flavors every bite. Low-sodium puts you in control of salt — taste before adding the full teaspoon, especially if using bouillon.
Equipment
- A large, deep 12-inch (30 cm) skillet with a tight-fitting lid — a Dutch oven works beautifully too.
- A wooden spoon or heatproof spatula.
- A sharp knife and cutting board.
- Measuring cups and spoons.
- A fine-mesh strainer if you like to rinse your rice.
The lid matters: rice cooks by absorbing liquid and steaming, so a good seal keeps the steam in. If your lid is loose, add a splash of water if the rice looks dry before it is tender.
Step-by-Step Instructions
Read through the steps once before you start. The cooking moves quickly at the beginning, so having everything chopped and measured makes the process calm and enjoyable.
- Prep everything first. Dice the onion and bell pepper, mince the garlic, open the tomatoes, and measure the rice, broth, and spices. If you rinse your rice, do it now under cool water for about 20 seconds and let it drain well.
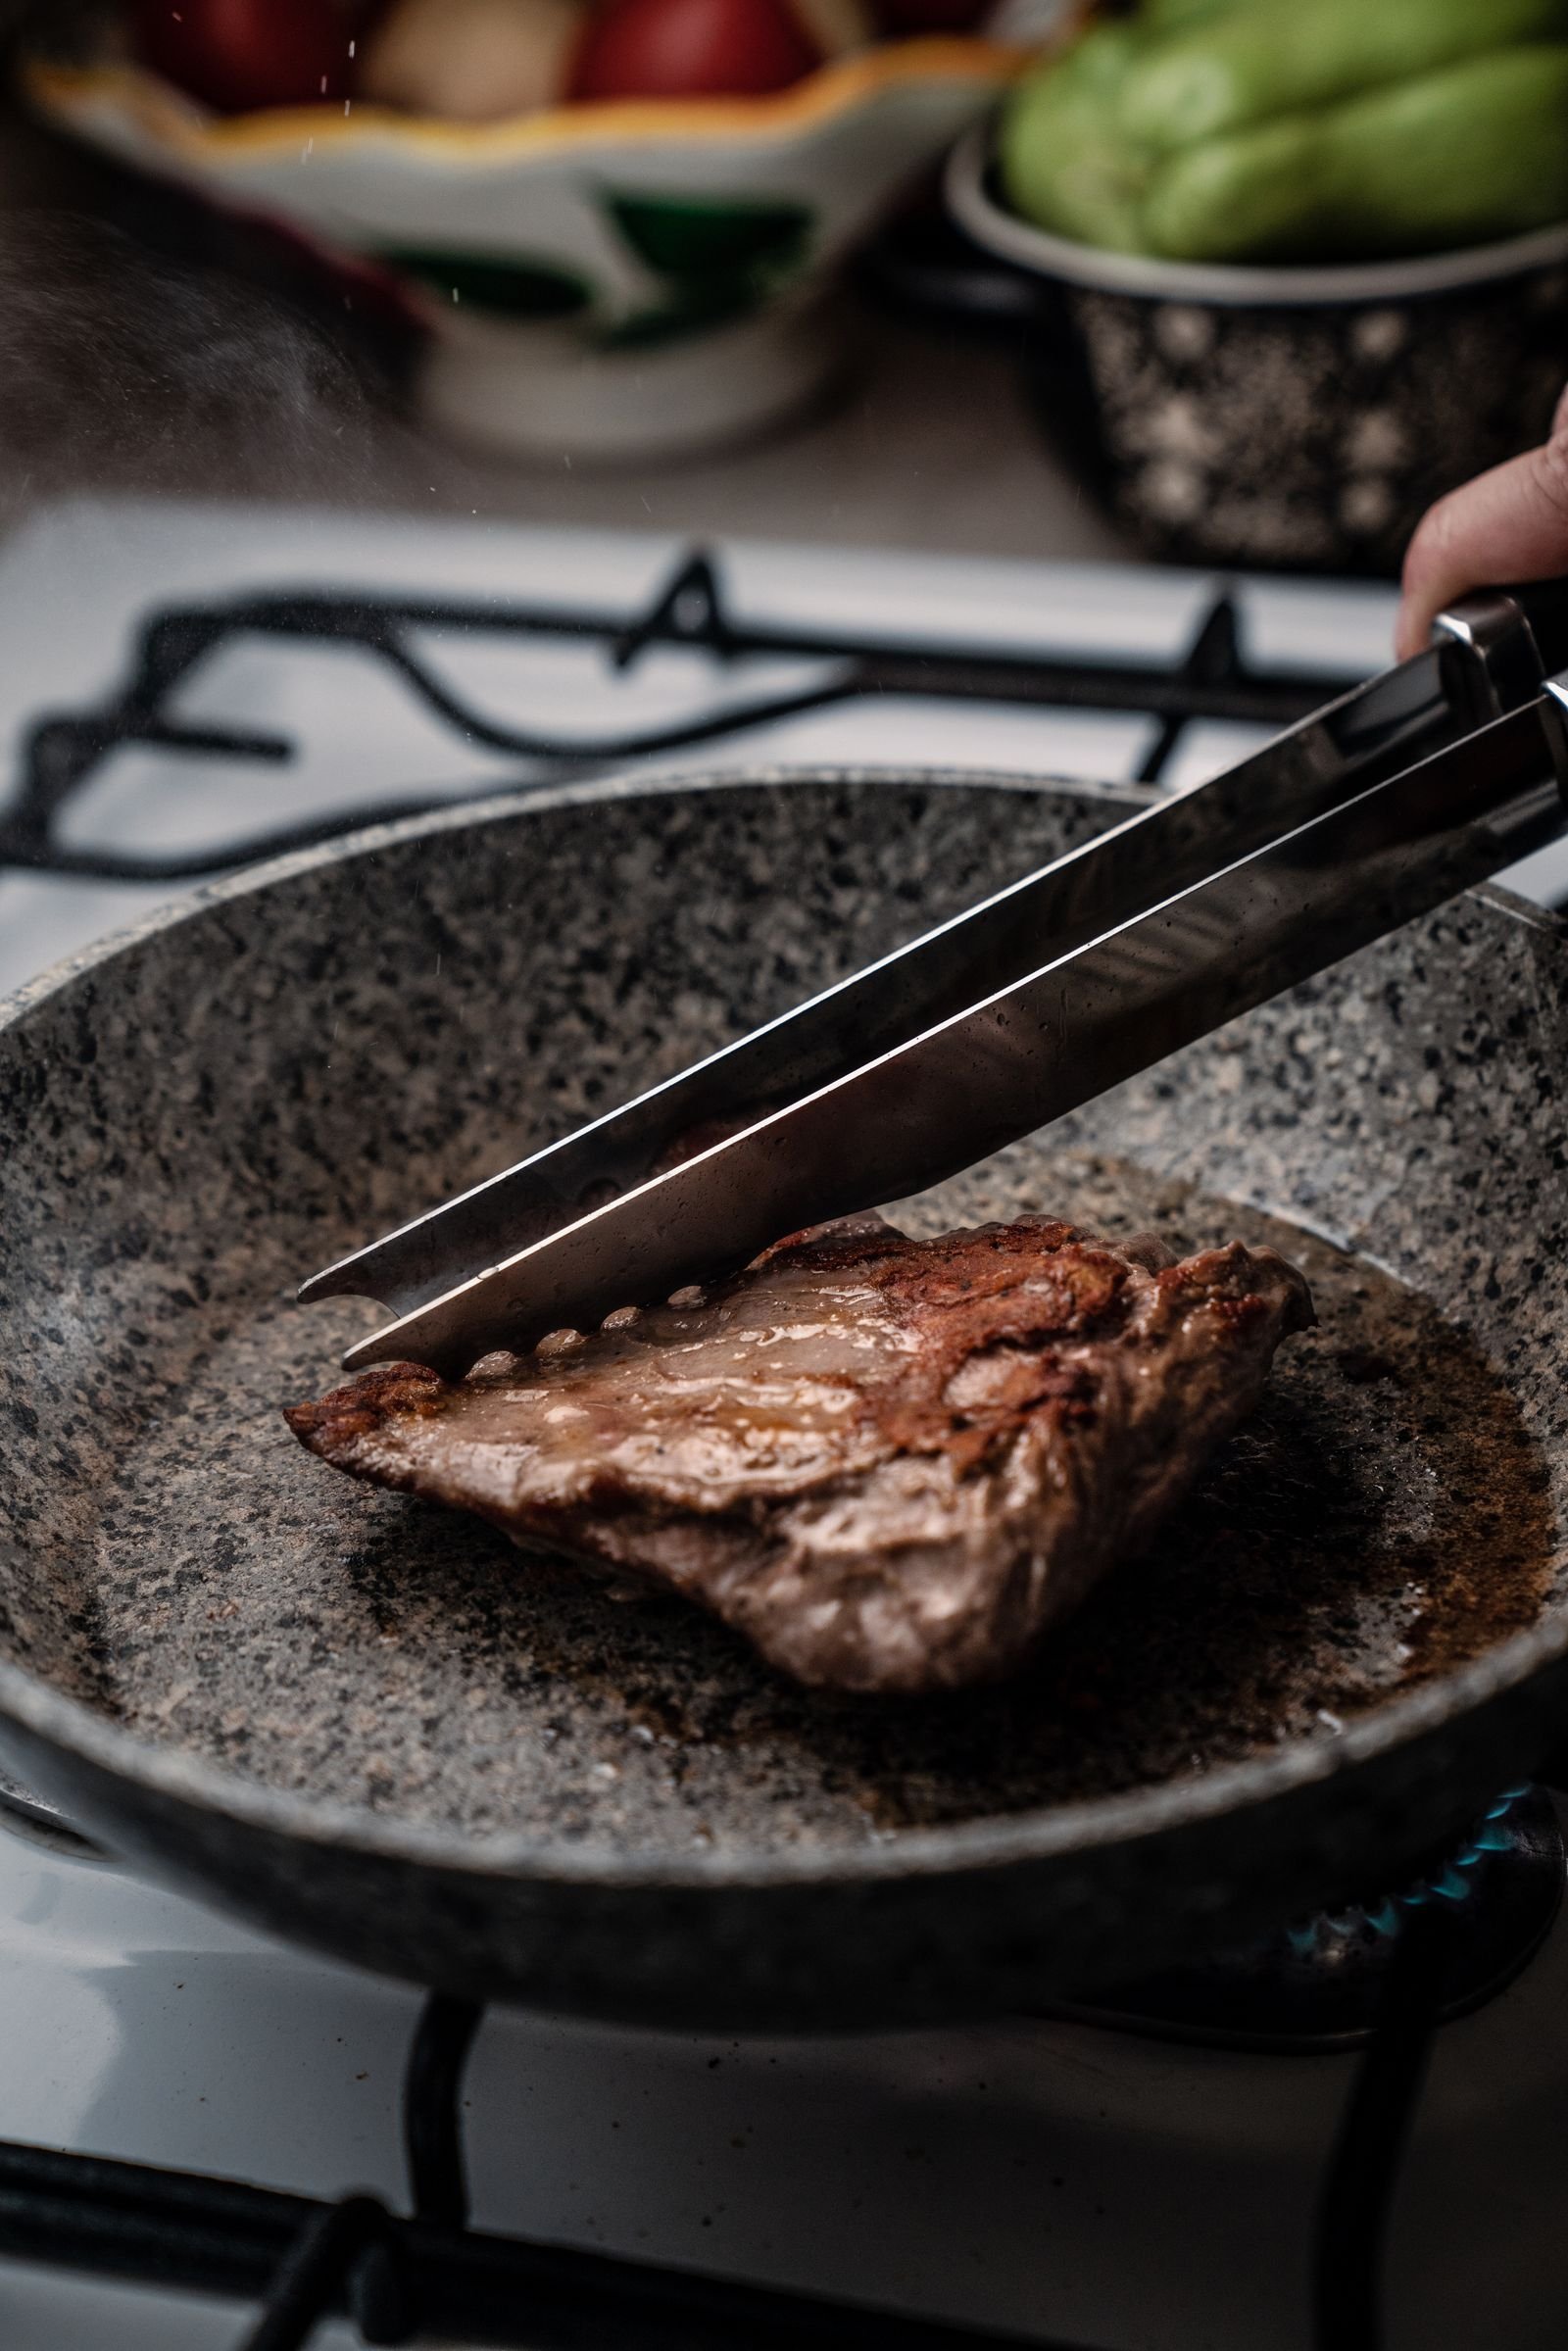
- Brown the beef. Heat the skillet over medium-high heat and add the oil. When it shimmers, add the beef in an even layer and let it sit undisturbed for 2 to 3 minutes to develop a deep brown crust — that crust is pure flavor. Break into crumbles and cook 4 to 5 minutes more, until no pink remains. Ground beef is safe at 160°F (71°C). Drain off all but about 1 tablespoon of fat.
- Soften the vegetables. Add the onion and bell pepper. Cook, stirring often, for 3 to 4 minutes, until the onion turns translucent and the pepper loses its raw crunch. The vegetables will pick up the browned bits from the bottom of the pan as their moisture releases — exactly what you want.
- Add garlic and tomato paste. Stir both in and cook for 1 minute, stirring constantly. The garlic should smell fragrant and mellow, and the paste will darken to a brick red. Cooking the paste briefly removes its tinny edge and deepens its sweetness. Do not walk away — garlic goes from golden to bitter quickly.
- Season the base. Sprinkle in the paprika, oregano, garlic powder, onion powder, salt, and pepper, and stir for about 30 seconds so the spices coat the beef and bloom in the warm fat. The pan should smell warm and savory, almost like taco night meets Italian night. Toasting dried spices like this wakes them up far more than adding them to liquid later.
- Toast the rice. Add the uncooked rice and stir it through the beef mixture for 1 to 2 minutes. Every grain should glisten, and the edges may turn slightly translucent. Toasting rice in fat before adding liquid is an old pilaf trick: it helps grains stay separate and adds a subtle nutty flavor.
- Add the liquids. Pour in the broth and tomatoes with their juices, then add the Worcestershire sauce. Stir well, scraping up every browned bit — they become the backbone of the sauce. Bring to a lively simmer.
- Cover and simmer. Give everything one final stir, reduce the heat to low, and cover. Cook for 18 minutes without lifting the lid. Every peek lets steam escape and can leave you with unevenly cooked rice. The heat should be low enough for gentle bubbling, not a vigorous boil. If your stove runs hot, use your smallest burner on its lowest setting.
- Rest the rice. Turn off the heat and leave the lid on for 5 to 10 minutes. The rice finishes steaming and firms up so it fluffs instead of mashing. Skipping the rest is the number one cause of gummy rice.
- Fluff and taste. Fluff gently with a fork, folding the beef and vegetables through the rice. Taste and adjust with salt, pepper, or a dash of hot sauce.
- Add the cheese. Sprinkle the cheddar evenly over the top, cover for 1 to 2 minutes until it melts into glossy pools, then scatter with parsley or green onions. Serve straight from the skillet at the table — it looks wonderful and keeps the rice warm.
How to Tell When It Is Done
The beef is done when browned with no pink, safe at 160°F (71°C). The rice is done when a grain is tender with no chalky center; if it is still firm but the liquid is gone, add 2 to 3 tablespoons hot water, cover, and cook 3 to 4 minutes more. The dish should be moist, not soupy.
Pro Tips for the Best Results
- Do not rush the browning. If your skillet is smaller than 12 inches, brown the beef in two batches. Crowded beef steams and turns gray instead of developing a savory crust.
- Let the beef sit before stirring. That initial undisturbed contact with the hot pan is where the flavor is built.
- Measure liquid honestly. Rice is unforgiving about ratios. Level off your measuring cups rather than eyeballing.
- Keep the lid closed. Set a timer and trust the process. Steam is doing the cooking.
- Salt in layers, taste at the end. Broths and cheeses vary in saltiness, so the final taste-and-adjust separates good from great.
- Shred your own cheese if you can. Pre-shredded cheese has anti-caking starch and melts less smoothly. It absolutely works on a busy night, but freshly shredded melts silkier.
- Finish with something fresh. A squeeze of lemon, a sprinkle of herbs, or a spoonful of sour cream wakes up the whole dish. Rich, savory pans love a bright counterpoint.
Mistakes to Avoid
Using the wrong rice. Brown, wild, or instant rice each absorb water differently — do not swap cup-for-cup without adjusting liquid and time.
Lifting the lid repeatedly. Every peek drops the steam and temperature, creating tender rice on top and crunchy rice underneath.
Skipping the drain. A fatty batch of beef can leave a quarter cup of grease. Cook the rice in all of it and the grains come out slick and heavy.
Boiling instead of simmering. A hard boil evaporates liquid too fast and scorches the bottom. Low and gentle wins.
Stirring while it cooks. Stirring releases starch and turns fluffy rice into porridge. Stir before the lid goes on, then hands off until the rest is over.
Forgetting to rest. Cutting the rest short leaves the rice wet and clumpy. Those five quiet minutes finish the job the simmer started.
Substitutions That Work
- Ground turkey or chicken: A lighter version. Add an extra teaspoon of oil and an extra pinch of salt and paprika for the milder flavor. Cook poultry to 165°F (74°C).
- Ground pork or a beef-pork blend: Rich and delicious, with extra tenderness.
- Brown rice: Use 1 1/2 cups brown rice and increase broth to 3 1/4 cups. Simmer, covered, 40 to 45 minutes, then rest 10 minutes. Chewier and nuttier — lovely in its own way.
- Cauliflower rice: Skip the white rice method. Cook beef and vegetables as directed, reduce broth to 1/2 cup with the tomatoes, simmer 5 minutes, then stir in 4 cups cauliflower rice and cook 4 to 5 minutes more until tender.
- Quinoa: Rinse 1 1/2 cups well, use 2 1/4 cups broth, simmer 15 minutes, rest 5 minutes, and fluff.
- No canned tomatoes: Use 2 medium fresh tomatoes, diced, plus 1/4 cup extra broth — or leave tomatoes out and add 1/2 cup broth.
- Cheese swaps: Pepper Jack adds gentle heat, mozzarella gives a stretchy pull, and a Mexican blend is an easy one-bag solution. For dairy-free, simply skip the cheese; the dish stands on its own.
- Broth alternatives: Chicken broth, vegetable broth, or water plus 2 teaspoons bouillon paste all work. With plain water, add an extra 1/4 teaspoon salt.
- Vegetable add-ins: Frozen peas or corn stirred in during the rest (the residual heat cooks them), diced zucchini with the peppers, mushrooms browned with the beef, or baby spinach folded in at the end until just wilted.
Variations to Try Next Time
Once the base recipe is in your muscle memory, it becomes a template:
Tex-Mex Skillet: Replace oregano and paprika with 2 tablespoons taco seasoning and 1 teaspoon cumin. Stir in 1 cup black beans (drained and rinsed) and 1 cup frozen corn with the rice, swap cheddar for Pepper Jack, and serve with sour cream, avocado, and lime.
Italian-Style Skillet: Use Italian seasoning, add 1/2 teaspoon fennel seed if you like, swap cheddar for mozzarella and Parmesan, and finish with torn basil. A pinch of red pepper flakes gives it a gentle kick.
Cheeseburger Skillet: Stir 1 tablespoon yellow mustard and 2 tablespoons ketchup into the broth, top with extra cheddar and diced pickles, and finish with shredded lettuce. It tastes uncannily like a cheeseburger in spoonable form.
Mushroom and Swiss: Brown 8 ounces sliced mushrooms with the beef, swap cheddar for Swiss, and add a splash of cream at the end if you are feeling indulgent. Earthy, cozy, very autumnal.
Spicy Cajun-Style: Use Cajun seasoning in place of the paprika and oregano, swap half the bell pepper for diced celery, and finish with hot sauce at the table.
On nights when I am feeding a crowd, I sometimes double up on comfort food and serve these homemade garlic butter noodles alongside for the truly carb-committed at the table — a fun extra when this skillet is the centerpiece of a bigger spread.
What to Serve With It
Honestly, this is a complete meal in a pan — protein, grain, and vegetables together. But a little something on the side can turn a Tuesday dinner into a spread:
- A crisp green salad with tangy vinaigrette cuts through the richness. Think romaine, cucumber, and cherry tomatoes with a lemony dressing.
- Garlic bread or warm rolls for scooping up the last saucy grains. Nobody ever regrets garlic bread.
- Steamed or roasted broccoli with a squeeze of lemon keeps things balanced and adds color.
- Quick pickled onions or cucumber salad add brightness and crunch against the warm, savory rice.
- Roasted carrots or green beans can roast while the rice simmers, with almost no extra effort.
For dessert, something light and make-ahead is ideal after a hearty skillet. I love ending a meal like this with a slice of no-bake cheesecake without gelatin — it waits patiently in the fridge while dinner cooks, and its cool, creamy tang is the perfect contrast to a warm, savory main.
Storage, Freezing, and Reheating
Refrigerator: Let leftovers cool to room temperature (no more than 2 hours out), then store in an airtight container for 3 to 4 days. The rice will firm up as it chills, which is normal — it softens again when reheated.
Freezer: This dish freezes very well for up to 3 months. Portion into freezer-safe containers or zip-top bags laid flat to save space. For best texture, freeze without the cheese topping and add fresh cheese when reheating. Thaw overnight in the refrigerator.
On the stove: Add leftovers to a skillet with 1 to 2 tablespoons of water or broth per cup of rice, cover, and warm over medium-low heat, stirring occasionally, for 5 to 8 minutes until steaming hot. The added moisture revives the rice so it tastes freshly made.
In the microwave: Place a portion in a microwave-safe bowl, sprinkle with about 1 tablespoon of water, cover with a damp paper towel, and microwave on high for 2 to 3 minutes, stirring halfway. Let stand 1 minute. Reheat leftovers until steaming hot, ideally to 165°F (74°C), and reheat only once.
Leftover ideas: Use cold leftovers as a filling for stuffed peppers or burritos, or fry with soy sauce and a scrambled egg for a quick fried-rice-style lunch.
Nutrition Information
The following are rough home-kitchen estimates for one serving, based on six servings with 85/15 ground beef, low-sodium broth, and cheddar as written. Your numbers will vary with the leanness of your beef, your brands, and how generously you cheese the top — treat these as a helpful guide, not a laboratory analysis.
- Calories: approximately 520 kcal
- Protein: approximately 30 g
- Carbohydrates: approximately 45 g
- Fiber: approximately 3 g
- Total fat: approximately 24 g
- Saturated fat: approximately 10 g
- Sodium: approximately 620 mg
- Sugar: approximately 5 g
To lighten it up, use leaner beef or turkey, go easy on the cheese, and add extra vegetables. For a heartier plate, try a fried egg on top — it tastes wonderful.
Frequently Asked Questions
Can I use instant rice or Minute Rice instead?
You can, with a method change. Add instant rice after the beef, vegetables, and liquids have simmered 10 minutes, using only 1 3/4 cups broth. Cover, remove from heat, and let stand 5 to 7 minutes. The texture will be softer, but it is a handy shortcut.
My rice came out crunchy. What went wrong?
Crunchy rice usually means liquid evaporated too quickly or the lid was lifted. Keep heat truly low and resist peeking. To rescue it, sprinkle 1/4 cup hot water over the top, cover, and cook on lowest heat 5 more minutes, then rest.
Can I make this in advance for meal prep?
Absolutely. Divide the cooled dish into containers; it keeps 3 to 4 days and reheats beautifully with a splash of water. Add fresh herbs after reheating so they stay bright.
How do I make this spicier?
Add 1/2 teaspoon red pepper flakes or cayenne with the spices, cook a diced jalapeño with the onion, swap cheddar for Pepper Jack, or pass hot sauce at the table. Minced chipotle in adobo adds lovely smoky heat.
Can I double this recipe?
Yes, in a large Dutch oven so the rice cooks in an even layer. Double everything, check at 18 minutes and add 5 minutes if needed, and give it the full 10-minute rest.
What if I do not have beef broth?
Chicken or vegetable broth works without other changes. Or use water plus 2 teaspoons bouillon paste, tasting carefully for salt. Plain water alone will taste flatter, so boost seasonings slightly.
Is this recipe gluten-free?
It can be. Rice, beef, and vegetables are naturally gluten-free, but Worcestershire sauce and some broths can contain gluten. Use certified gluten-free Worcestershire (or tamari) and broth, and check brands if cooking for someone with celiac disease.
Can I cook this in an Instant Pot or slow cooker?
For the Instant Pot, sauté the beef and vegetables, add everything else, and cook on high pressure for 4 minutes with a 10-minute natural release. A slow cooker turns rice mushy, so stir in pre-cooked rice at the end if you try it. The stovetop version is faster than both anyway.
How do I keep the rice from sticking to the bottom?
Use a gentle simmer and a heavy-bottomed pan, scrape the bottom well when adding liquids, and do not stir once the lid is on. A thin caramelized layer is normal; blackened sticking means heat was too high.
Can I add beans or other proteins?
Definitely. Stir a drained can of black or kidney beans in with the rice for extra fiber, or add diced cooked sausage or leftover chicken. Keep total volume in mind so the pan does not overflow.
Conclusion
This easy ground beef and rice skillet is the kind of recipe that quietly becomes part of your life. It asks for one pan, a handful of pantry staples, and about half an hour, and in return it gives you a warm, savory, cheese-topped dinner everyone at the table will happily eat — and probably ask for again next week. No juggling side dishes, no sink full of pots, no stress.
Make it once as written, then make it your own: Tex-Mex on Friday, Italian-style next Tuesday, extra vegetables whenever the crisper needs clearing. If you try it, I would love to hear which variation your family claimed as their favorite. Happy cooking!
One Comment