
Easy One Pan Chicken and Rice (Juicy, Flavorful & Ready in 45 Minutes)
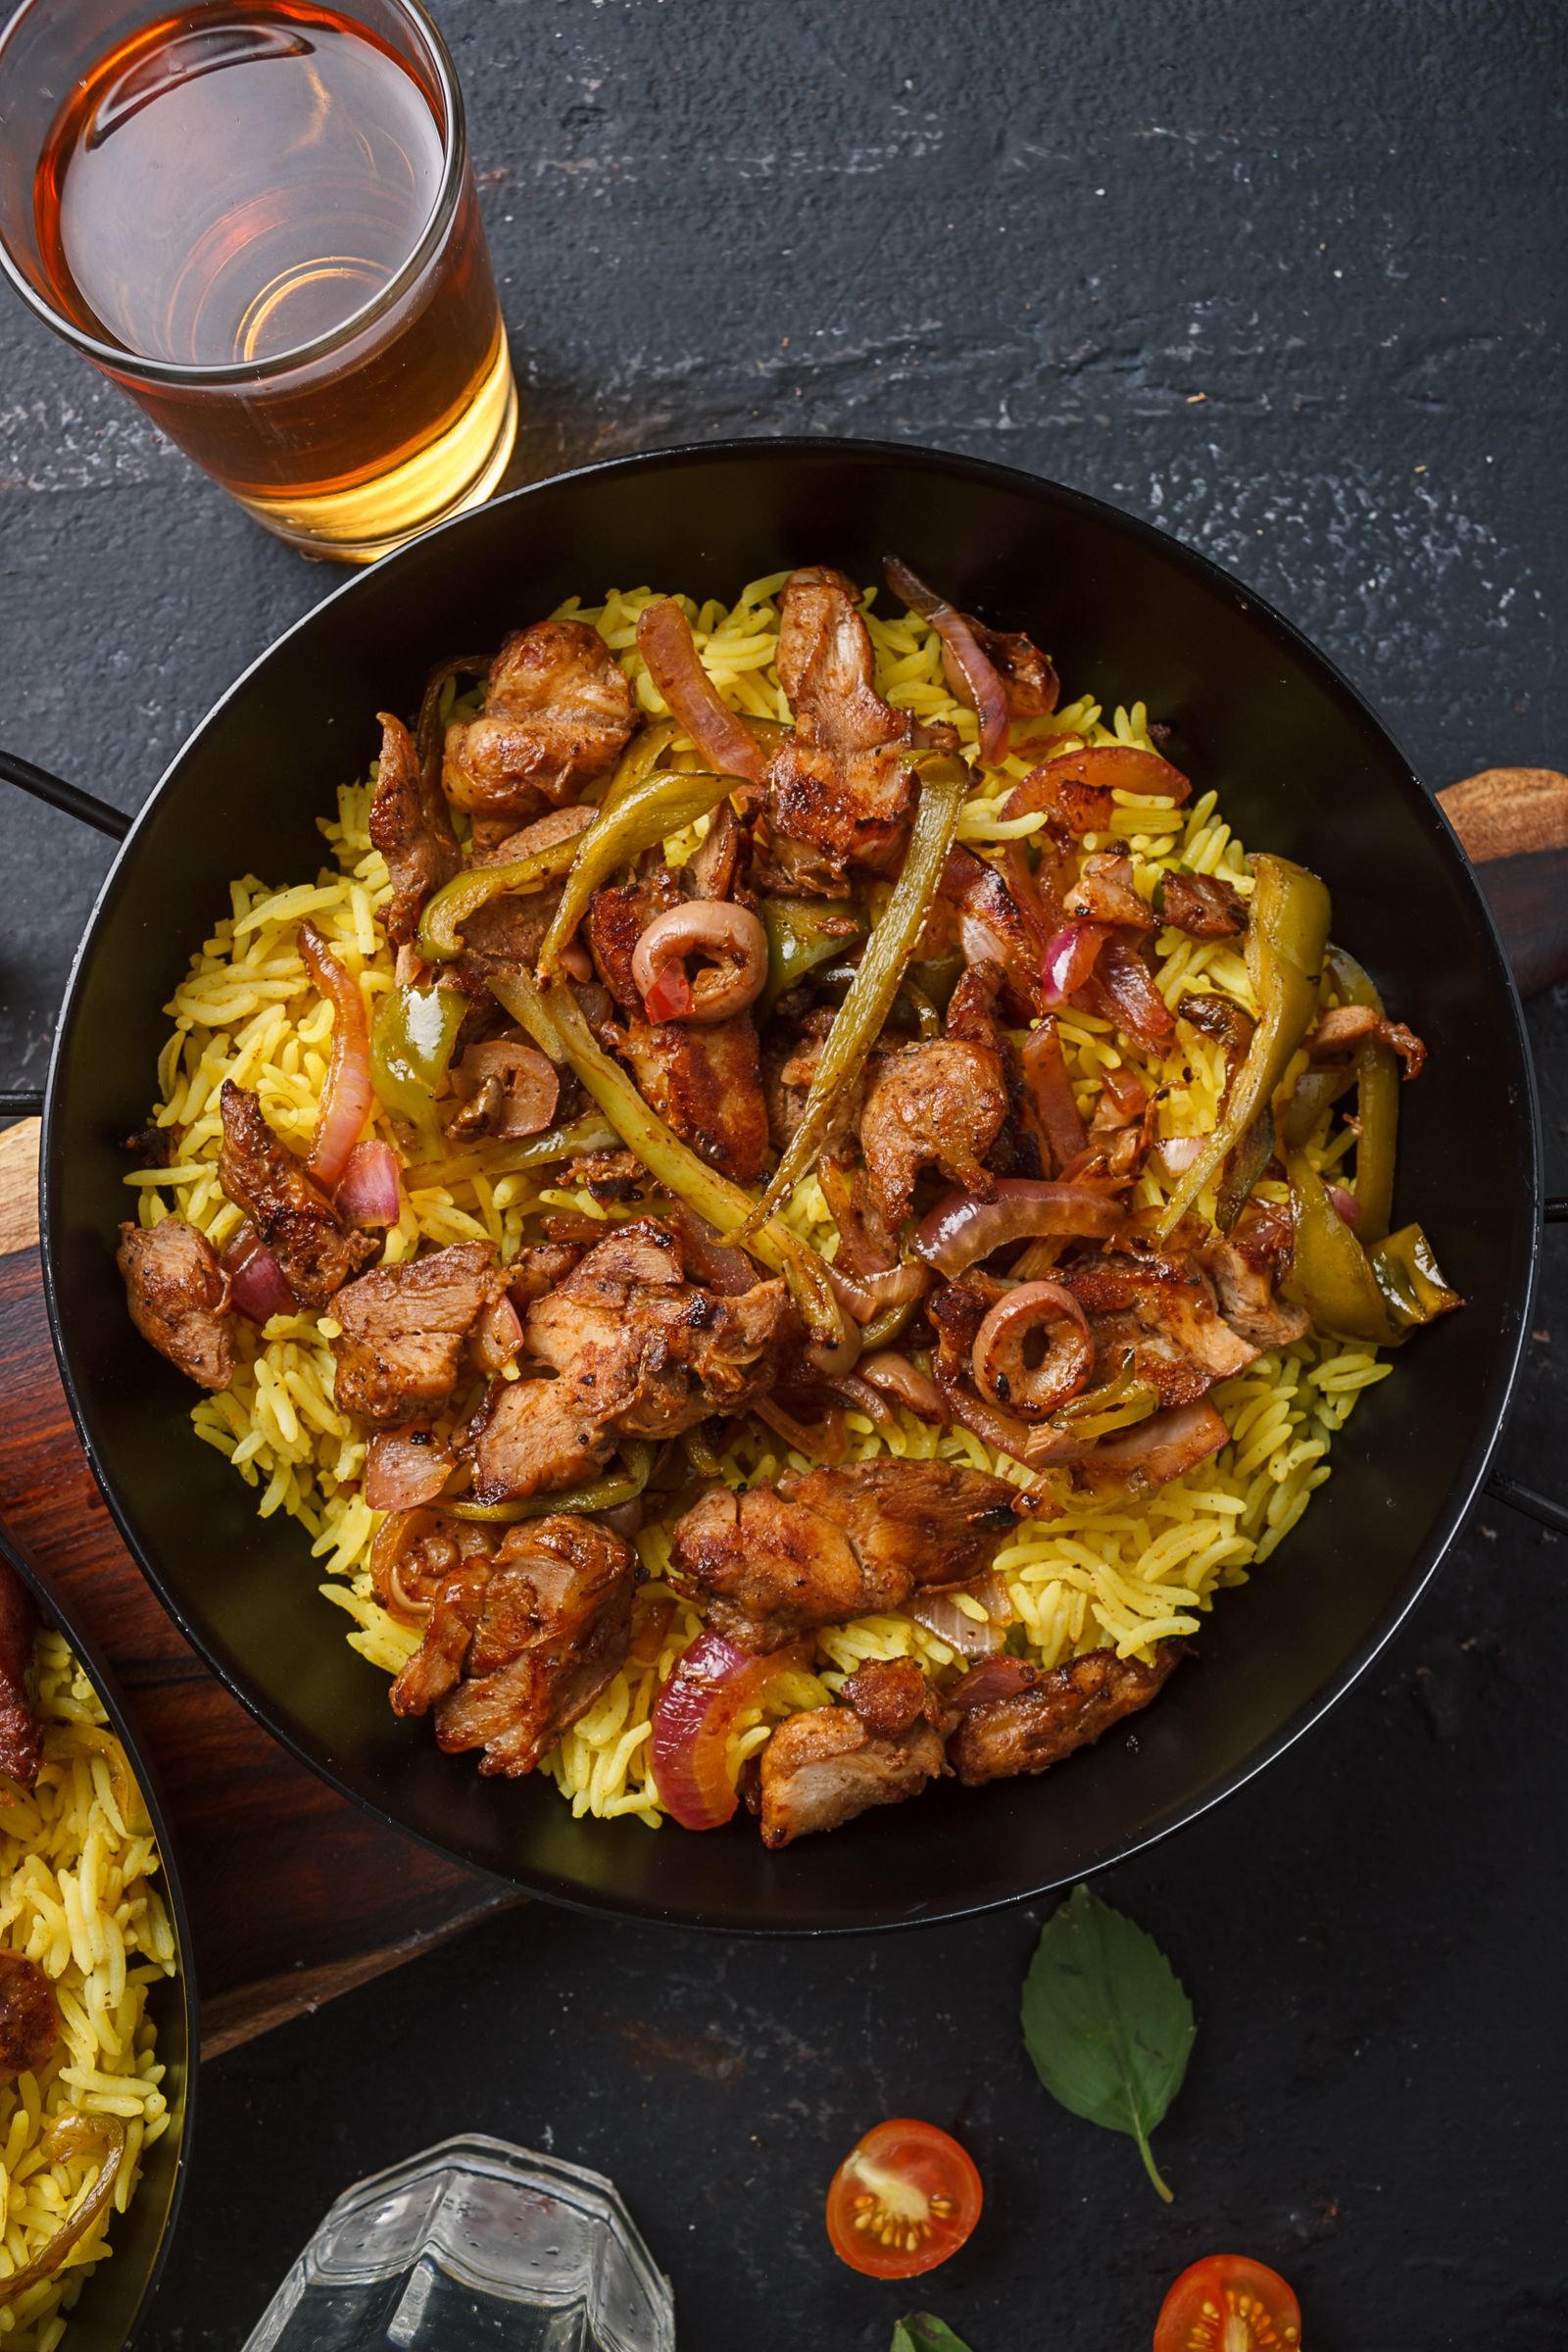
There are weeknights when you want a real, home-cooked dinner — something warm and satisfying that actually fills everyone up — but you absolutely do not want a sink full of pans afterward. That’s exactly where this easy one pan chicken and rice earns its place in your regular rotation. Tender, golden chicken thighs nestle right into fluffy, savory rice that cooks in the same pan, soaking up the juices, garlic, and gentle spices along the way. One pan goes on the stove, one lid goes on top, and about 45 minutes later you’re scooping out a complete dinner that tastes like you worked much harder than you did.
What makes this version work is the order of operations. You sear the chicken first for deep golden skin and flavorful browned bits, then toast the rice briefly in those drippings with onion and garlic before any liquid goes in. That toast is the secret to fluffy, distinct rice instead of gummy rice, and because the chicken finishes gently on top, it stays juicy while flavoring everything underneath.
This is a dinner for busy families, beginner cooks who want one dependable recipe to master, and anyone who loves comfort food without fuss. You don’t need special equipment — just a large pan with a lid, pantry staples, and chicken and rice you probably already have.
Why You’ll Love This Recipe
- Truly one pan: The chicken, rice, and vegetables all cook together, so cleanup is one pan and one cutting board.
- Ready in about 45 minutes: A quick sear, a short simmer, and a brief rest — most of that time is hands-off.
- Juicy every time: Bone-in, skin-on thighs stay moist as they finish over the steaming rice, and a thermometer takes out the guesswork.
- Big flavor from simple ingredients: Garlic, paprika, lemon, and good chicken stock do all the heavy lifting.
- Budget-friendly and filling: Rice stretches a modest amount of chicken into a dinner that easily feeds four to six.
- Easy to customize: Swap the vegetables, change the spices, add cheese, or make it a little spicy — the base method welcomes it all.
- Great leftovers: It reheats beautifully for lunch the next day, so it’s a smart meal-prep option too.
Ingredients
This recipe serves 4 to 6 people generously. Everything is measured for a large 12-inch (30 cm) deep skillet or Dutch oven. Read the notes after the list — a couple of small choices, especially the type of rice, make a real difference.
- 6 bone-in, skin-on chicken thighs, about 2 to 2 1/2 pounds (900 g to 1.1 kg) total
- 1 1/2 teaspoons kosher salt, divided, plus more to taste
- 1 teaspoon black pepper, divided
- 1 1/2 teaspoons smoked or sweet paprika
- 1 teaspoon garlic powder
- 1/2 teaspoon onion powder
- 1/2 teaspoon dried thyme or Italian seasoning
- 2 tablespoons olive oil
- 1 medium yellow onion, finely diced, about 1 1/2 cups (225 g)
- 4 cloves garlic, minced
- 1 1/2 cups (285 g) long-grain white rice, rinsed until the water runs mostly clear
- 3 cups (720 ml) low-sodium chicken stock or broth, warmed if possible
- 1 cup (150 g) frozen peas, no need to thaw
- 1 medium carrot, peeled and finely diced (optional, for color and sweetness)
- 1 tablespoon unsalted butter (optional, for richness at the end)
- Zest and juice of 1/2 lemon, plus lemon wedges for serving
- 2 tablespoons chopped fresh parsley, plus more for serving
- 2 green onions, thinly sliced, for garnish (optional)
A Few Notes on the Key Ingredients
The chicken: Bone-in, skin-on thighs are best here — the bone keeps the meat juicy, and the skin gives a golden top plus fat that flavors the rice. Boneless thighs work too and cook a little faster. Breast can be used but is less forgiving; see the substitutions below.
The rice: Long-grain white rice, such as jasmine or basmati, is what this timing is built around; it cooks in about 18 minutes and stays fluffy. Rinsing matters: it washes away surface starch that turns rice sticky. Rinse under cold water until it runs mostly clear. Avoid instant and parboiled rice — they cook at different rates. Brown rice needs more liquid and time; see the FAQ.
The stock: Because the rice absorbs the liquid completely, that liquid becomes its flavor. Low-sodium stock gives the richest result and lets you control the salt. Warm stock helps too — cold liquid drops the pan temperature — so warm it briefly if you can.
The seasoning blend: Paprika, garlic powder, onion powder, and thyme give a warm, savory crust without heat, keeping it family-friendly. Smoked paprika adds a gentle, almost grilled depth.
The peas and carrot: These go in near the end so they stay bright and just tender. Dice the carrot small, about pea-size, so it softens in the same short time.
Equipment That Makes It Easier
You don’t need much, and you probably own all of it:
- A large, heavy 12-inch (30 cm) skillet with a tight-fitting lid, or a Dutch oven
- Tongs for turning the chicken without tearing the skin
- A wooden spoon for scraping up the browned bits
- A fine-mesh strainer for rinsing the rice
- An instant-read meat thermometer — the surest way to know chicken is done and still juicy
- A fork for fluffing the rice
If your skillet has no lid, a large baking sheet or foil pressed snugly over the top works fine. The important thing is trapping the steam, because steam cooks the rice evenly.
Step-by-Step Instructions
Read through the steps once before you start, and have your onion diced, garlic minced, and rice rinsed before the pan gets hot.
- Pat the chicken dry and season it well. Pat all 6 thighs thoroughly dry on both sides — surface moisture must evaporate before browning can begin, so this decides whether the skin turns crisp and golden. In a small bowl, stir together 1 teaspoon of the salt, 1/2 teaspoon of the pepper, the paprika, garlic powder, onion powder, and thyme. Sprinkle evenly over both sides of the chicken, pressing gently. Let it sit about 10 minutes while the pan heats.
- Sear the chicken, skin side down first. Place your skillet over medium-high heat and add the olive oil. When the oil shimmers, about 1 to 2 minutes, lay the chicken in skin side down, leaving space between pieces. Crowded pieces steam instead of sear, so work in two batches if needed. Cook undisturbed for 5 to 6 minutes; the skin releases easily once properly browned.
- Flip, sear briefly, then set aside. Turn each thigh and cook the second side for 2 to 3 minutes, until lightly golden. The chicken won’t be cooked through — it finishes later on the rice — and that’s exactly right. Transfer to a plate, skin side up, and don’t wipe out the pan — the browned bits and fat are the foundation of the rice. Spoon off any fat beyond about 2 tablespoons.
- Soften the onion and carrot. Lower the heat to medium. Add the onion and carrot, if using, with the remaining 1/2 teaspoon of salt. Cook, stirring often and scraping the bottom to lift the browned bits into the vegetables, for 4 to 5 minutes. You want the onion soft, translucent, and golden at the edges.
- Add the garlic and toast the rice. Stir in the garlic and cook just 30 seconds, until fragrant; keep it moving so it doesn’t burn. Pour in the rinsed, well-drained rice and stir constantly for 1 to 2 minutes, coating every grain in the seasoned oil. The grains will turn slightly translucent at the edges and smell faintly nutty — toasting is the best trick for fluffy, separate rice.
- Pour in the stock and bring to a gentle boil. Add the warm stock and remaining 1/2 teaspoon of pepper, stir once, and scrape the bottom a final time so no rice sticks. Bring to a lively simmer, then taste and add a pinch more salt if it seems flat — it should taste pleasantly savory, like a well-seasoned soup.
- Nestle the chicken back in, cover, and simmer. Arrange the thighs on top of the rice, skin side up, nestling them so the bottom of each piece touches the liquid but the skin stays above it — that keeps the skin from going soggy. Pour in any juices from the plate. Cover, reduce heat to low, and simmer gently for 18 to 20 minutes — the faintest steady bubbling, not a rolling boil. Don’t lift the lid; every peek lets out steam the rice needs.
- Add the peas and check for doneness. After 18 minutes, lift the lid quickly and scatter the frozen peas over the rice around the chicken. Replace the lid and cook 2 to 3 minutes more. Now check two things: taste a few grains — they should be tender with no chalky center — and check the chicken with a thermometer in the thickest part, avoiding bone. It must read at least 165°F (74°C); thighs are juiciest around 175°F (79°C). If the rice needs more time, add 2 to 3 tablespoons of hot water, cover, and cook 3 to 4 more minutes.
- Rest the pan off the heat — don’t skip this. Take the pan off the burner, keep the lid on, and rest undisturbed for 8 to 10 minutes. Resting lets the rice finish absorbing steam and lets the chicken’s juices settle back into the meat. Skipping it is the most common reason a good pan turns out wet or gummy.
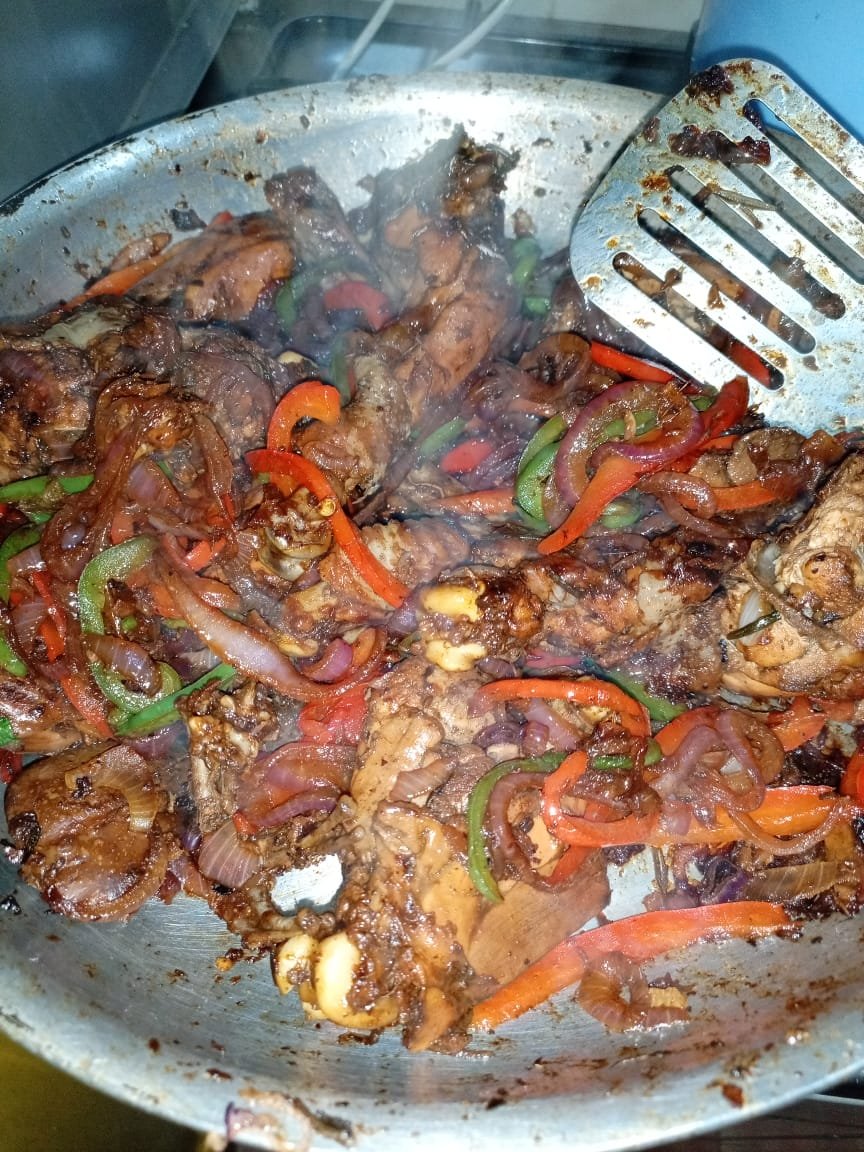
- Fluff, finish, and serve. Lift the chicken onto a plate for a moment. Add the butter, if using, lemon zest, lemon juice, and parsley to the rice, then fluff gently with a fork, lifting and turning rather than stirring hard, which breaks the grains. Taste and adjust salt. Set the chicken back on top, scatter over green onions and extra parsley, and bring the whole pan to the table with lemon wedges.
My Best Tips for Perfect Chicken and Rice Every Time
- Dry chicken, hot pan, no crowding. Together, those three are the whole secret to golden skin. Wet skin or jammed-together pieces steam, and steamed skin never crisps.
- Rinse the rice, then drain it well. Rinsing removes gumminess-causing starch, but shake off as much water as you can so you don’t change the liquid ratio.
- Trust the ratio. For long-grain white rice here, 1 1/2 cups rice to 3 cups stock — a 1-to-2 ratio that accounts for moisture the chicken releases — is the sweet spot.
- Use low heat for the simmer. A gentle simmer lets rice absorb liquid evenly. A hard boil can scorch the bottom before the top is done.
- Rest before serving. Ten patient minutes off the heat transforms the texture of both the rice and the chicken.
Common Mistakes to Avoid
The first is using the wrong rice without adjusting. Short-grain rice cooks softer and stickier, and instant rice turns to mush before the chicken is done. If you change the rice, change the liquid and time to match.
Another is skipping the sear. It only takes about eight minutes, but it creates the browned bits that season the whole pan. Without it, the dish tastes noticeably flatter.
And boiling instead of simmering: once the lid is on, keep the heat at its lowest steady setting. Liquid nearly gone but rice still hard means the heat was too high.
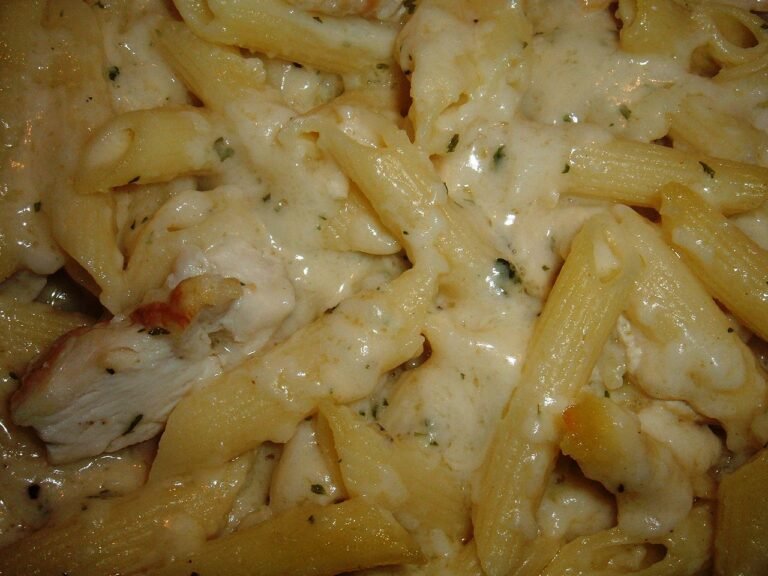
If weeknight chicken dinners are your thing, you might also enjoy my reader-favorite one-pot cheesy chicken pasta — it has that same cozy, everything-in-one-pan spirit with a completely different, creamy personality for nights when pasta is calling instead.
Easy Substitutions
- Boneless, skinless thighs: Sear 3 to 4 minutes per side, and expect the simmer to run a few minutes shorter. Check temperature early — they’re done at 165°F (74°C) and dry out if left much beyond it.
- Chicken breast: Use large breasts, sear them well, and start checking temperature from about 15 minutes into the simmer, pulling the pan off the heat the moment they reach 165°F (74°C). For a deeper dive into keeping breast meat tender, my guide to juicy baked chicken breast at 400 degrees covers the same principles of temperature and resting that apply here.
- Different grains: Quinoa, rinsed well, can replace the rice with the same liquid and about 15 minutes of simmering. Orzo works too, but it cooks in 10 to 12 minutes and drinks liquid quickly, so check the pan early.
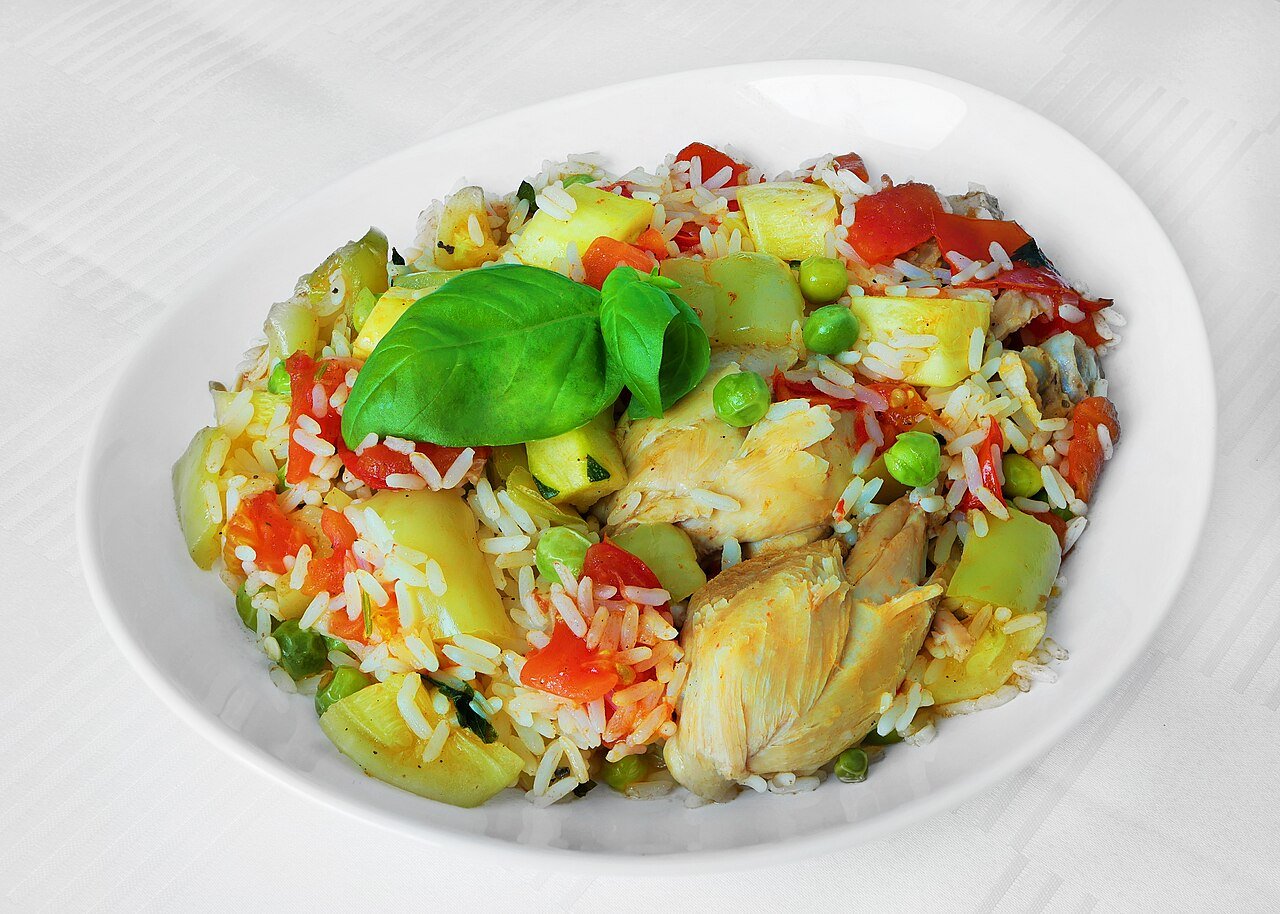
- Vegetables: Swap peas and carrot for frozen mixed vegetables, diced bell pepper added with the onion, baby spinach stirred in during the rest, or mushrooms sautéed with the onion. Keep total volume similar so the liquid ratio still works.
- Stock alternatives: Vegetable stock or water plus a teaspoon of bouillon paste both work. Coconut milk can replace up to 1 cup (240 ml) of the stock for a subtly rich version — especially good with the curry variation below.
- Dairy-free: The butter is optional; a drizzle of good olive oil gives the same finished gloss.
Flavor Variations to Try Next Time
Once you have the base down, this pan becomes a template. Here are the versions my family asks for most:
Cajun: Replace the paprika blend with 2 teaspoons Cajun seasoning, add diced bell pepper and celery with the onion, and finish with hot sauce at the table. Sliced smoked sausage browned with the chicken makes it heartier still.
Mediterranean lemon and herb: Add 1 teaspoon dried oregano, stir halved cherry tomatoes and Kalamata olives into the rice before covering, and finish with crumbled feta and extra lemon. Bright, salty, and wonderful with a cucumber salad.
Curry-spiced: Swap the paprika and thyme for 2 teaspoons mild curry powder and 1/2 teaspoon turmeric, replace 1 cup of stock with coconut milk, and finish with cilantro instead of parsley and a squeeze of lime. Frozen peas were practically made for this version.
Cheesy broccoli: Stir 2 cups small broccoli florets in with the peas, and once the pan is off the heat, shower the rice with 1 cup (about 110 g) shredded sharp cheddar, cover for the rest so it melts, and serve. Pure comfort food.
What to Serve With Chicken and Rice
This is a complete meal on its own, but a fresh, crisp side balances its warmth beautifully. A green salad with lemony vinaigrette is my first choice — the acidity cuts through the richness. Cucumber-tomato salad, steamed green beans, garlicky spinach, or a quick slaw all take under ten minutes and add welcome crunch.
To stretch the meal for a crowd, add warm crusty bread for swiping through the pan juices and a bowl of pickled red onions for a bright pop.
How to Store, Freeze, and Reheat
Refrigerating: Cool until no longer steaming, transfer to airtight containers, and refrigerate within 2 hours. It keeps well for 3 to 4 days, and the rice tastes even more seasoned the next day.
Freezing: It freezes well for 2 to 3 months. Portion into freezer-safe containers, press out the air, and label with the date. Thaw overnight in the refrigerator before reheating.
Reheating on the stove: Place rice and chicken in a skillet with a splash of water or stock — about 1 to 2 tablespoons per serving — cover, and warm over medium-low heat for 8 to 10 minutes, until steaming hot throughout. The added moisture replaces what the rice absorbed in storage.
Reheating in the microwave: Sprinkle the portion with a little water, cover loosely, and heat in 1-minute intervals, stirring the rice between rounds, until hot all the way through. However you reheat, make sure leftovers reach 165°F (74°C), and only reheat them once.
Nutrition Information
The following is a rough estimate for one serving, based on 6 servings with bone-in, skin-on thighs and peas included. These figures are home-kitchen estimates from standard ingredient data — not laboratory-tested — and your actual numbers will vary with the exact chicken, stock, and portions you use.
- Calories: approximately 520 kcal
- Protein: approximately 36 g
- Carbohydrates: approximately 48 g
- Fat: approximately 19 g
- Saturated fat: approximately 5 g
- Fiber: approximately 3 g
- Sodium: approximately 620 mg
- Sugar: approximately 4 g
To lighten it, use boneless, skinless thighs or breasts (closer to 430–460 calories per serving), or bulk the rice out with extra vegetables.
Frequently Asked Questions
Can I use chicken breast instead of thighs?
Yes, and plenty of people prefer it. Sear large breasts 4 to 5 minutes per side, then finish them on the rice as directed, but start checking temperature at about 15 minutes of simmering and take the pan off the heat as soon as they reach 165°F (74°C). Because breast meat is lean, resting matters even more — it keeps the juices in the meat.
Why is my rice mushy or gummy?
Mushy rice almost always comes down to too much liquid, unrinsed rice, or too vigorous a boil. Measure the stock carefully, rinse until the water runs mostly clear, and keep the simmer gentle under a closed lid. Stirring while it cooks also breaks grains and releases starch, so once the lid goes on, leave it alone until the rest.
Why is my rice still hard or crunchy after simmering?
Hard rice means it ran out of steam or liquid before finishing — usually because the heat was a little high, the lid was lifted often, or the lid doesn’t seal well. Add 2 to 3 tablespoons of hot water, cover tightly, and cook on the lowest heat for 4 to 5 more minutes, then rest again. Next time, check that your lid fits snugly and resist peeking during the first 18 minutes.
Can I make this with brown rice?
You can, but not as a straight swap. Brown rice needs about 3 1/2 cups (840 ml) of liquid for this amount and 35 to 40 minutes of gentle simmering, which is longer than the chicken should sit. Give the rice a 15-minute head start in the stock, then add the seared chicken on top and continue as written, checking both for doneness at the end.
Do I have to sear the chicken first?
Technically no, but you’ll miss a lot of flavor if you skip it. Searing creates the browned bits that season the rice and gives the skin its golden finish. If you’re truly short on time, place seasoned raw chicken directly on the rice, but remove the skin first — un-seared skin turns soft and rubbery in the steam.
Can I make one pan chicken and rice ahead of time?
Yes. Cook it completely, cool, and refrigerate for up to 3 to 4 days, then reheat gently with a splash of stock until everything reaches 165°F (74°C). The flavors meld in the fridge, so day-two servings are often the best. It also freezes well for 2 to 3 months.
What size pan do I need?
A 12-inch (30 cm) deep skillet with a lid, or a Dutch oven of about 5 quarts (4.7 L), is ideal for six thighs plus this amount of rice. In a 10-inch pan, the rice layer will be too deep and cook unevenly, and the chicken will crowd and steam. In that case, halve the recipe or move everything to your largest lidded pot after searing.
Can I add more vegetables?
Absolutely. Sturdy vegetables like bell pepper, celery, mushrooms, and zucchini go in with the onion; quick-cooking ones like peas, corn, spinach, and broccoli go in near the end. Keep total added volume to about 2 cups so the liquid balance still works, and chop everything small.
How do I know the chicken is done without a thermometer?
A thermometer really is the reliable answer. Without one, cut into the thickest part of the largest thigh: juices should run clear, not pink, and the meat should be opaque throughout. If you see pink, cover and cook 3 to 4 minutes longer.
Can I make this recipe spicy?
Easily. Add 1/2 teaspoon red pepper flakes or a diced jalapeño with the garlic, or swap sweet paprika for hot smoked paprika. The Cajun variation is another good route, and hot sauce at the table lets everyone set their own level.
Conclusion
This easy one pan chicken and rice is the kind of recipe that’s there for you on an ordinary Tuesday — golden, juicy chicken, fluffy flavorful rice, one pan to wash, and dinner in about 45 minutes.
Make it once as written, then make it your own: Cajun for a Friday, Mediterranean for a bright evening, cheesy broccoli when the kids get a vote. I hope it becomes a recipe you know by heart. Happy cooking.
One Comment