
Juicy Baked Chicken Breast at 400°F (Perfect Every Time)
If you have ever pulled a tray of chicken breasts out of the oven, sliced into one hopefully, and found dry, stringy, chalky meat, you are not alone. Boneless, skinless chicken breast has a reputation for being the healthy choice that nobody actually enjoys eating. It is lean, it is affordable, it is endlessly versatile — and it punishes you for even five minutes of inattention. I spent years thinking the problem was the chicken itself, until I started paying attention to the details that actually matter: even thickness, a quick seasoning strategy, a hot oven, and, most importantly, pulling the chicken out at the right moment instead of cooking it into oblivion just to be safe.
This recipe for juicy baked chicken breast at 400 is the method I come back to more than any other in my kitchen. Four hundred degrees is the sweet spot I kept landing on after testing lower and slower roasts and blistering-hot broiler-style bakes. At 400°F the outside gets a chance to turn golden and pick up those savory, roasted flavors, while the inside stays tender because the chicken is not sitting in the oven long enough to dry out. The total bake is usually just 18 to 22 minutes for average-sized breasts, which makes this a genuine weeknight dinner, not a project.
This is for you if you meal prep on Sundays and need chicken that still tastes good on Wednesday, if you are cooking for picky eaters who want simple flavors done really well, or if you just want one reliable base recipe you can slice over salads, tuck into sandwiches, shred for tacos, or serve whole next to roasted vegetables. Once you understand why each small step in this method exists, you will not need to measure your spices or set three timers. You will just know how good baked chicken is supposed to feel, look, and taste — juicy, well-seasoned, and worth making again.
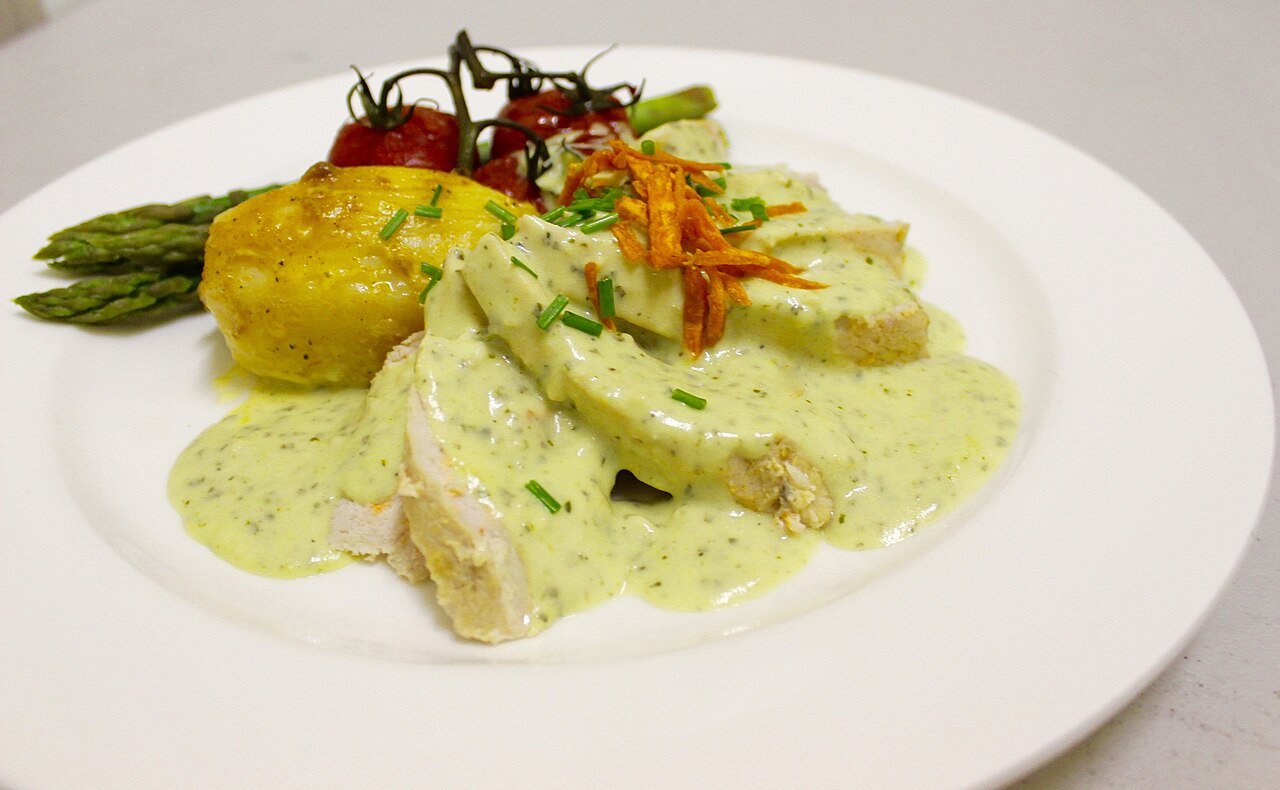
Why You’ll Love This Simple Oven Method
There are fancier chicken recipes in the world, but few that earn a permanent spot in the weeknight rotation. This one does, and here is why.
- Truly juicy, not just “not dry.” A short brine-style seasoning rest, even thickness, and resting after baking keep the juices in the meat instead of on the cutting board.
- Fast from start to finish. About 10 minutes of hands-on work and roughly 20 minutes in the oven. Dinner can be on the table in just over half an hour.
- Pantry seasonings only. No specialty spice blends or hard-to-find ingredients. Paprika, garlic powder, salt, pepper, and a little brown sugar do all the heavy lifting.
- Meal-prep friendly. Bake a double batch, slice or dice it once cooled, and you have cooked chicken ready for salads, wraps, grain bowls, soups, and pasta all week.
- Easy to customize. The base seasoning is classic and kid-friendly, but the variations section below shows you how to swing it Italian, smoky, lemon-herb, or spicy without changing the cooking method at all.
- Reliable temperature guidance. You will learn exactly what to look for, what thermometer reading to trust, and how thickness changes the timing, so your results stop depending on luck.
A Quick Word About Baking at 400°F
Before we get to the ingredients, it helps to understand why this temperature works so well. At 350°F, chicken breast bakes gently, but it also spends a long time in the oven slowly losing moisture, and the surface rarely browns — you end up with pale chicken that tastes steamed. At 425°F or 450°F, you get better browning, but the window between perfectly done and overdone shrinks to just a couple of minutes, and thinner edges can dry out before the center is cooked. At 400°F (about 200°C), you get the best of both: real golden color, a short cook time, and a forgiving few-minute margin that makes success much more likely for home cooks.
The other half of the equation is internal temperature. Chicken is safe to eat at 165°F (74°C), measured at the thickest part with an instant-read thermometer. Here is the detail that changes everything: if you bake the chicken all the way to 165°F in the oven, carryover cooking during resting will push it to 170°F or beyond, and that is where juiciness goes to die. Instead, this recipe has you pull the chicken at 160°F to 162°F, tent it loosely with foil, and let it rest for 5 to 10 minutes. The temperature will coast up to a safe 165°F while the juices redistribute through the meat. You get chicken that is both completely safe and genuinely moist. If you are nervous about this the first time, watch the thermometer during the rest — seeing it climb is reassuring, and after one or two tries it will feel completely natural.
Ingredients
This recipe serves 4, using about 2 pounds of chicken total. It scales up or down easily; just keep a little space between the pieces on the pan so they roast instead of steam.
- 4 boneless, skinless chicken breasts (about 2 lbs / 900 g total, roughly 8 oz / 225 g each). Try to choose breasts that are similar in size so they finish at the same time. If one is dramatically larger, consider butterflying it or saving it for another use.
- 1 tablespoon olive oil (15 ml). This helps the seasoning stick, encourages browning, and adds a thin protective layer against the oven’s dry heat. Avocado oil works just as well.
- 1 1/2 teaspoons kosher salt (about 9 g). If you are using fine table salt, reduce this to about 1 teaspoon, since table salt packs more densely. Salt is doing real work here — it seasons and helps the meat hold onto moisture.
- 1 teaspoon paprika (smoked paprika is wonderful if you have it). Paprika brings warm color and a gentle, sweet-pepper depth. It is a big part of why this chicken looks as good as it tastes.
- 1 teaspoon garlic powder. Garlic powder distributes evenly and will not burn the way fresh minced garlic can at this temperature. Save the fresh garlic for a pan sauce or side dish.
- 1/2 teaspoon onion powder. Quietly rounds out the savory flavor. You will not taste “onion,” but you will notice if it is missing.
- 1/2 teaspoon freshly ground black pepper. Adjust up if you like a little more bite.
- 1 teaspoon light brown sugar (optional but recommended). A tiny amount helps the surface caramelize into that appetizing golden crust and balances the salt. It does not make the chicken sweet.
- 1/2 teaspoon dried Italian seasoning or dried thyme (optional). Adds an herby background note. Rub it between your fingers before sprinkling to wake up the dried herbs.
- Lemon wedges and chopped fresh parsley, for serving (optional). A squeeze of lemon and a shower of something green make simple chicken look and taste finished.
Notes on the Chicken Itself
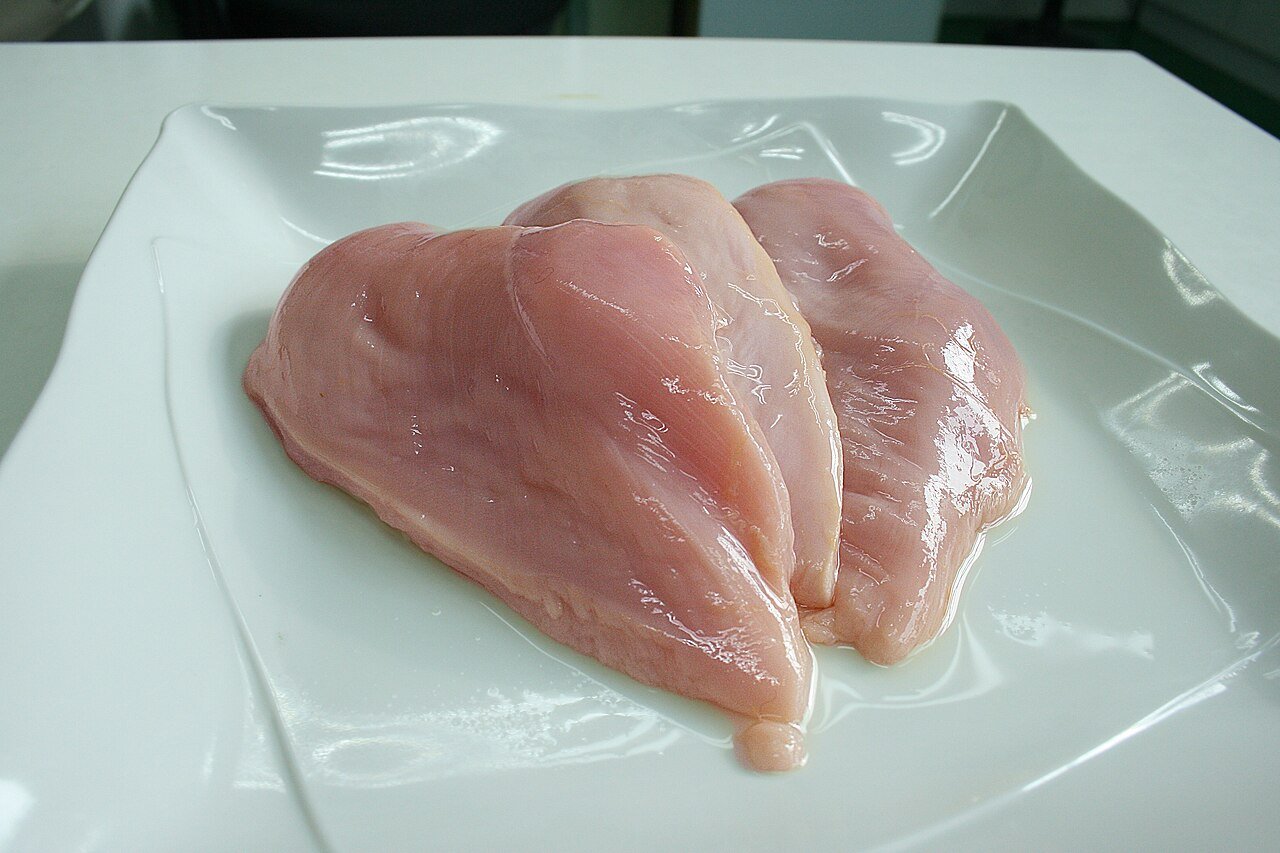
The single biggest variable in this recipe is the shape of your chicken breasts. Modern chicken breasts are thick — often 1 1/2 inches or more at the fat end, tapering to almost nothing at the tip. That teardrop shape is the enemy of even cooking: by the time the thick end is done, the thin end is overcooked. The fix, covered in the steps below, is to pound the breasts to an even thickness of about 3/4 inch. Do not skip it. Five minutes with a meat mallet (or a rolling pin, or even a heavy skillet) is the difference between okay chicken and great chicken.
Fresh versus frozen matters too. If your chicken is frozen, thaw it completely in the refrigerator — allow roughly 24 hours for a package of breasts, or use the cold-water method, changing the water every 30 minutes, for a few hours. Baking from partially frozen almost guarantees uneven results, with icy centers and dry exteriors. Pat thawed chicken very dry with paper towels before seasoning; surface moisture is the enemy of browning.
Equipment You’ll Need
Nothing specialized, but a couple of tools make a real difference.
- Rimmed baking sheet or a 9×13-inch baking dish
- Parchment paper or foil, for easy cleanup (optional)
- Meat mallet, rolling pin, or heavy skillet, plus a zip-top bag or plastic wrap for pounding
- Instant-read meat thermometer — truly non-negotiable for juicy results
- Small bowl for mixing the seasoning
- Tongs
- Cutting board and a sharp knife for slicing after resting
If you do not own a thermometer yet, this recipe is the reason to buy one. Inexpensive instant-read models are widely available and pay for themselves the first time you serve chicken that is perfectly cooked instead of guessed at. Color is not a reliable doneness test, and cutting into the chicken to peek releases the juices you worked to keep.
Step-by-Step Instructions
Read through the steps once before you start. The actual work is simple, and most of the magic is in the order of operations and a few small details.
- Preheat the oven to 400°F (200°C). Position a rack in the center of the oven. Let the oven fully preheat — at least 15 to 20 minutes — because chicken put into a still-heating oven cooks unevenly and takes longer, which dries it out. Line your baking sheet with parchment if you like, or lightly grease your baking dish.
- Pound the chicken to an even thickness. Place one breast at a time inside a zip-top bag with the air pressed out, or between two sheets of plastic wrap. Using the flat side of a meat mallet or a rolling pin, pound gently but firmly, starting from the center and working outward, until the breast is an even 3/4 inch thick all over. You are not making cutlets — you are just leveling the playing field. Repeat with the remaining breasts. If a breast is exceptionally thick (over 1 1/4 inches even after pounding), you can butterfly it instead: slice horizontally through the thickest part, opening it like a book.
- Pat the chicken completely dry. Use paper towels on both sides of each breast. This step feels fussy but it matters twice over: dry chicken browns better, and seasoning sticks to a dry surface instead of sliding off in wet patches.
- Mix the seasoning blend. In a small bowl, stir together the salt, paprika, garlic powder, onion powder, black pepper, brown sugar, and Italian seasoning if using. Breaking up any brown sugar lumps with your fingers now prevents sweet spots later.
- Oil and season the chicken. Drizzle the olive oil over the chicken and rub it over all surfaces with your hands. Then sprinkle the seasoning blend evenly over both sides of each breast, pressing it on gently so it adheres. Be generous and thorough — since there is no sauce, this seasoning is the flavor. If you have time, let the seasoned chicken rest at room temperature for 15 to 20 minutes while the oven finishes heating. This takes the chill off so it cooks more evenly, and gives the salt a head start. For even better results, you can season the chicken, refrigerate it uncovered for up to 8 hours, and bake it later — the salt works like a quick dry brine and the surface dries for superior browning.
- Arrange the chicken on the pan. Place the breasts on the prepared pan with at least an inch of space between them. Crowded chicken steams in its own juices and turns pale. If the pieces have a smooth, slightly domed side, put that side up — it presents beautifully. Do not add liquid to the pan; this is roasting, not braising.
- Bake for 18 to 22 minutes. Slide the pan onto the center rack and bake undisturbed. There is no need to flip boneless breasts at this temperature, and opening the oven repeatedly lets heat escape. Start checking the temperature at 16 minutes if your breasts are on the smaller side or pounded a bit thinner, and at 18 minutes for average ones. Thicker breasts (around 1 inch after pounding) may need 22 to 25 minutes. The chicken is ready to come out when an instant-read thermometer inserted horizontally into the thickest part reads 160°F to 162°F (71°C to 72°C). The surface should be golden with appetizing browned edges, and the chicken should feel firm but springy when pressed — not hard, not squishy.
- Rest for 5 to 10 minutes — do not skip this. Transfer the chicken to a clean cutting board or plate and tent it loosely with foil. During resting, two important things happen: carryover heat brings the internal temperature up to a safe 165°F, and the juices that were driven toward the center during cooking relax and redistribute through the whole breast. If you slice immediately, those juices pour out onto the board and the meat eats dry no matter how perfectly you cooked it. Five patient minutes is the cheapest insurance in this whole recipe.
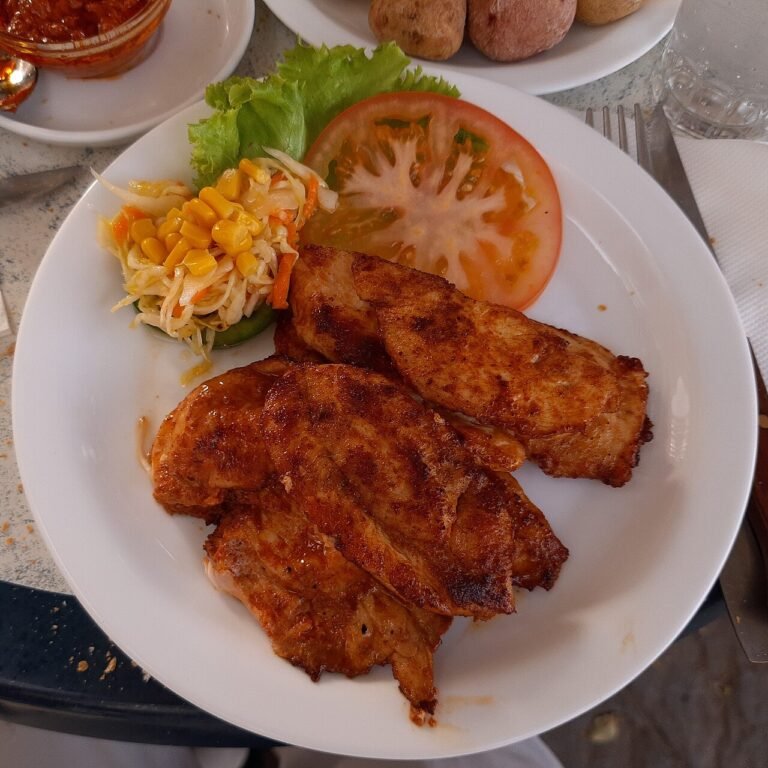
- Slice and serve. Slice the chicken against the grain into 1/2-inch slices, or serve the breasts whole. Spoon any juices that collected on the board back over the top — that is pure flavor. Finish with a squeeze of lemon and a sprinkle of parsley if you like, and serve warm.
Timing Guide by Thickness
Because thickness, not weight, determines baking time, use this chart as a starting point and always confirm with your thermometer. Times are for chicken baked at 400°F, pulled at 160°F to 162°F and rested to 165°F.
- 1/2 inch thick (thin cutlets): 12 to 15 minutes
- 3/4 inch thick (the target in this recipe): 18 to 20 minutes
- 1 inch thick: 20 to 23 minutes
- 1 1/4 inches thick: 23 to 26 minutes
- 1 1/2 inches thick (unpounded large breasts): 26 to 30 minutes — and expect the thin edges to dry out, which is why pounding is worthwhile
Every oven runs a little hot or cold, and cold chicken straight from the fridge adds a minute or two. Treat the chart as a map and the thermometer as the truth.
My Best Tips for the Juiciest Results
Even thickness beats everything else. I have said it above and I will say it again because it is the one tip that transforms this recipe. Pounding is not about making the chicken thin; it is about making it uniform, so every bite finishes cooking at the same moment.
Season a little earlier when you can. Salt needs time to work. Even 30 minutes of rest after seasoning noticeably improves flavor and moisture retention, and an overnight dry brine in the fridge — seasoned, uncovered, on a rack or plate — gives you the best texture of all. If you do brine ahead, there is no need to add more salt before baking.
Do not bake cold, straight-from-the-fridge chicken if you can help it. Twenty minutes on the counter while the oven preheats softens the chill and promotes even cooking. Do not leave raw chicken out longer than is safe — about 30 minutes at room temperature is plenty for this purpose, and never more than 2 hours total.
Trust the thermometer, not the clock, and not the juices. The old advice about juices running clear is unreliable; chicken can have clear juices and still be underdone, or a faint pink tint near 165°F from harmless myoglobin. The number on the thermometer is the only test that counts, and inserting it horizontally into the thickest part gives the most accurate reading.
Let the pan work for you. A dark metal pan browns a bit more aggressively than a glass dish; a glass or ceramic dish holds heat and can carry the chicken a degree or two further during resting. Either works — just know your equipment and check the temperature a minute or two early the first time you use a new dish.
Slice against the grain. Look for the faint lines running along the meat and cut across them. This shortens the muscle fibers and makes each slice noticeably more tender to chew, especially if the chicken will be eaten cold in salads the next day.
Common Mistakes to Avoid
Overbaking “just to be safe.” This is the number-one cause of dry chicken in home kitchens. An extra five minutes at 400°F can take the internal temperature from a juicy 165°F to a leathery 180°F. The thermometer removes the guesswork that leads people to overcook out of caution.
Skipping the rest. Slicing immediately and watching a puddle of juice form on the board is a heartbreaking sight once you know that juice was supposed to be in the chicken. Rest every time.
Baking chicken of wildly different sizes together. A 5-ounce breast and a 12-ounce breast will never finish together. Pound for even thickness and, if sizes differ a lot, simply pull the smaller pieces earlier as they reach temperature.
Crowding the pan or adding water. Chicken releases moisture as it cooks. Packed tightly or sitting in added liquid, it steams and turns rubbery and pale. Space is browning power.
Using only salt and pepper and wondering why it is bland. Boneless chicken breast is mild by nature. A balanced blend with paprika, garlic, and a touch of sugar gives it the savory, golden character people expect from a recipe — seasoning is not optional garnish here, it is the main event.
Forgetting that carryover works both ways. Just as resting raises the temperature, a blazing-hot pan pulled from the oven keeps cooking the underside. Moving the chicken off the hot pan to a board for its rest keeps the temperature rise gentle and predictable.
Substitutions and Flavor Variations
Once the method is second nature, the seasoning is a playground. Keep the oil, salt, and cooking times the same and change the personality.
- Lemon Herb: Replace the paprika and brown sugar with the zest of 1 lemon, 1 teaspoon dried oregano, and an extra 1/2 teaspoon garlic powder. Finish with lemon juice and fresh herbs. Bright and lovely with fish-style sides like rice pilaf and green beans.
- Smoky BBQ Style: Use smoked paprika, add 1 teaspoon chili powder and 1/2 teaspoon ground cumin, and increase the brown sugar to 1 tablespoon. Brush lightly with your favorite barbecue sauce in the last 3 minutes of baking.
- Italian-Inspired: Use 2 teaspoons Italian seasoning, add 1/4 cup finely grated Parmesan over the top before baking, and finish with torn basil. Wonderful sliced over pasta or polenta.
- Cajun-Spiced: Swap the blend for 2 teaspoons Cajun seasoning and a pinch of cayenne if you like heat. Watch the salt — many store-bought Cajun blends are already salty, so reduce the added salt to 1/2 teaspoon.
- Honey Mustard: Whisk 1 tablespoon Dijon mustard and 2 teaspoons honey into the oil before rubbing it on, keeping the other seasonings. The mustard helps the spices cling and adds gentle tang.
- Oil swap: Melted butter can replace the olive oil for a richer flavor; brush it on rather than drizzling, and watch the edges, since milk solids brown faster.
- Boneless thighs instead: This same method works beautifully with boneless, skinless chicken thighs. They are more forgiving and can bake a few minutes longer; cook them to 165°F to 175°F for the best texture — thighs actually get more tender slightly past 165°F.
If you are in the mood for even simpler cooking on another night, my collection of easy ideas for chicken on busy evenings is worth a look — you will find plenty of inspiration in these chicken breast recipes with few ingredients that keep shopping lists short without sacrificing flavor.
What to Serve With Baked Chicken Breast
Plain, well-cooked chicken is a team player, so think about contrast: something starchy, something green, and something with a little acidity or sauce to keep each bite interesting.
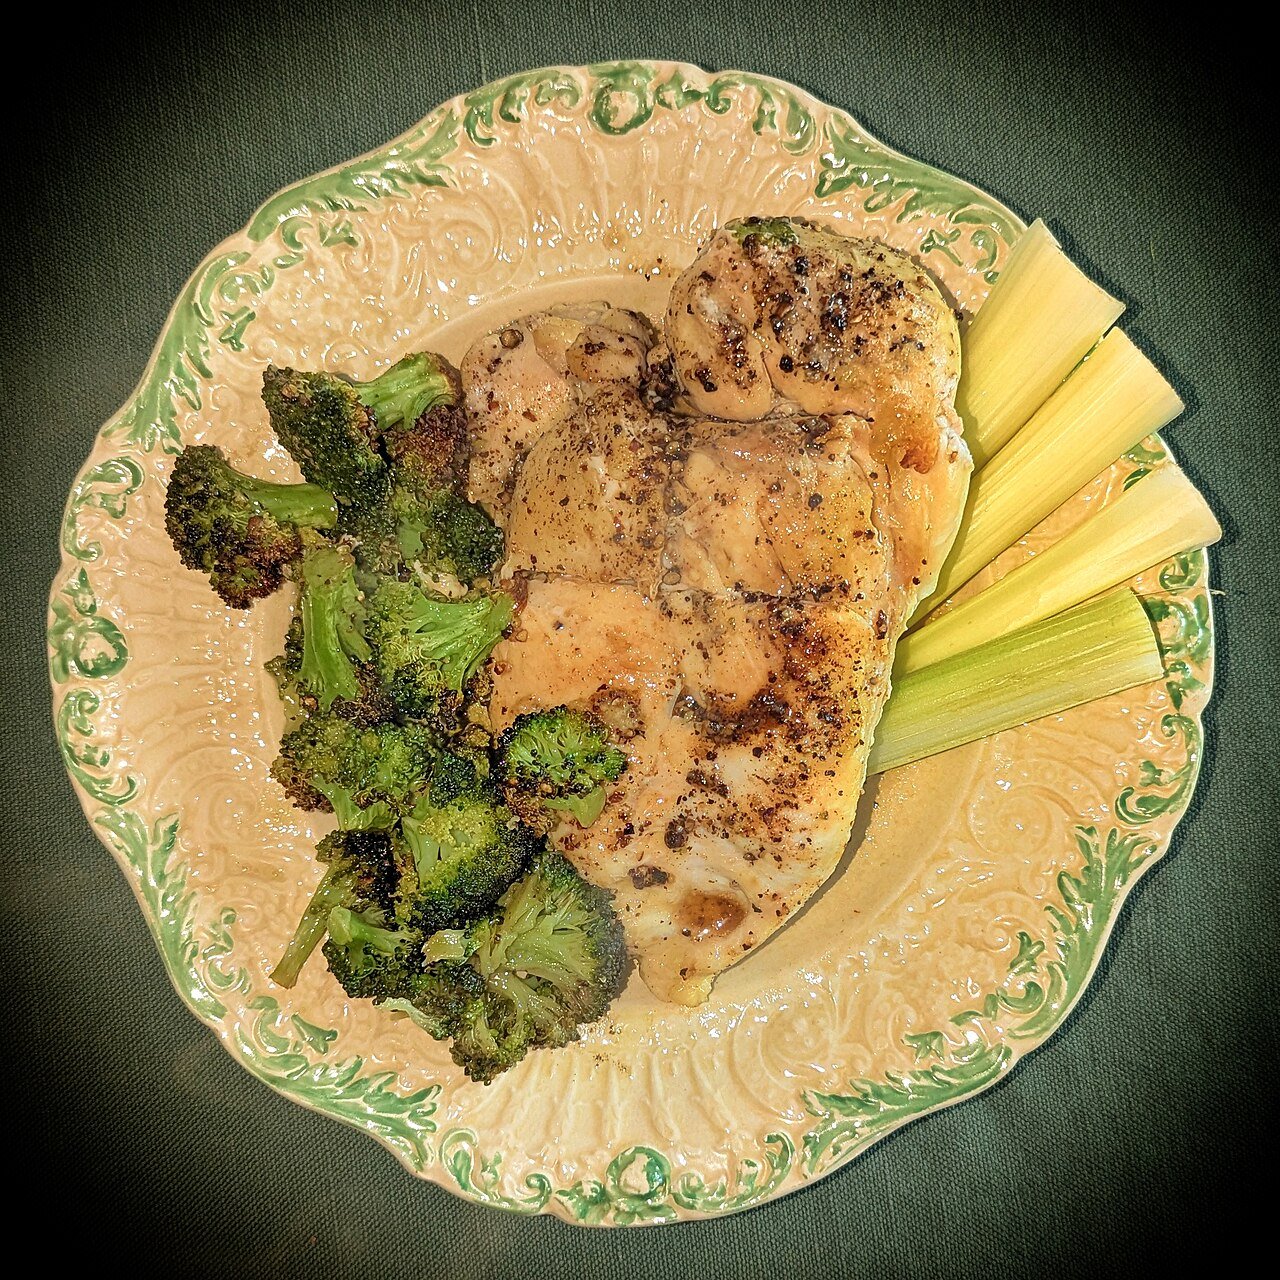
For an easy weeknight plate, serve the sliced chicken with garlic mashed potatoes or buttered rice and a pile of roasted broccoli or green beans — both vegetables roast happily at the same 400°F, so you can put a second tray in the oven alongside the chicken. A simple pan sauce elevates everything: while the chicken rests, pour 1/3 cup chicken broth into the hot baking dish, scrape up the browned bits, stir in a knob of butter and a squeeze of lemon, and spoon it over the slices.
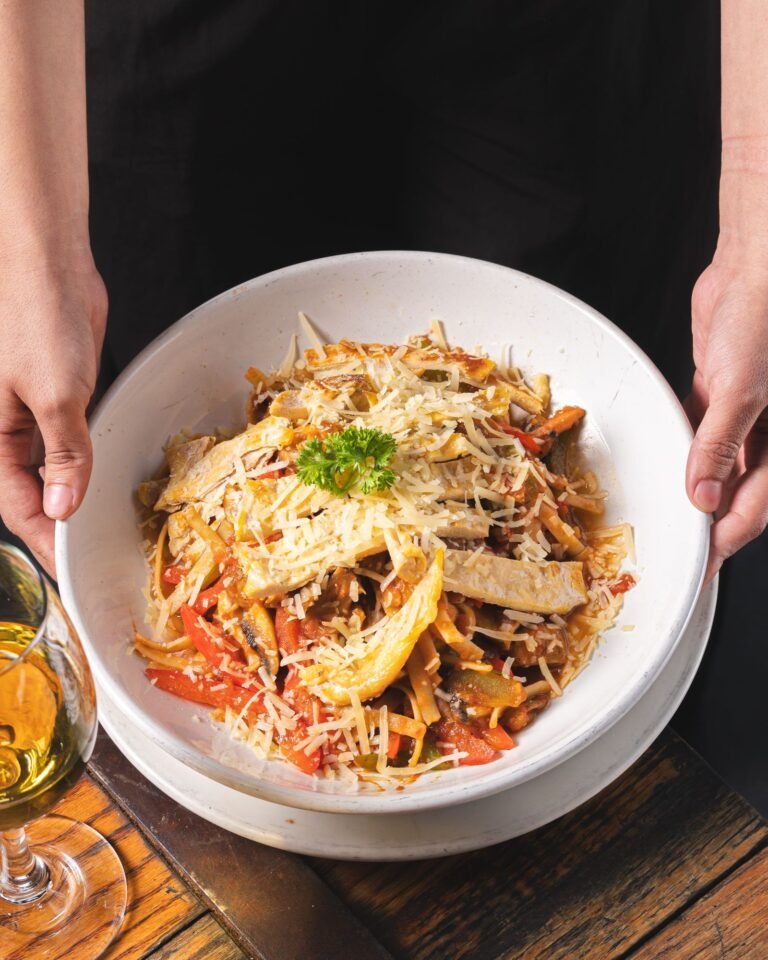
For lighter meals, slice the chicken over a big Caesar or chopped salad, layer it into grain bowls with quinoa, roasted sweet potato, and a yogurt or tahini dressing, or tuck it into wraps with crunchy lettuce and tomatoes. It is equally at home in chicken Alfredo pasta, fried rice, chicken salad sandwiches the next day, or shredded into soup. And because the seasoning is classic rather than strongly themed, leftovers rarely clash with whatever you had planned.
If your household also loves a fun, hands-off chicken dinner for movie night or game day, it is worth knowing that the air fryer handles convenience foods just as reliably — this guide to air fryer frozen chicken nuggets time and temperature is the one I send friends who want crispy nuggets without guesswork.
Storage, Freezing, and Reheating
Refrigerating: Cool leftovers promptly and store sliced or whole chicken in an airtight container in the refrigerator for up to 3 to 4 days. Storing it in its own resting juices, or with a spoonful of chicken broth, helps it stay moist. Cooked chicken is at its best in cold applications — salads, wraps, sandwiches — where dryness is least noticeable.
Freezing: Baked chicken breast freezes well for up to 3 months. Slice or dice it first for the most flexible thawing, portion it into freezer bags with the air pressed out, and label with the date. Freeze the portions flat so they thaw quickly and stack neatly. Thaw overnight in the refrigerator before using.
Reheating without drying it out: The microwave is convenient but brutal to lean chicken if used at full power. For best results, place slices in an oven-safe dish, sprinkle with a tablespoon or two of water or broth, cover with foil, and warm in a 325°F (165°C) oven for about 10 to 15 minutes, until just heated through to 165°F. In the microwave, use 50 to 70 percent power in short bursts with the chicken covered by a damp paper towel. Avoid reheating whole breasts at high heat, and never reheat the same leftovers more than once.
Nutrition Information
The following is a rough home-kitchen estimate for one serving (one chicken breast, about 8 oz raw weight, with the seasoning blend and olive oil, without optional garnishes). Actual values will vary with the size of your chicken breasts, the exact salt and sugar used, and how much seasoning stays on the pan.
- Calories: approximately 290
- Protein: approximately 52 g
- Total fat: approximately 7 g
- Saturated fat: approximately 1.5 g
- Carbohydrates: approximately 2 g
- Sugar: approximately 1 g
- Sodium: approximately 780 mg
- Fiber: 0 g
These figures are estimates provided for general guidance only and are not a substitute for professional nutritional advice. If you need precise numbers for medical reasons, calculate them from your exact ingredients using a nutrition calculator or consult a registered dietitian. Skinless chicken breast remains one of the leanest, highest-protein staples you can cook, which is exactly why learning to make it juicy is such a worthwhile skill.
Frequently Asked Questions
How long do you bake chicken breast at 400°F?
For boneless, skinless breasts pounded to an even 3/4 inch thickness, bake for 18 to 22 minutes at 400°F. Thinner cutlets may be done in 12 to 15 minutes, while very thick breasts can take 25 minutes or more. Always confirm with a thermometer rather than relying on time alone, since oven temperatures and chicken sizes vary.
What internal temperature should baked chicken breast reach?
Chicken is safe at 165°F (74°C) in the thickest part. For the juiciest result, remove the chicken from the oven at 160°F to 162°F and let it rest, tented with foil, for 5 to 10 minutes. Carryover cooking will bring it up to 165°F while the juices redistribute, so you get chicken that is both safe and moist.
Should I cover chicken breast with foil while baking?
You do not need to for this recipe. Baking uncovered at 400°F gives you the golden, seasoned surface that makes the chicken appealing. Covering traps steam and produces paler, softer chicken. If your chicken is browning too quickly — which can happen with the sugar in the rub in a hot oven — loosely tent foil over the top for the final few minutes.
Do I really need to pound the chicken?
It is the single most effective step for even cooking, so yes, it is strongly recommended. Pounding to an even 3/4 inch means the thin end does not overcook while the thick end catches up. If you truly cannot pound, butterfly thick breasts instead, or choose smaller, naturally even breasts and check the temperature early and often.
Can I bake frozen chicken breast at 400°F?
You can in a pinch, but the results will be noticeably less juicy and less evenly cooked, and the seasoning will not adhere well. If you must, bake frozen breasts at 400°F for roughly 30 to 35 minutes — about 50 percent longer than thawed — and verify 165°F in the center of each piece. Thawing first, in the fridge overnight or in cold water for a few hours, is well worth it.
Why is my baked chicken breast always dry?
The usual culprits are overbaking past 165°F, uneven thickness, skipping the resting time, and baking at too low a temperature for too long. Fix those four things — pound evenly, use a thermometer, pull at 160°F to 162°F, and rest — and dry chicken almost always becomes a thing of the past. An accurate oven thermometer helps too, since many ovens run hotter than the dial claims.
Can I use bone-in, skin-on chicken breast instead?
Yes, but the timing changes significantly. Bone-in, skin-on split breasts are thicker and insulated by the bone, so expect 35 to 45 minutes at 400°F, and start checking the temperature at 30 minutes. Keep the skin dry and well seasoned for crisp results, and still pull the meat at 160°F to 162°F near the bone — without touching the bone with the thermometer probe, which gives a false reading.
How do I know the chicken is done without a thermometer?
Honestly, a thermometer is the only reliable method, and an inexpensive one is a worthwhile purchase. As rough secondary cues, done chicken feels firm with a slight spring when pressed, the meat is opaque white all the way through when cut, and the juices look clear rather than pink. But these cues mislead even experienced cooks, so treat them as backups, not the plan.
Can I prepare this chicken ahead for meal prep?
Absolutely — this recipe is a meal-prep staple. Bake a double batch, let it cool, then slice or dice and refrigerate in airtight containers for up to 4 days, or freeze portions for up to 3 months. To keep prepped chicken tasting fresh, store it with a little of its own juices and add sauces, dressings, or a squeeze of lemon when serving rather than before storing.
What if I don’t have all the spices?
The essential core is salt, pepper, garlic powder, and paprika. If you are missing onion powder or the Italian seasoning, the chicken will still be delicious. In a real pinch, a good all-purpose seasoning blend or rotisserie chicken seasoning can replace the whole spice mix — just check its salt content and adjust the added salt accordingly so the chicken is not over-salted.
Conclusion
Good baked chicken breast is not about a secret ingredient or a complicated technique. It is about a handful of small, sensible habits done consistently: even thickness, thorough seasoning, a properly hot 400°F oven, a thermometer you trust, and the patience to let the meat rest before you slice it. Put those together and juicy baked chicken breast at 400 stops being a gamble and becomes the most dependable dinner in your repertoire — the one you can make half-asleep on a Tuesday and proudly serve to guests on a Saturday.
Make it once exactly as written so you learn the timing in your own oven, then start playing with the variations until you find your family’s favorite version. I would love to hear how it goes for you — which seasoning blend you chose, what you served alongside, and whether the resting trick converted any chicken skeptics at your table. Happy cooking, and enjoy every juicy slice.
One Comment