Homemade Chicken Nuggets in Air Fryer (Crispy & Kid-Friendly)
If your house is anything like mine, chicken nuggets are a peace treaty — the dinner everyone agrees on and the snack that disappears before it hits the plate. The frozen bag version never quite tastes like real chicken, and deep-frying feels like a whole project on a busy night. That is why these homemade chicken nuggets in air fryer have become a weekly staple here.
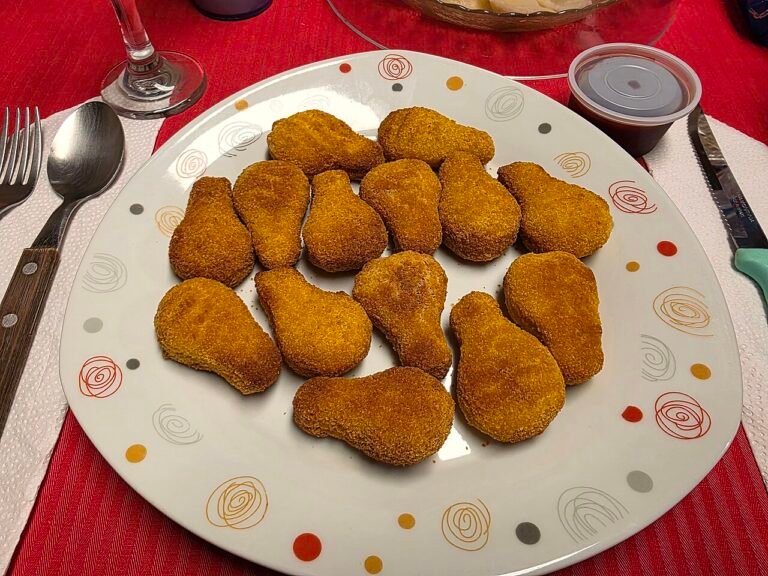
This recipe gives you juicy, tender chicken inside and a golden, crunchy coating outside. Because the air fryer circulates hot air so efficiently, you get deep-fried crispness with just a light spritz of oil — no splattering skillet or heavy grease. A simple seasoned dredge locks in the juices, and the coating turns crisp in under 12 minutes.
These nuggets are made for real families. The seasoning is warm and savory without being spicy, so kids love them plain, but adults enjoy them too — especially with a good dipping sauce. They use pantry ingredients, can be prepped ahead, and leftovers reheat beautifully. Whether you are feeding picky toddlers, hungry teenagers, or craving a better-than-drive-thru snack, keep this recipe close.
Why You’ll Love This Recipe
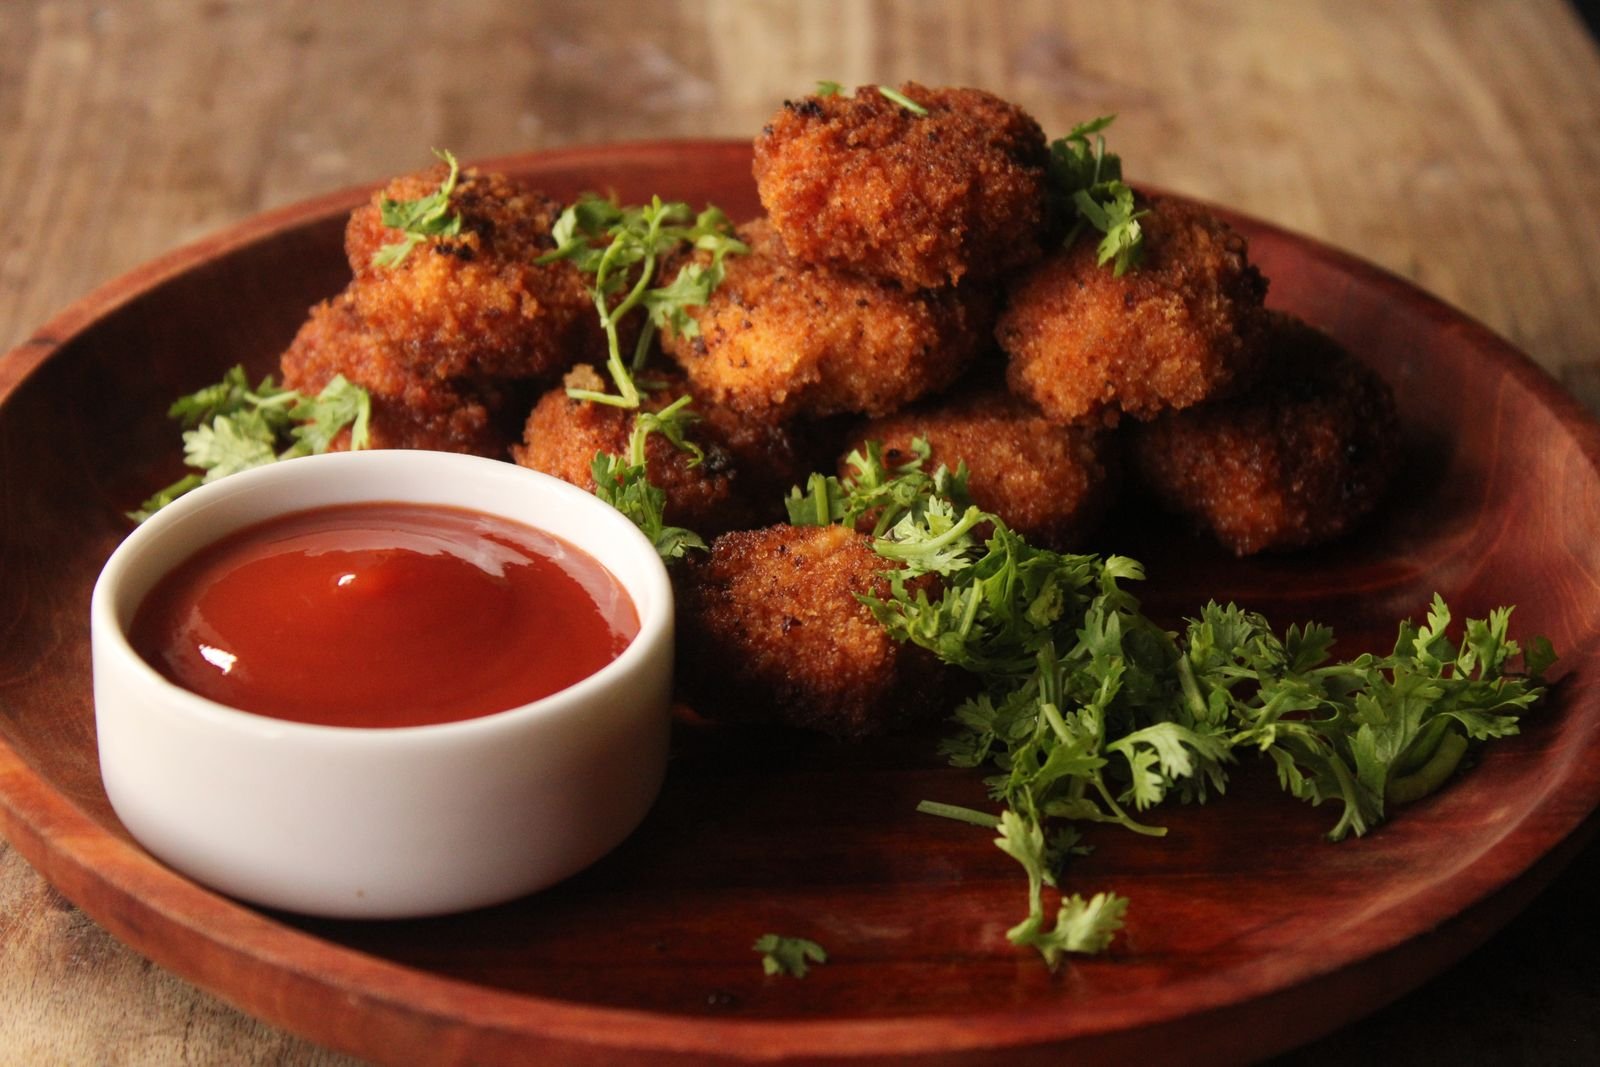
- Truly crispy without deep frying: The air fryer plus a panko coating gives you that crunchy, golden crust with only a teaspoon or two of oil spray.
- Real chicken, real flavor: You start with fresh chicken breast or tenders, so you control the quality, the salt, and the seasoning — no mystery meat.
- Kid-friendly but not bland: Mild, familiar flavors kids adore, with easy ways to dial up the seasoning for grown-up palates.
- Fast weeknight cooking: About 15 minutes of prep and 10 to 12 minutes in the air fryer. Dinner is on the table in under 30 minutes.
- Meal-prep and freezer friendly: Make a double batch, freeze the extras, and reheat straight from frozen for busy days.
- Budget friendly: A pound and a half of chicken plus pantry staples costs far less than takeout or premium frozen nuggets.
Ingredients
This recipe makes about 24 nuggets, enough for 4 servings as a main or 6 as a snack.
- 1 1/2 pounds (680 g) boneless, skinless chicken breasts — or chicken tenders. Breasts give you classic nugget shapes; tenders are a little more forgiving and stay extra juicy.
- 1 cup (120 g) all-purpose flour — the first layer of the dredge. It helps the egg stick and gives the crust structure.
- 1 teaspoon fine sea salt, divided — half goes in the flour, half seasons the chicken directly so every layer is flavorful.
- 1 teaspoon garlic powder — adds savory depth without any raw garlic bite, which keeps it kid-friendly.
- 1 teaspoon onion powder — rounds out the flavor and mimics that classic fast-food nugget taste.
- 1 teaspoon smoked or sweet paprika — sweet paprika keeps it mild; smoked adds a subtle warmth. Either works.
- 1/2 teaspoon black pepper — just enough for gentle warmth. Reduce to 1/4 teaspoon for very young kids.
- 1/4 teaspoon mustard powder (optional) — a secret little ingredient that adds tang and complexity. Skip it if you do not have it.
- 2 large eggs — beaten with a splash of milk, they act as the glue for the coating.
- 2 tablespoons milk — whole, 2%, or even water in a pinch. It thins the egg just enough for an even coat.
- 1 1/2 cups (90 g) panko breadcrumbs — the key to serious crunch. Panko is flakier and lighter than regular breadcrumbs, so it crisps up beautifully in the air fryer.
- 1/2 cup (50 g) finely grated Parmesan cheese (optional but recommended) — melts into the crust, adds saltiness and helps it brown. Use the powdery kind from a can or finely grate your own.
- Cooking oil spray — avocado oil or olive oil spray. A light, even mist is what transforms the dry crumbs into a golden crust.
- Dipping sauces, for serving — ketchup, honey mustard, BBQ sauce, ranch, or whatever your family loves.
A few notes on key ingredients
The chicken: Choose breasts of similar thickness so they cook evenly. If one is very thick, slice it horizontally or pound it to about 3/4 inch before cutting into 1 1/2-inch chunks — roughly two-bite nuggets. Smaller pieces dry out; larger ones brown before the center cooks.
The panko: Regular fine breadcrumbs work, but the crust will be thinner and less crunchy. Panko is widely available now and keeps for months.
The seasoning: This blend is intentionally gentle. Add 1/4 teaspoon cayenne for a kick, or leave out the pepper for toddlers — they will still be tasty thanks to the garlic, onion, and Parmesan.
Equipment
You do not need anything fancy, which is part of the charm:
- Air fryer (basket style or oven style, at least 4-quart capacity is ideal)
- 3 shallow bowls or pie plates for the dredging station
- Sharp knife and cutting board
- Tongs for flipping
- Instant-read meat thermometer — the surest way to know your chicken is safely cooked
- Wire cooling rack (optional, for resting the breaded nuggets)
Step-by-Step Instructions
The secret is staying organized: set up your station, bread everything first, then air fry in batches.
1. Prep the chicken (5 minutes). Pat the chicken very dry with paper towels. Surface moisture is the enemy of a crisp coating. Trim any visible fat, then cut the chicken into nugget-sized pieces, about 1 1/2 inches by 1 inch. Season the pieces all over with 1/2 teaspoon of the salt and a pinch of the pepper. Set aside while you set up the dredge.
2. Set up your dredging station. In the first shallow bowl, whisk together the flour, remaining 1/2 teaspoon salt, garlic powder, onion powder, paprika, remaining pepper, and mustard powder if using. In the second bowl, beat the eggs with the milk until no streaks of yolk remain. In the third bowl, stir together the panko and Parmesan. Line the bowls up — flour, egg, panko — with chicken on one side and a clean plate on the other.
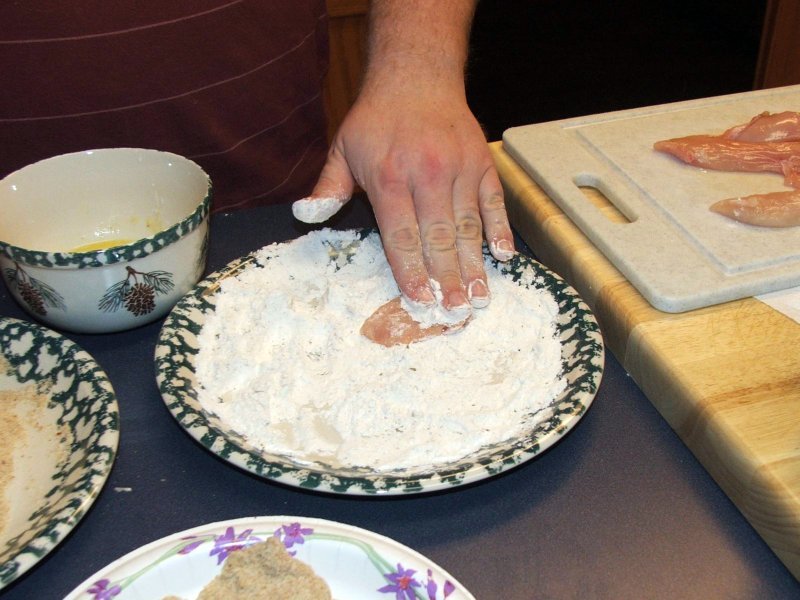
3. Bread the nuggets. Working with one piece at a time, coat the chicken in the seasoned flour, shaking off the excess. Dip it into the egg mixture, letting the extra drip off for a second. Then press it firmly into the panko mixture, turning and pressing so the crumbs adhere on all sides. Press firmly so the coating stays on during cooking. Place the breaded nugget on the rack or plate and repeat. Pro move: use one hand for the dry ingredients and the other for the wet egg dip. It prevents the dreaded “breaded fingers” effect.
4. Rest the breaded nuggets (10 minutes, highly recommended). Let the breaded nuggets rest 10 minutes at room temperature, or up to 30 minutes in the fridge. This helps the coating set, stick better, and crisp more evenly.
5. Preheat the air fryer. Preheat to 400°F (200°C) for 3 to 5 minutes. Preheating starts the crust crisping immediately instead of steaming.
6. Arrange and spray. Lightly spray the air fryer basket with oil. Arrange the nuggets in a single layer with a little space between each one — they should not touch. Air needs to circulate around every side, so if they are crowded, cook in two batches instead. Spray the tops of the nuggets generously and evenly with oil spray until the crumbs look damp, not dry and dusty. Panko without oil will stay pale.
7. Air fry the first side (5 to 6 minutes). Cook at 400°F (200°C) for 5 to 6 minutes, until the tops are starting to turn golden. Look for light golden color and a crust that feels firm when tapped with tongs.
8. Flip, spray again, and finish (4 to 6 minutes). Flip each nugget carefully with tongs, spray the second side lightly with oil, and continue cooking for another 4 to 6 minutes. The nuggets are done when the coating is deep golden brown and crisp all over, and — most importantly — the internal temperature reaches 165°F (74°C) on an instant-read thermometer inserted into the thickest piece. If a few pieces are browning faster than others, pull them early and let the rest finish.
9. Rest and serve. Transfer the nuggets to a plate or a clean rack and let them rest for 2 to 3 minutes. Serve immediately with plenty of dipping sauces.
Total time: About 15 minutes prep, 10 minutes resting (optional), 10 to 12 minutes cooking per batch — under 35 minutes from start to finish for most kitchens.
Pro Tips for the Crispiest Nuggets
A few small habits make the difference between good nuggets and the kind your family requests by name.
Dry chicken, firm press. Pat the chicken dry, shake off excess flour and egg, and press the panko on firmly. A thin, even coating crisps; a loose one falls off.
Do not skip the oil spray. Breadcrumbs need a little fat to toast and turn golden. Spray until crumbs look moistened, before cooking and after flipping.
Give them space. Crowding is the number one reason air fryer food steams instead of crisping. One layer, gaps between pieces, batches if needed. Your second batch will cook slightly faster because the air fryer is fully hot, so check it a minute early.
Use the thermometer, not just the clock. Air fryers vary. Only a thermometer guarantees the chicken has reached 165°F (74°C) without overcooking. Check the largest nugget.
Size matters. Cut pieces to a similar size. Group small scraps together and check them early.
Double-dip for extra crunch. For a thicker crust, dip in egg and panko twice. Increase the panko by about 1/2 cup if you do this.
Common Mistakes to Avoid
Everyone makes at least one of these the first time — here is how to sidestep them.
The first is skipping the preheat and then wondering why the bottoms are pale. A hot basket sears the underside on contact. The second is using wet chicken straight from the package. That moisture turns the flour layer into paste and the coating slides right off in the basket. Third, avoid the temptation to shake the basket like you would for fries. Nuggets are delicate before the crust sets; flipping gently with tongs halfway through keeps the breading intact and browns both sides evenly.
Also season the chicken itself, not just the flour, or the middle will taste bland. And do not pile hot nuggets in a bowl — steam softens the crust. Keep them in a single layer on a rack or plate.
Substitutions and Easy Swaps
This recipe is flexible, and chances are you already have a workable substitute in your kitchen for anything you are missing.
Chicken thighs instead of breasts: Boneless, skinless thighs work wonderfully and are even more forgiving — they stay juicy if they cook a minute or two long. Trim excess fat, cut into chunks, and follow the recipe exactly. The internal temperature target is still 165°F (74°C), though thighs are safe and tasty up to 175°F (79°C).
Gluten-free version: Swap the all-purpose flour for a 1:1 gluten-free flour blend and use gluten-free panko, which most big grocery stores now carry. The method does not change at all. Check that your Parmesan and spices are certified gluten-free if you are cooking for someone with celiac disease.
Dairy-free version: Skip the Parmesan and replace the milk in the egg wash with water or an unsweetened plant milk. The nuggets will still be crisp and flavorful — add an extra pinch of salt to the panko to make up for the missing cheese.
No eggs? Use 1/3 cup mayonnaise thinned with a tablespoon of milk, or 1/2 cup buttermilk, as the binder. The mayo version browns faster, so check a minute early.
Different crumbs: Crushed cornflakes make an extra-crunchy coating. Crushed Ritz-style crackers give a buttery crust. Crushed pretzels work too — just reduce the added salt.
Flavor Variations to Try
Once you have the basic method down, the nugget becomes a playground. Try one of these the next time you make a batch.
Classic ranch: Add 1 tablespoon dry ranch seasoning to the panko mixture and serve with ranch for dipping. Double ranch, no regrets.
Honey BBQ: Stir 1 teaspoon smoked paprika and 1 teaspoon brown sugar into the flour, then toss the hot, cooked nuggets in a few tablespoons of warmed BBQ sauce thinned with a teaspoon of honey. Return them to the air fryer for 1 minute to set the glaze.
Parmesan herb: Add 1 teaspoon Italian seasoning and extra Parmesan to the crumbs, and serve with warm marinara for dipping — a chicken Parmesan nugget situation that disappears fast.
Buffalo style (for the grown-ups): Keep the kids’ batch plain, then toss the adults’ nuggets in buffalo sauce right after cooking and serve with blue cheese or ranch and celery sticks.
Spicy nuggets: Add 1/2 teaspoon cayenne and 1 teaspoon chili powder to the flour. A drizzle of hot honey at the table is very good here.
What to Serve With Chicken Nuggets
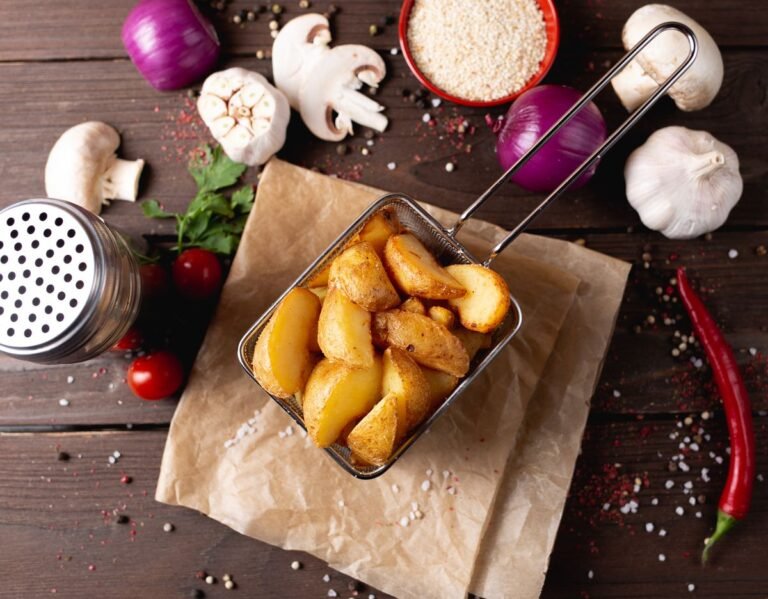
Nuggets are happy alongside almost anything, which is why they rescue so many weeknight dinners. For a classic plate, serve them with oven fries or air fryer potato wedges, a simple coleslaw, and corn on the cob or steamed green beans. Mac and cheese alongside nuggets is peak comfort food for kids, and honestly, most adults are not complaining either.
For a lighter meal, pair them with a chopped salad, roasted broccoli, or carrot sticks with hummus. They are also great chopped over a Caesar salad, in a wrap with lettuce and ranch, or on slider buns with pickles and honey mustard.
Set out two or three dipping sauces and let everyone choose: ketchup, honey mustard (equal parts honey, Dijon, and mayo), BBQ sauce, ranch, sweet chili sauce, or garlic aioli (mayo, grated garlic, lemon juice). A little sauce bar makes simple dinner feel fun.
And because nuggets are such a meal-prep favorite in our house, I often plan the week around them — a batch on Sunday covers a lunch or two, and the same prep session can set up easy mornings as well. If you like having breakfast sorted ahead of time too, try making a pan of healthy egg breakfast meal prep while the nuggets cook, and you have grabbed-and-go mornings handled for days.
Storage, Freezing, and Reheating
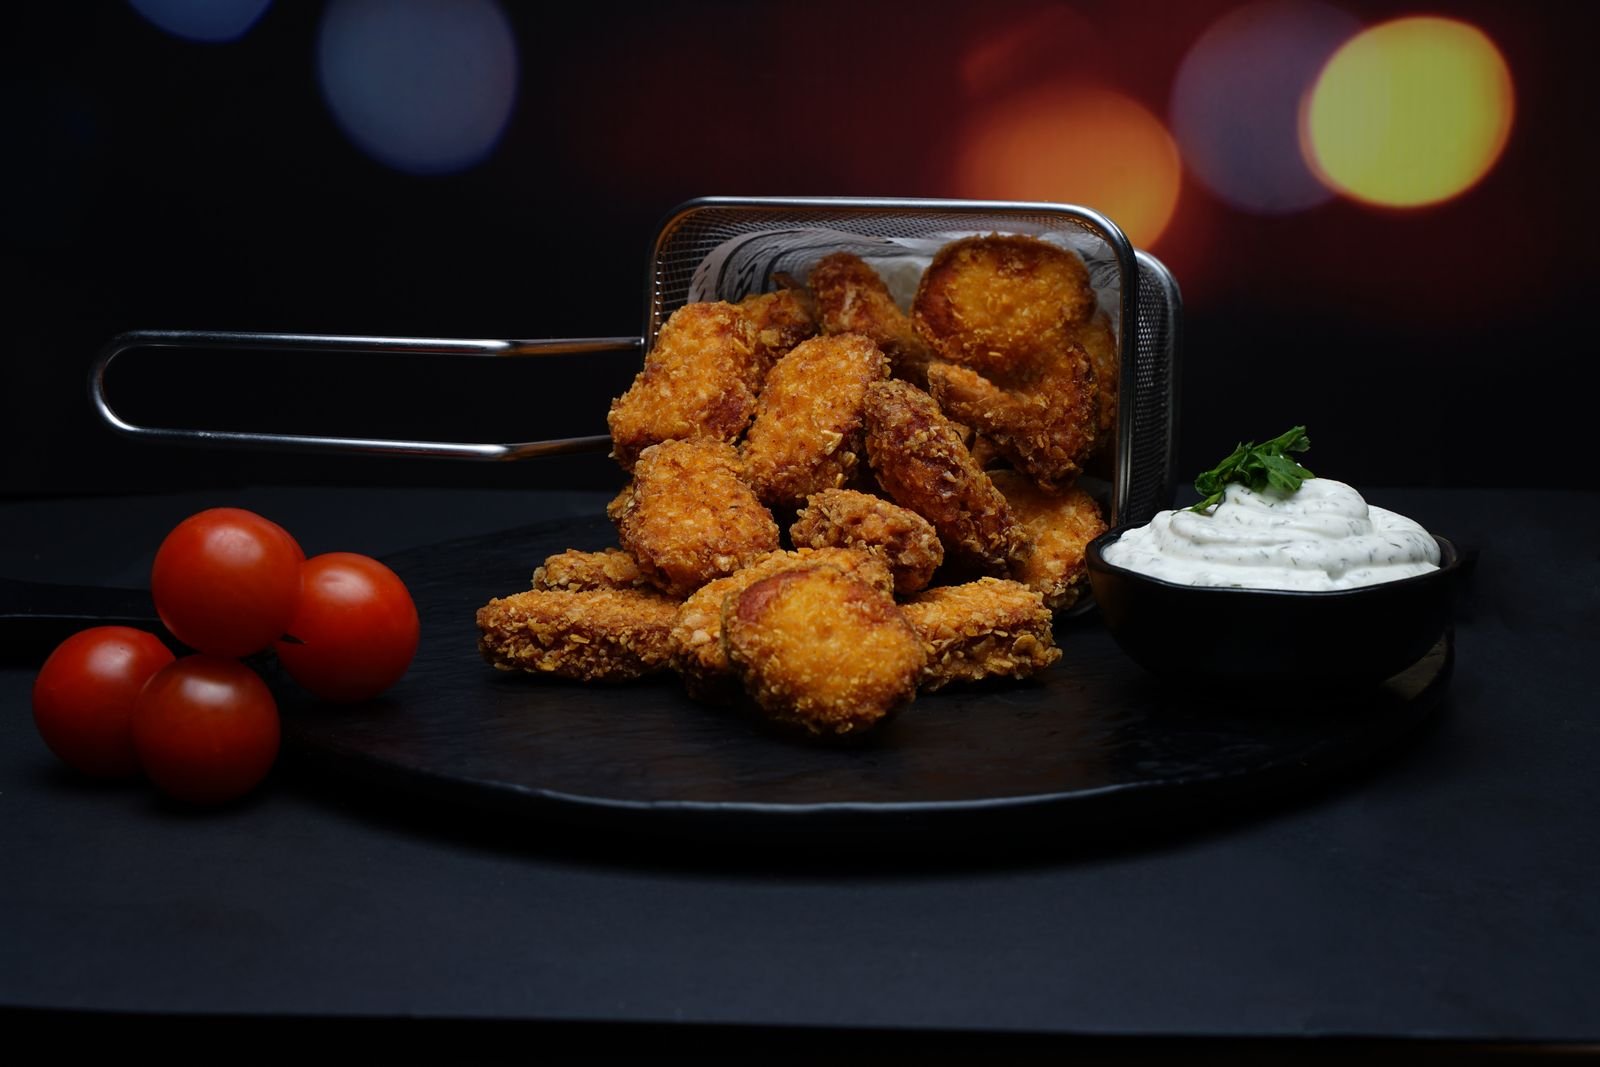
Refrigerating leftovers: Cool leftover nuggets completely, then store them in an airtight container in the refrigerator for up to 3 to 4 days. Placing a paper towel under them helps absorb moisture and keeps the coating from going soggy.
Reheating in the air fryer (best method): Reheat at 375°F (190°C) for 3 to 4 minutes, flipping once, until hot and crisp again. The microwave will warm them, but it will also soften the crust — if that is your only option, finish them for a minute in a hot skillet or toaster oven to revive some crunch. In a regular oven, reheat on a rack over a baking sheet at 400°F (200°C) for 8 to 10 minutes.
Freezing cooked nuggets: Arrange cooled, cooked nuggets in a single layer on a parchment-lined baking sheet and freeze until solid, about 1 to 2 hours. Transfer to a freezer bag, squeeze out the air, label with the date, and freeze for up to 3 months. Reheat from frozen in the air fryer at 400°F (200°C) for 8 to 10 minutes, flipping halfway, until they reach 165°F (74°C) in the center.
Freezing uncooked nuggets: Bread the nuggets, freeze on a parchment-lined tray until solid, then bag. Cook from frozen at 400°F (200°C) for 13 to 16 minutes, flipping halfway and spraying with oil, until crisp and cooked through.
This kind of make-ahead thinking works for the whole day, not just dinner. On weeks when mornings are hectic, I pair freezer-friendly dinners like these with simple grab-and-go breakfasts, and one reader favorite is these overnight oats without yogurt, which you can stir together in minutes the night before while the nugget tray is in the freezer.
Nutrition Information
The following figures are rough home-kitchen estimates for one serving (about 6 nuggets, one quarter of the recipe), calculated from standard ingredient values and without dipping sauces. Your actual numbers will vary depending on the exact chicken, breadcrumbs, cheese, and how much coating and oil your batch uses, so please treat this as a general guide rather than precise medical or dietary information.
- Calories: approximately 360 kcal
- Protein: approximately 38 g
- Carbohydrates: approximately 28 g
- Fat: approximately 10 g
- Saturated fat: approximately 3 g
- Fiber: approximately 1.5 g
- Sodium: approximately 640 mg
- Sugar: approximately 2 g
Compared with deep-fried nuggets, these are lighter because so little oil is absorbed. Using chicken breast keeps protein high, and skipping the Parmesan lowers sodium further.
Frequently Asked Questions
How long do homemade chicken nuggets take in the air fryer?
At 400°F (200°C), breaded nuggets take about 10 to 12 minutes total — 5 to 6 minutes on the first side, then 4 to 6 minutes after flipping. Smaller pieces may finish a minute early and larger ones may need an extra minute, so use the internal temperature of 165°F (74°C) as your final guide rather than the clock alone.
Can I use chicken thighs instead of chicken breast?
Yes, boneless, skinless thighs are an excellent substitute and many people find them even juicier. Trim any excess fat, cut them into nugget-sized chunks, and follow the recipe exactly. Cook until the thickest piece reaches at least 165°F (74°C); thighs stay tender even if they go a little past that.
Why is my coating falling off the nuggets?
Usually it is wet chicken, excess flour or egg, or skipping the rest after breading. Pat the chicken dry, let extra egg drip off, press the panko firmly, and rest the nuggets 10 minutes before cooking. Flip gently with tongs instead of shaking the basket.
How do I keep the nuggets crispy and stop them going soggy?
Spray them well with oil, cook in a single layer with space between pieces, and serve promptly. If holding a first batch, keep them on a rack in a warm oven at 200°F (95°C) instead of piling them in a bowl, where steam softens the crust.
Can I make these chicken nuggets ahead of time?
Yes. Bread and refrigerate them, covered, for up to 8 hours before cooking, or freeze them raw or cooked for up to 3 months. Cooked nuggets reheated in the air fryer at 375°F (190°C) for 3 to 4 minutes taste remarkably fresh.
Can I cook these in the oven if I do not have an air fryer?
Yes. Place them on a wire rack over a baking sheet, spray well with oil, and bake at 425°F (220°C) for 15 to 18 minutes, flipping halfway. The rack helps them crisp all over, though the air fryer version is a touch crisper and faster.
Are these nuggets gluten-free or dairy-free?
Not as written, but both versions are easy. For gluten-free nuggets, use a 1:1 gluten-free flour blend and gluten-free panko. For dairy-free nuggets, simply leave out the Parmesan and use water or unsweetened plant milk in the egg wash. The cooking method and timing stay exactly the same.
What internal temperature should chicken nuggets reach?
Chicken nuggets must reach an internal temperature of 165°F (74°C) at the thickest part, measured with an instant-read thermometer. Because these are solid pieces of chicken rather than ground chicken, cooking to that temperature with a well-browned crust is both the safe and the tastiest target — the nuggets will still be juicy if you pull them promptly.
Can I use frozen chicken to make nuggets?
Thaw chicken completely before breading. Frozen chicken releases moisture, making the coating soggy and cooking uneven. Thaw overnight in the fridge, or in a sealed bag in cold water for about an hour, then pat very dry.
Why are my nuggets dry?
Dry nuggets usually mean pieces were too small or cooked too long. Cut generous 1 1/2-inch pieces, check early, and pull them as soon as they hit 165°F (74°C). Tenders or thighs give extra insurance against dryness.
Conclusion
There is something satisfying about pulling a basket of golden nuggets from the air fryer knowing exactly what went into them — real chicken, simple seasonings, and about half an hour. These homemade chicken nuggets in air fryer are crisp outside, juicy inside, and endlessly adaptable, whether you keep them mild for kids, toss them in buffalo sauce for game day, or stock the freezer for busy nights.
Make them once, find your family’s favorite sauce, and let this recipe earn a permanent spot in your weeknight rotation. Happy cooking — and enjoy every crunchy bite.
2 Comments